Menu
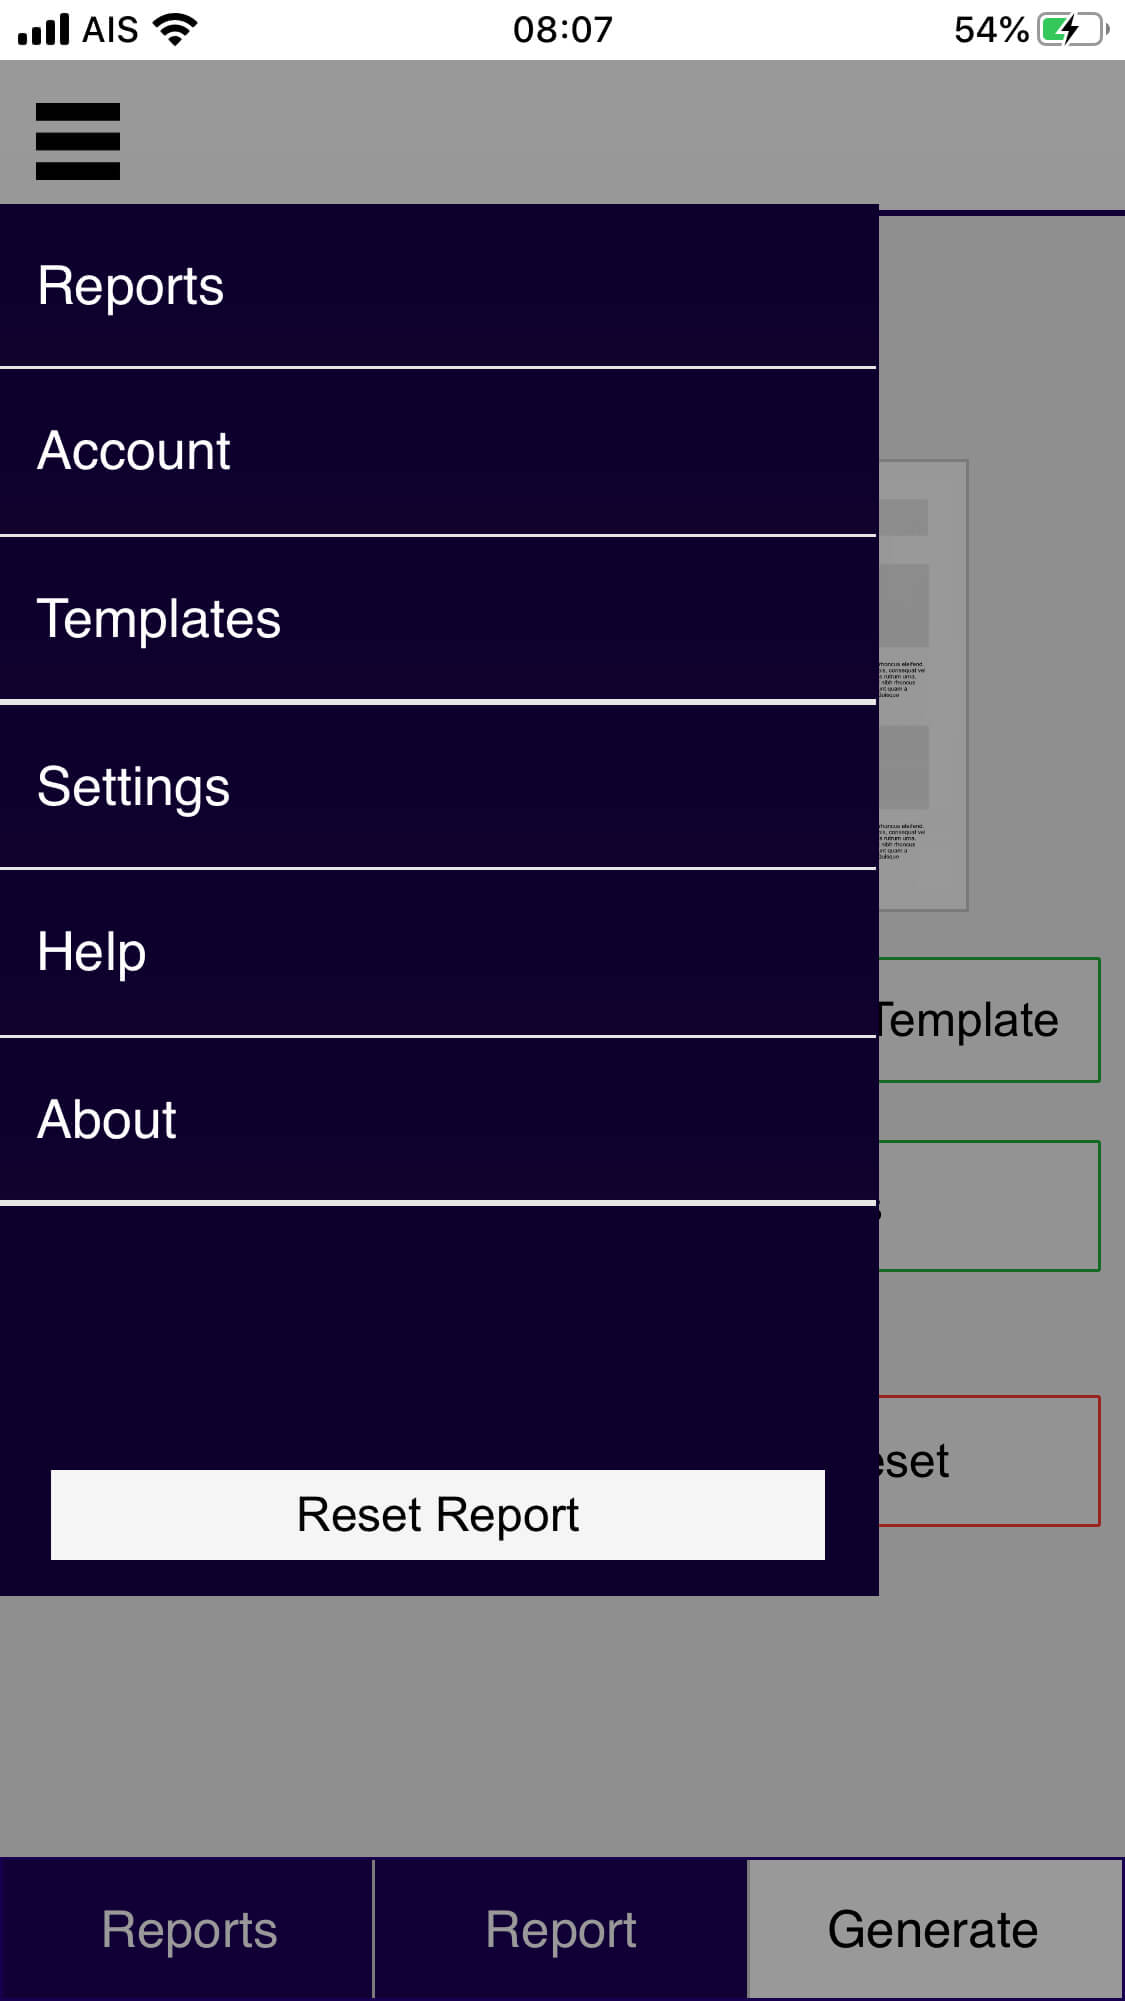
Click on the “hamburger” on the top of the screen to display the menu. This allows you to navigate between parts of the app.
Accounts
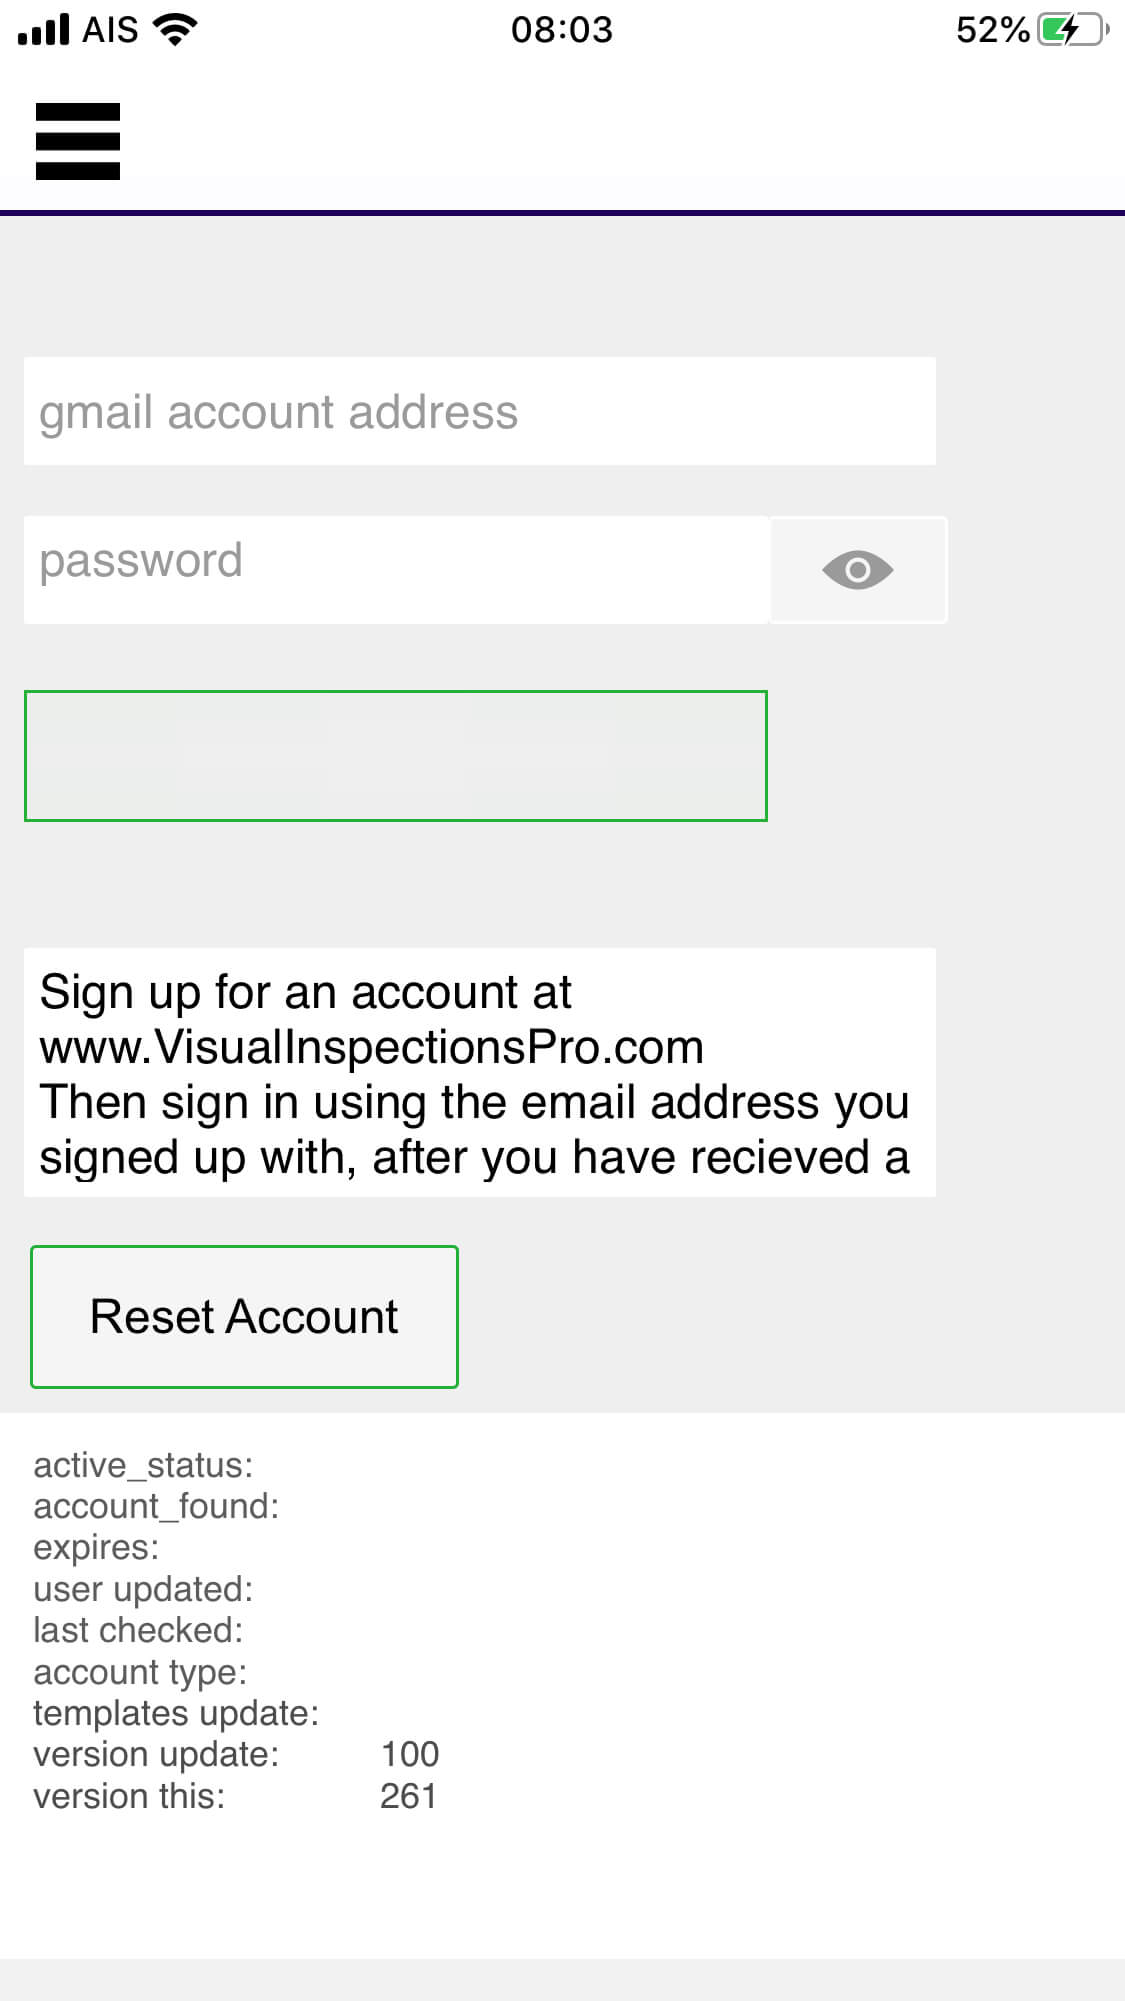
Register your account, or check manually check for updates. Shown is the screen before you have entered your account details. You must use the email address that you signed up to your account with. As part of the the registration process your templates will be loaded into the app. The passcode is a PIN number that has been sent to you. Do not use your Google Account password!
Accounts
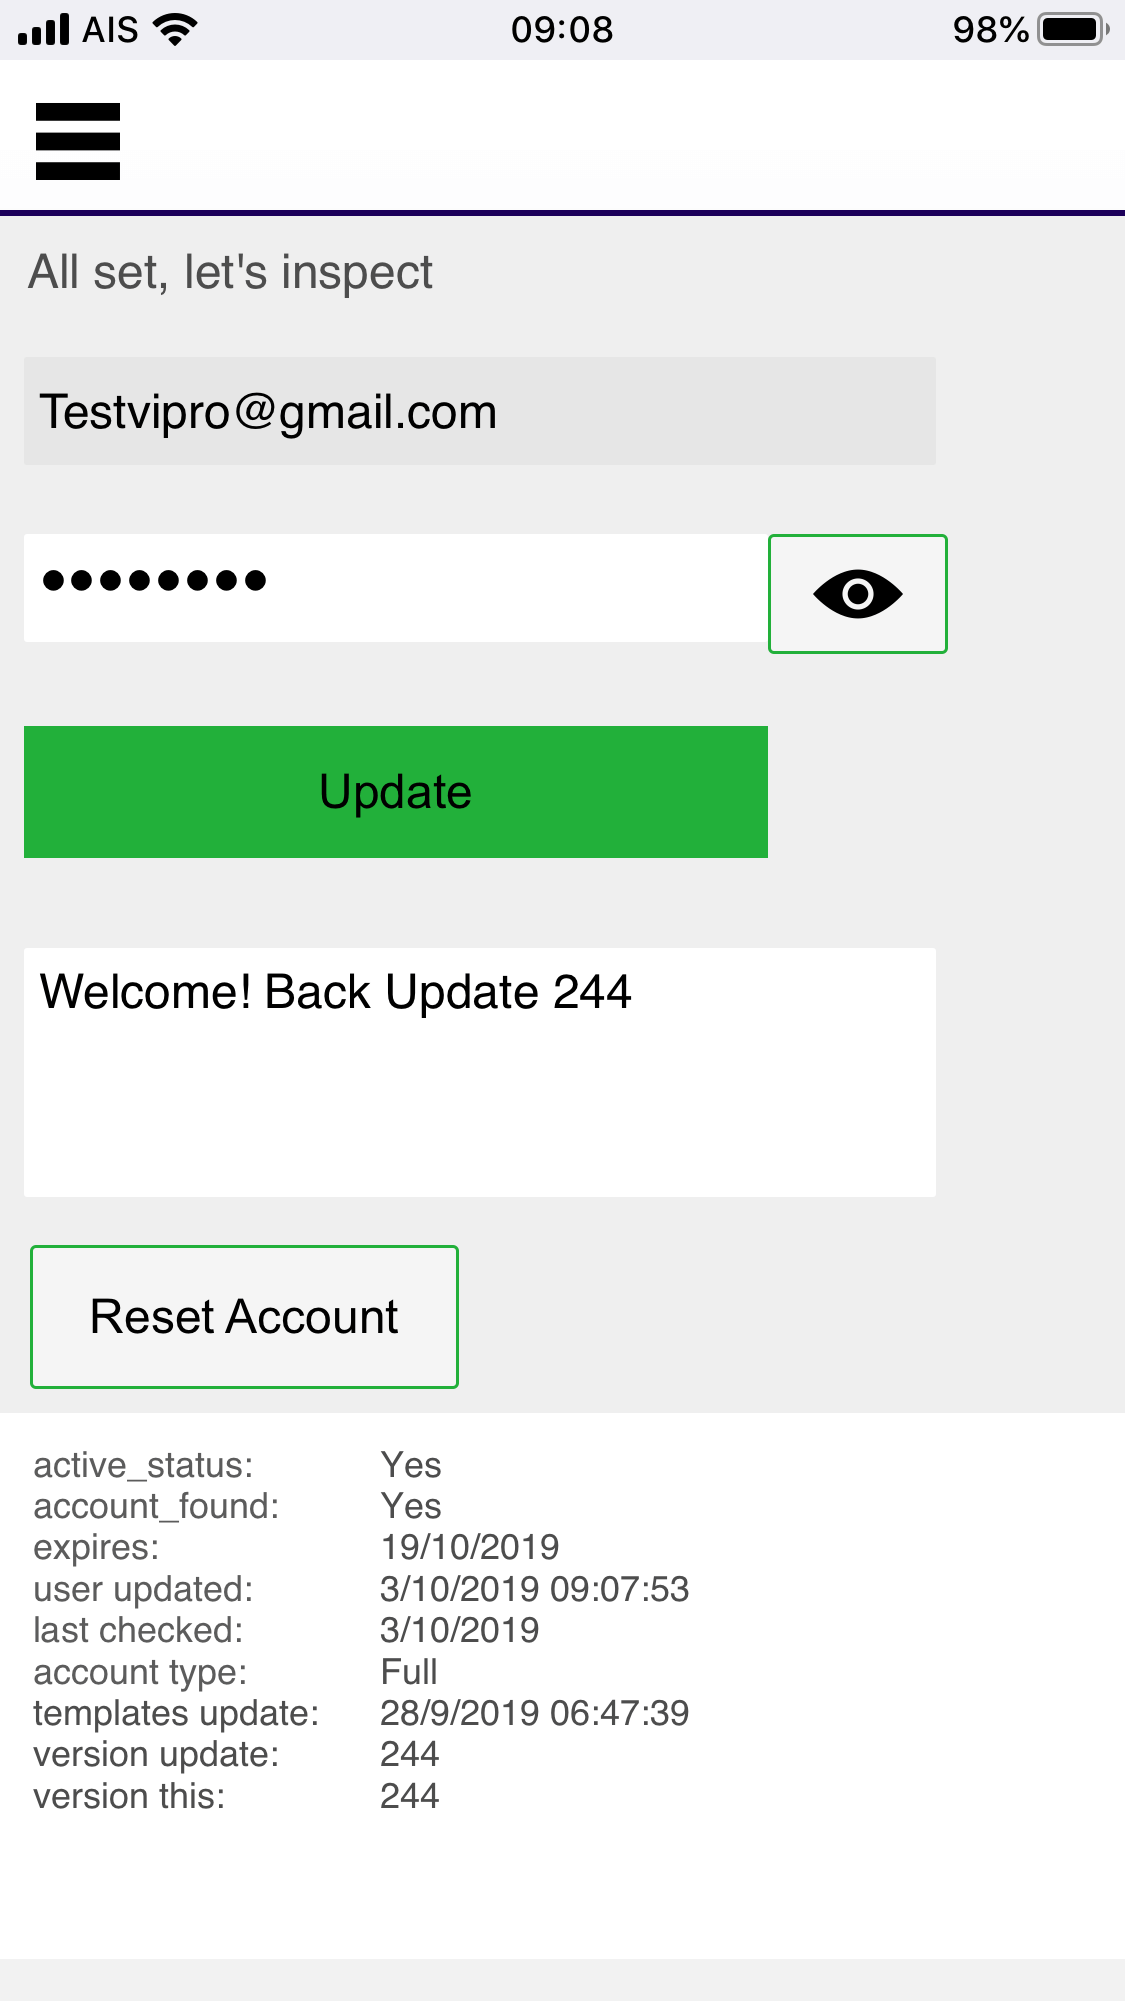
The screen after successfully registering your account. The reset account button will remove the current account from the app, any reports will be kept.
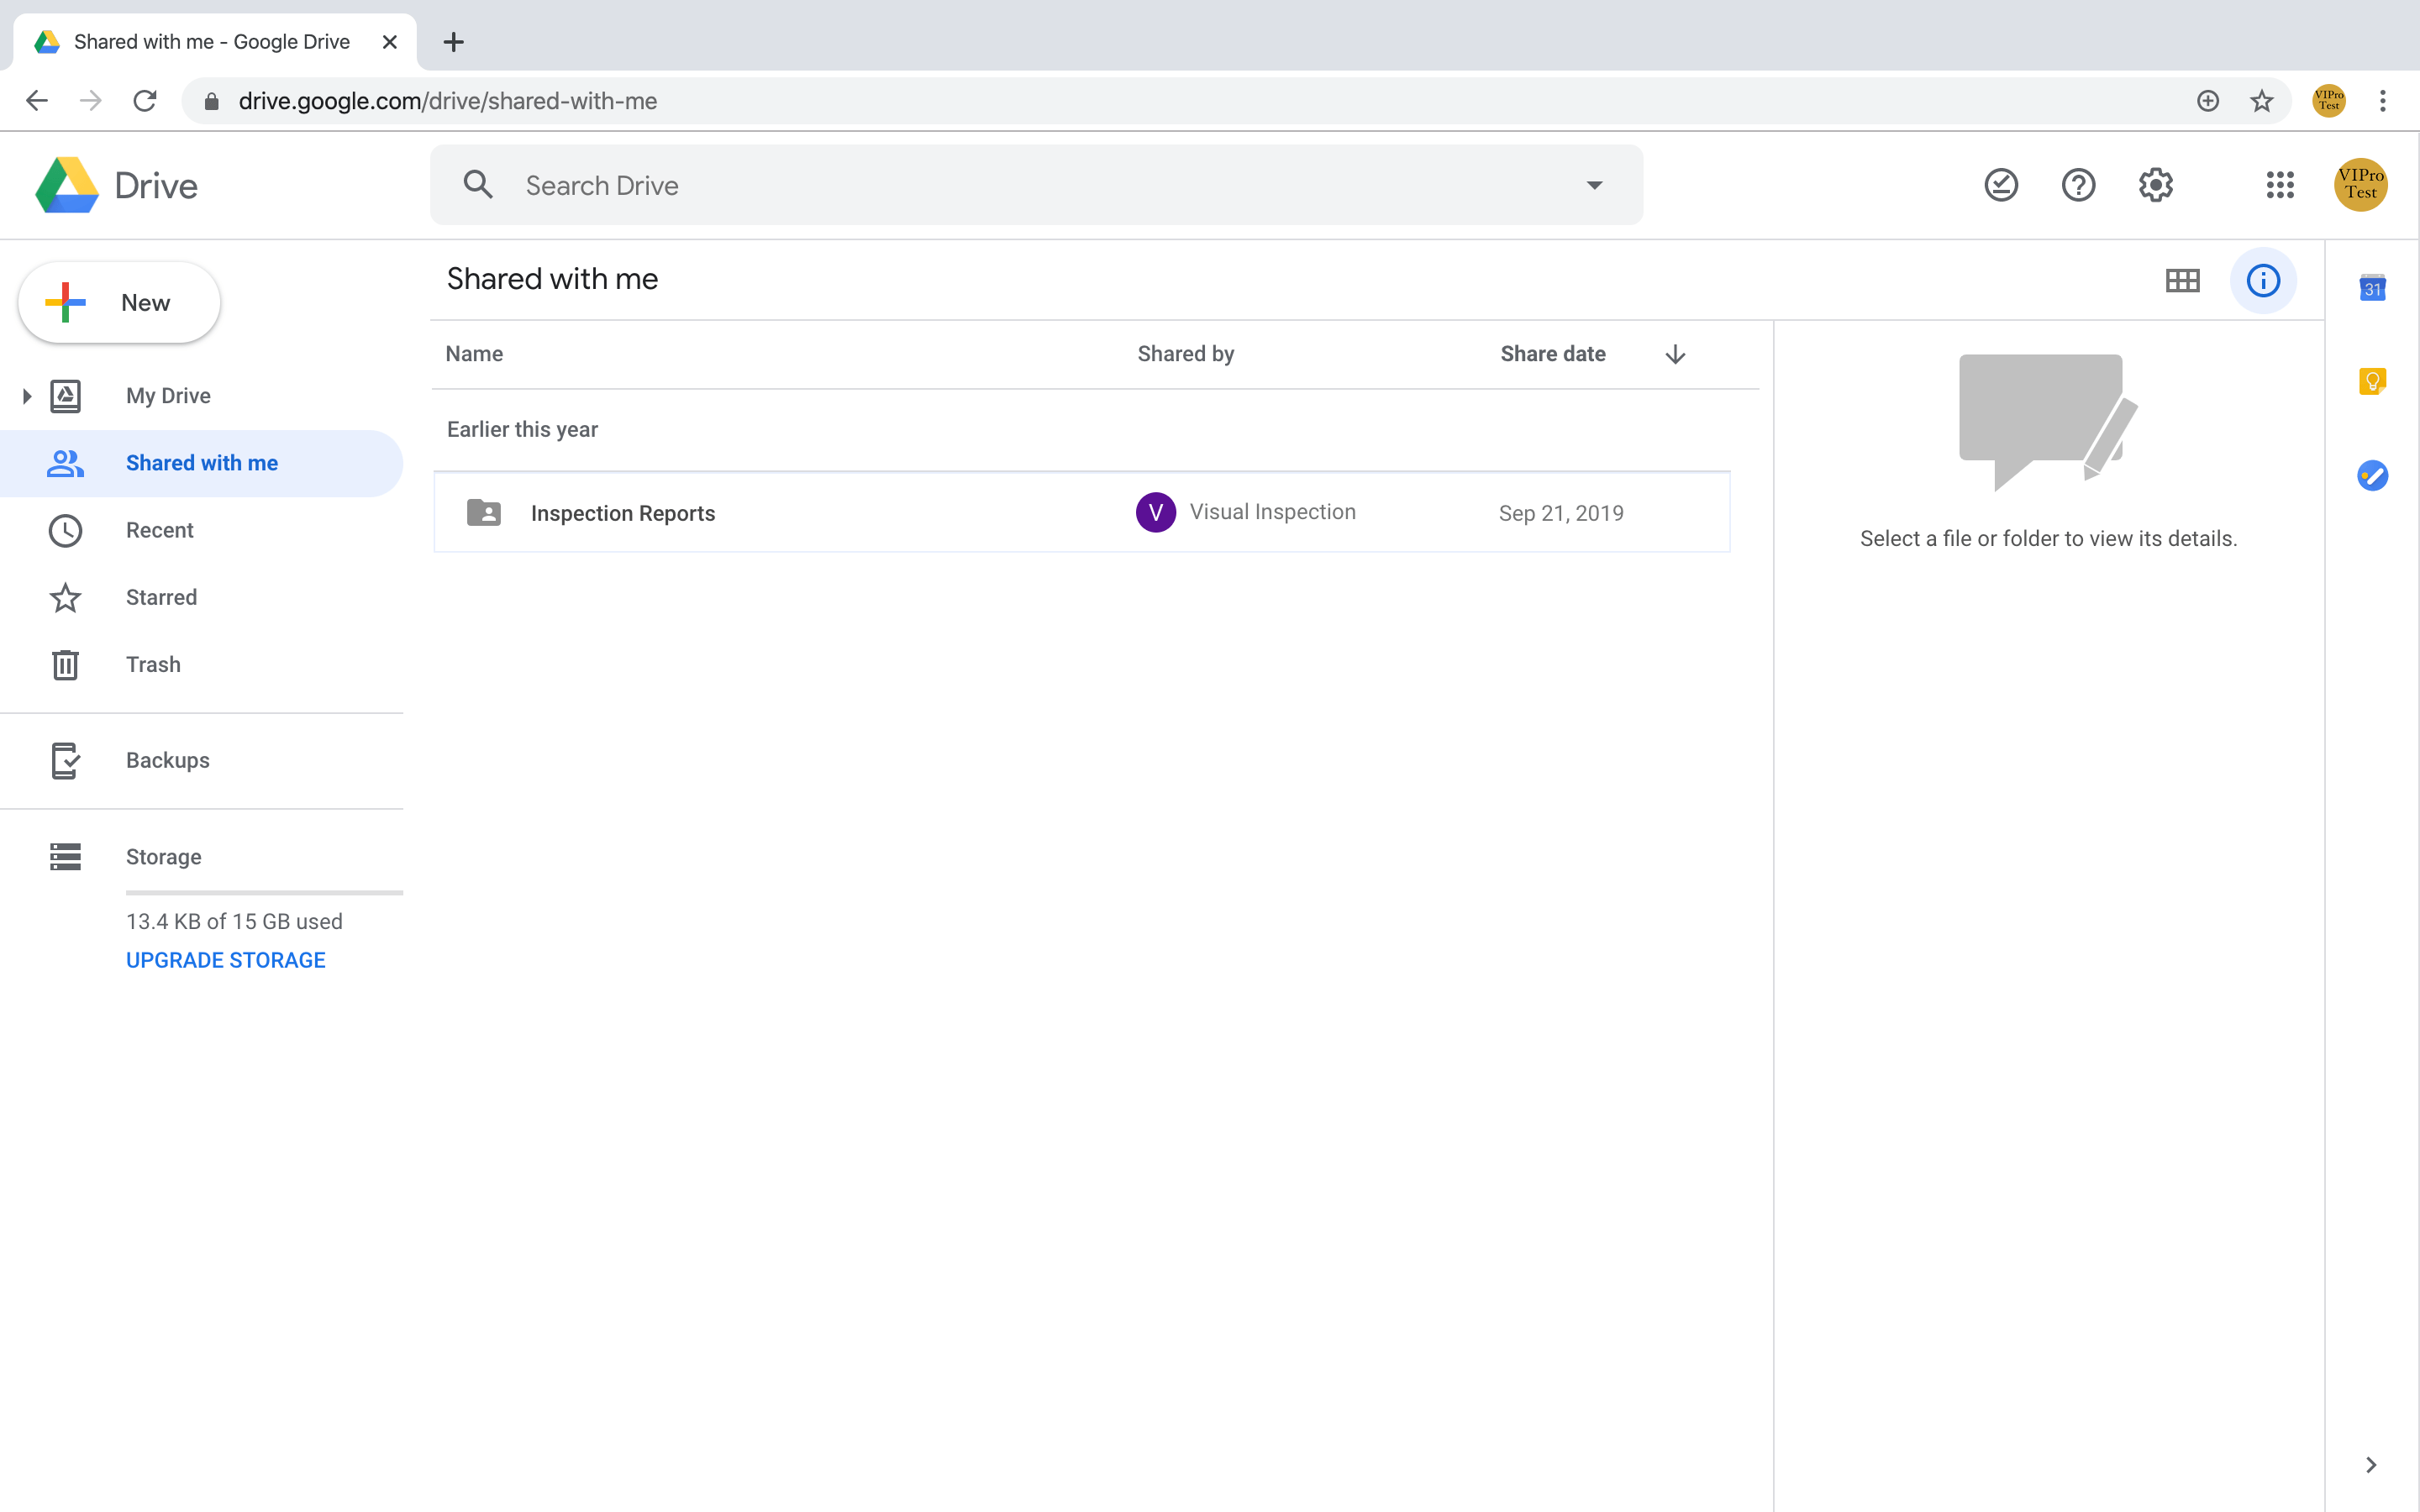
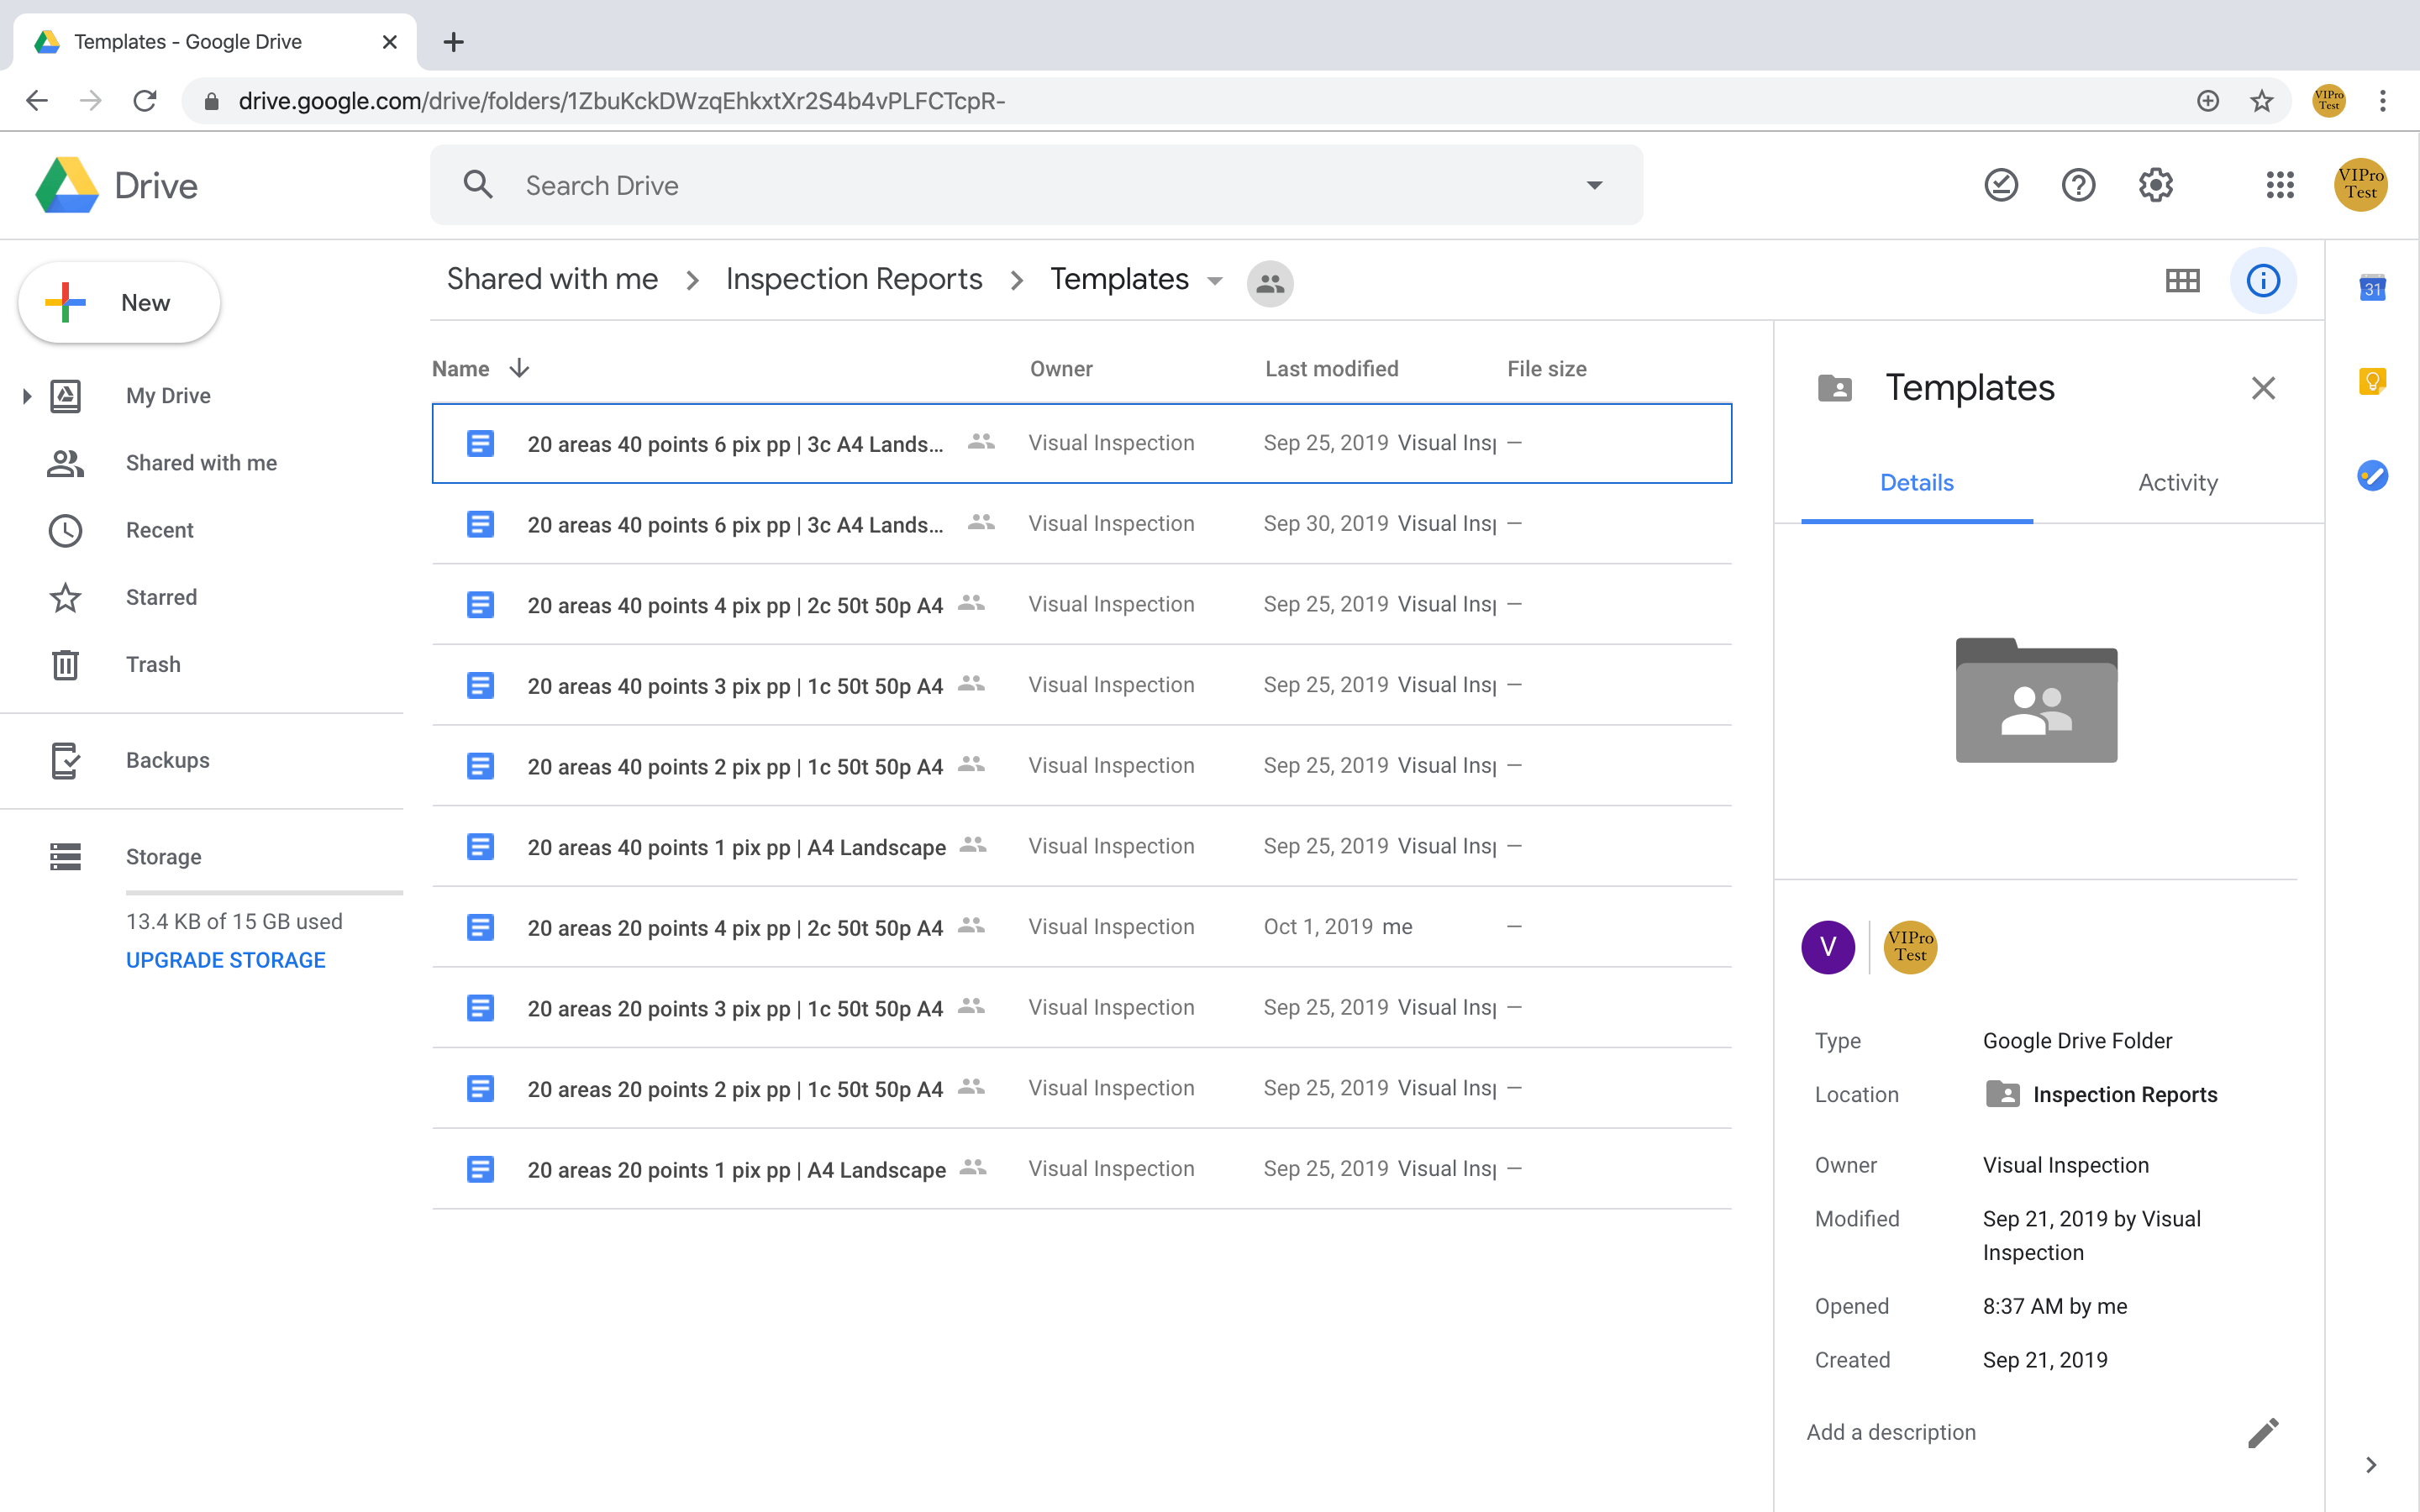
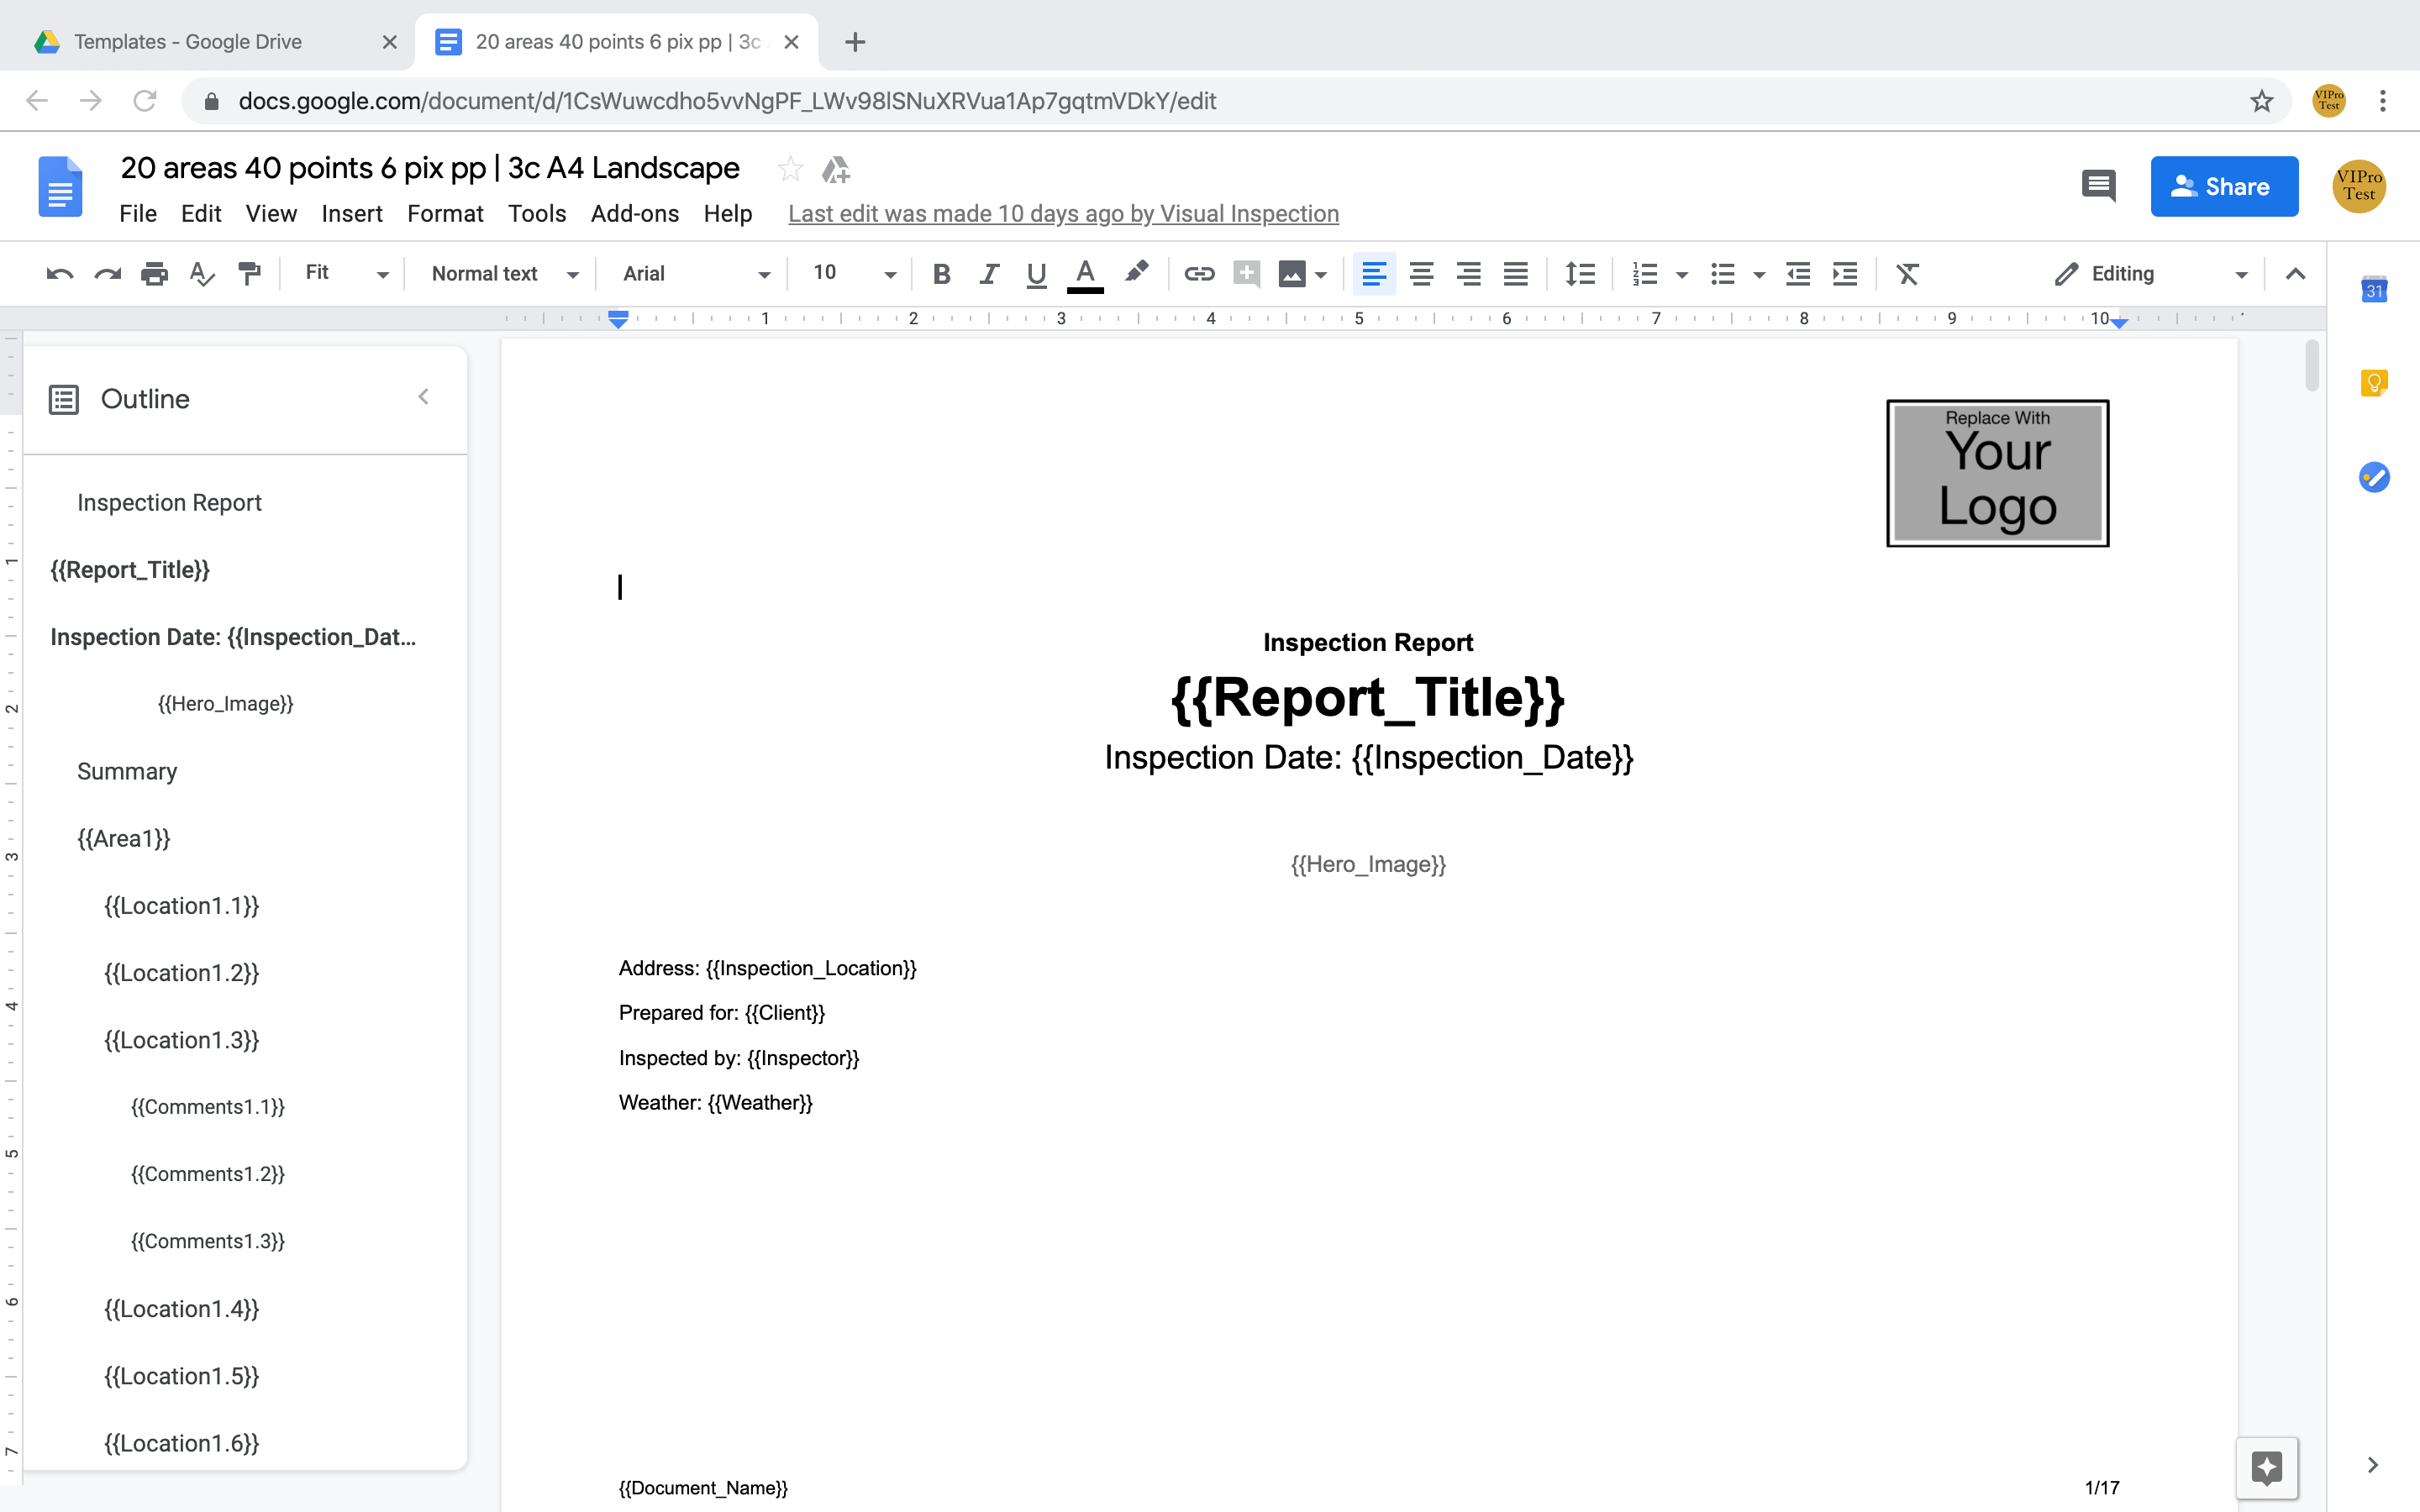
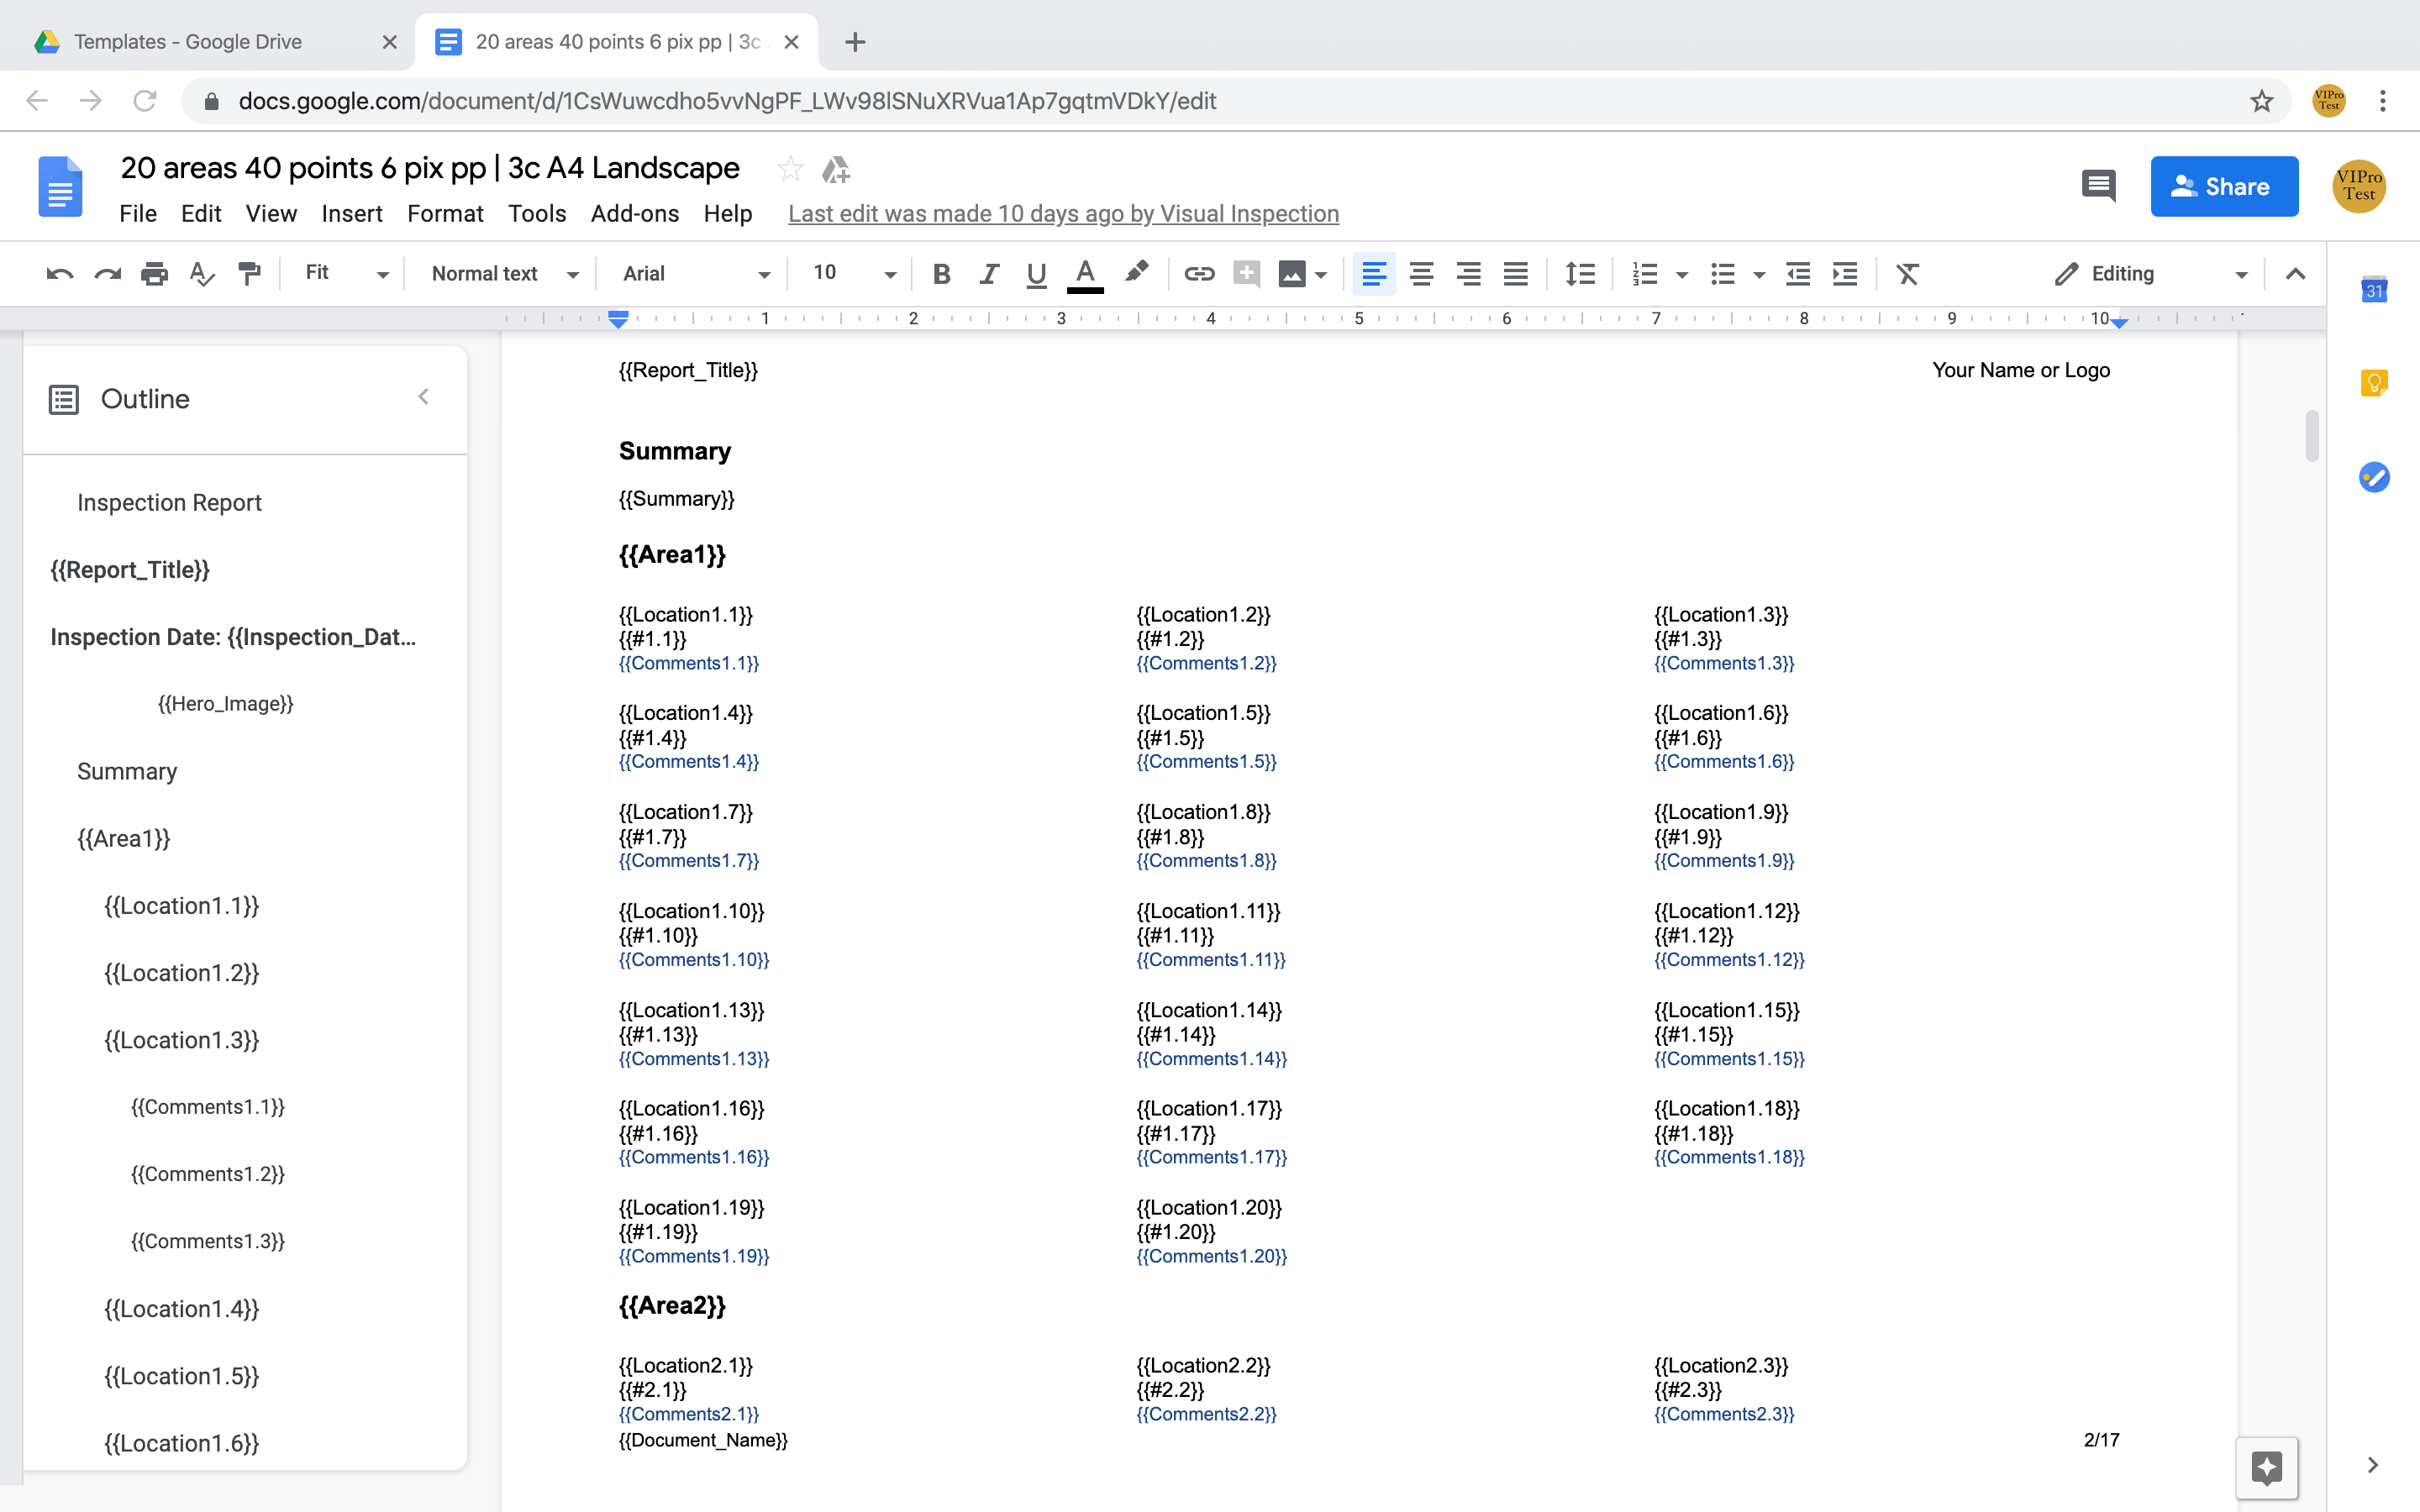
Templates
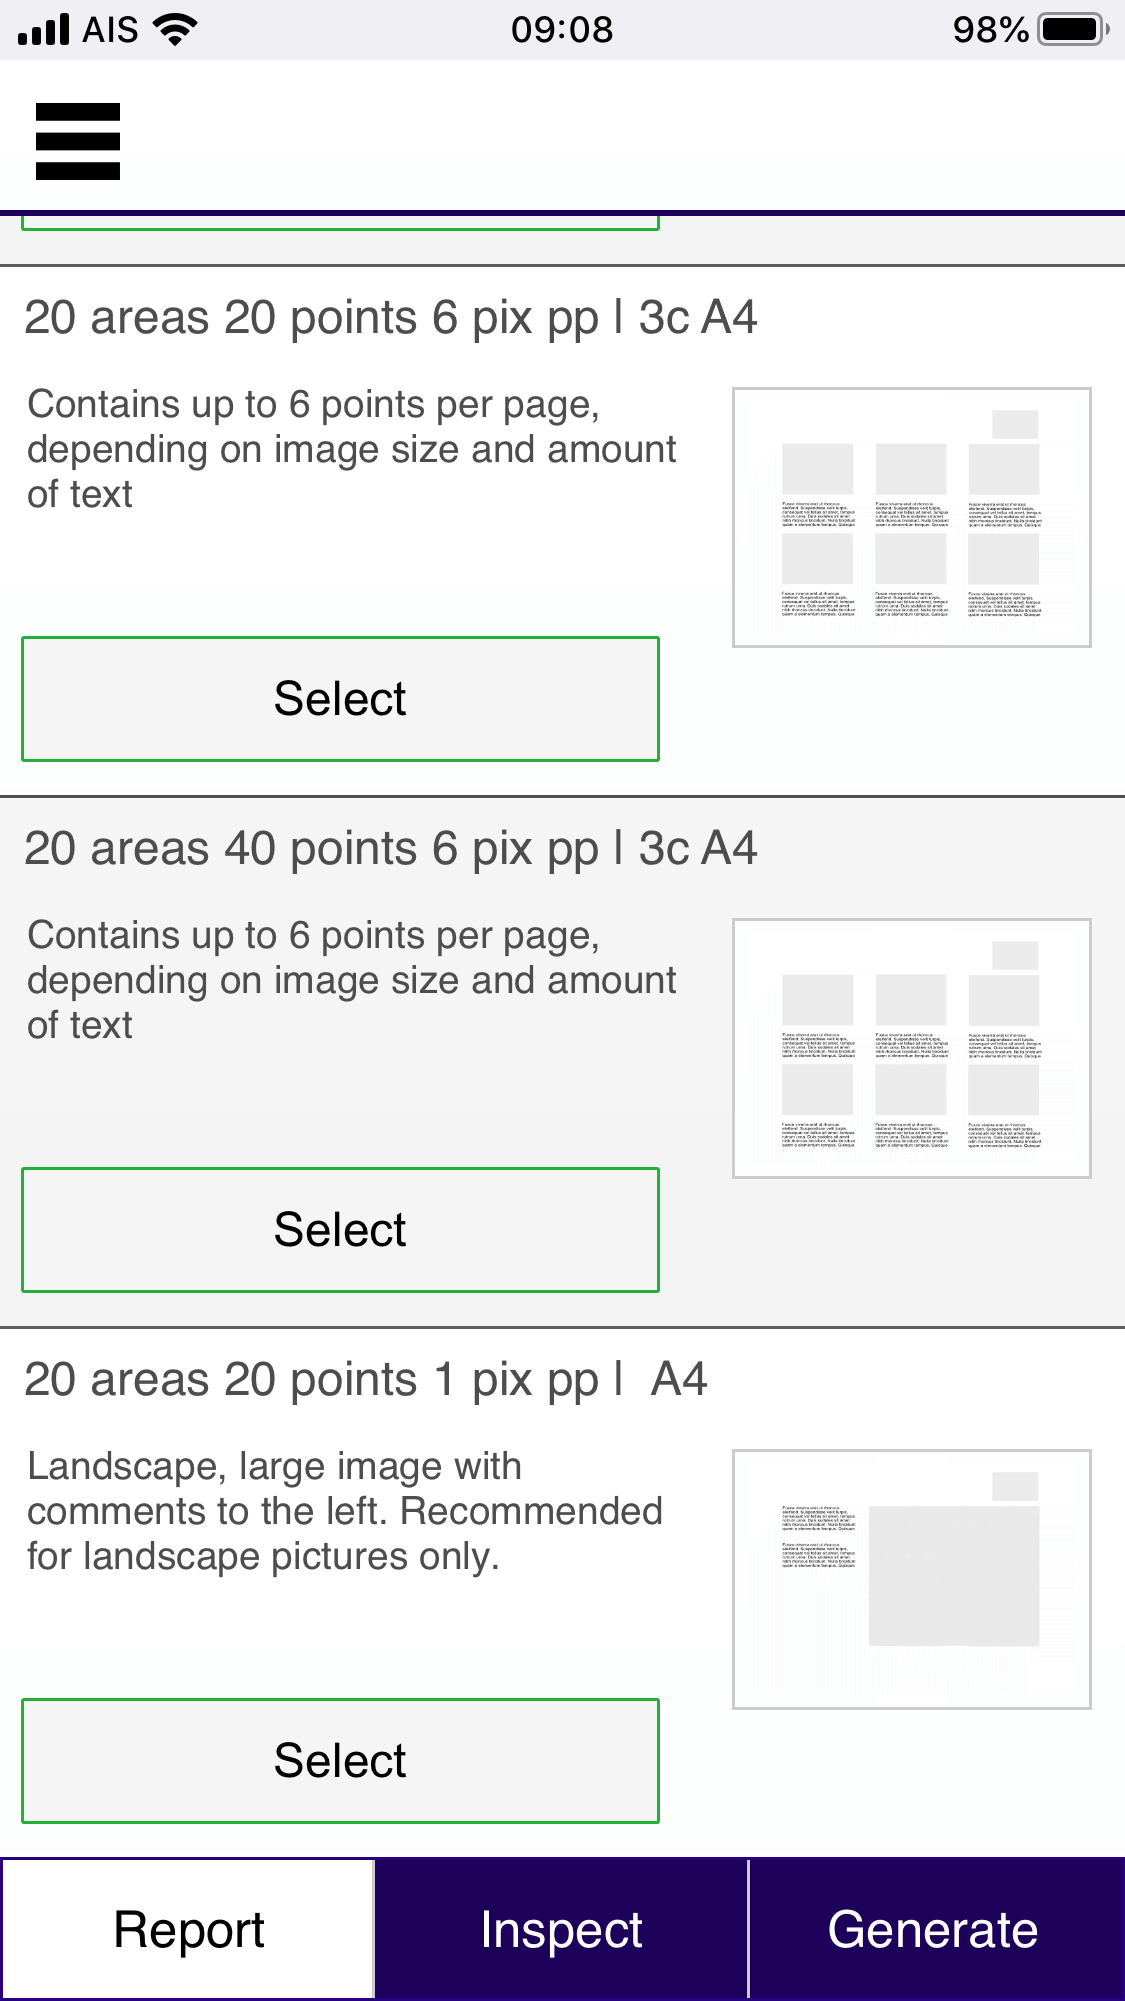
Shows the templates available on the system, scroll up and down the window to select the template you want to use to generate the report. Template styles are duplicated, currently offering either 20 or 40 points per area. If you are using a larger number of points the report will take longer to generate.
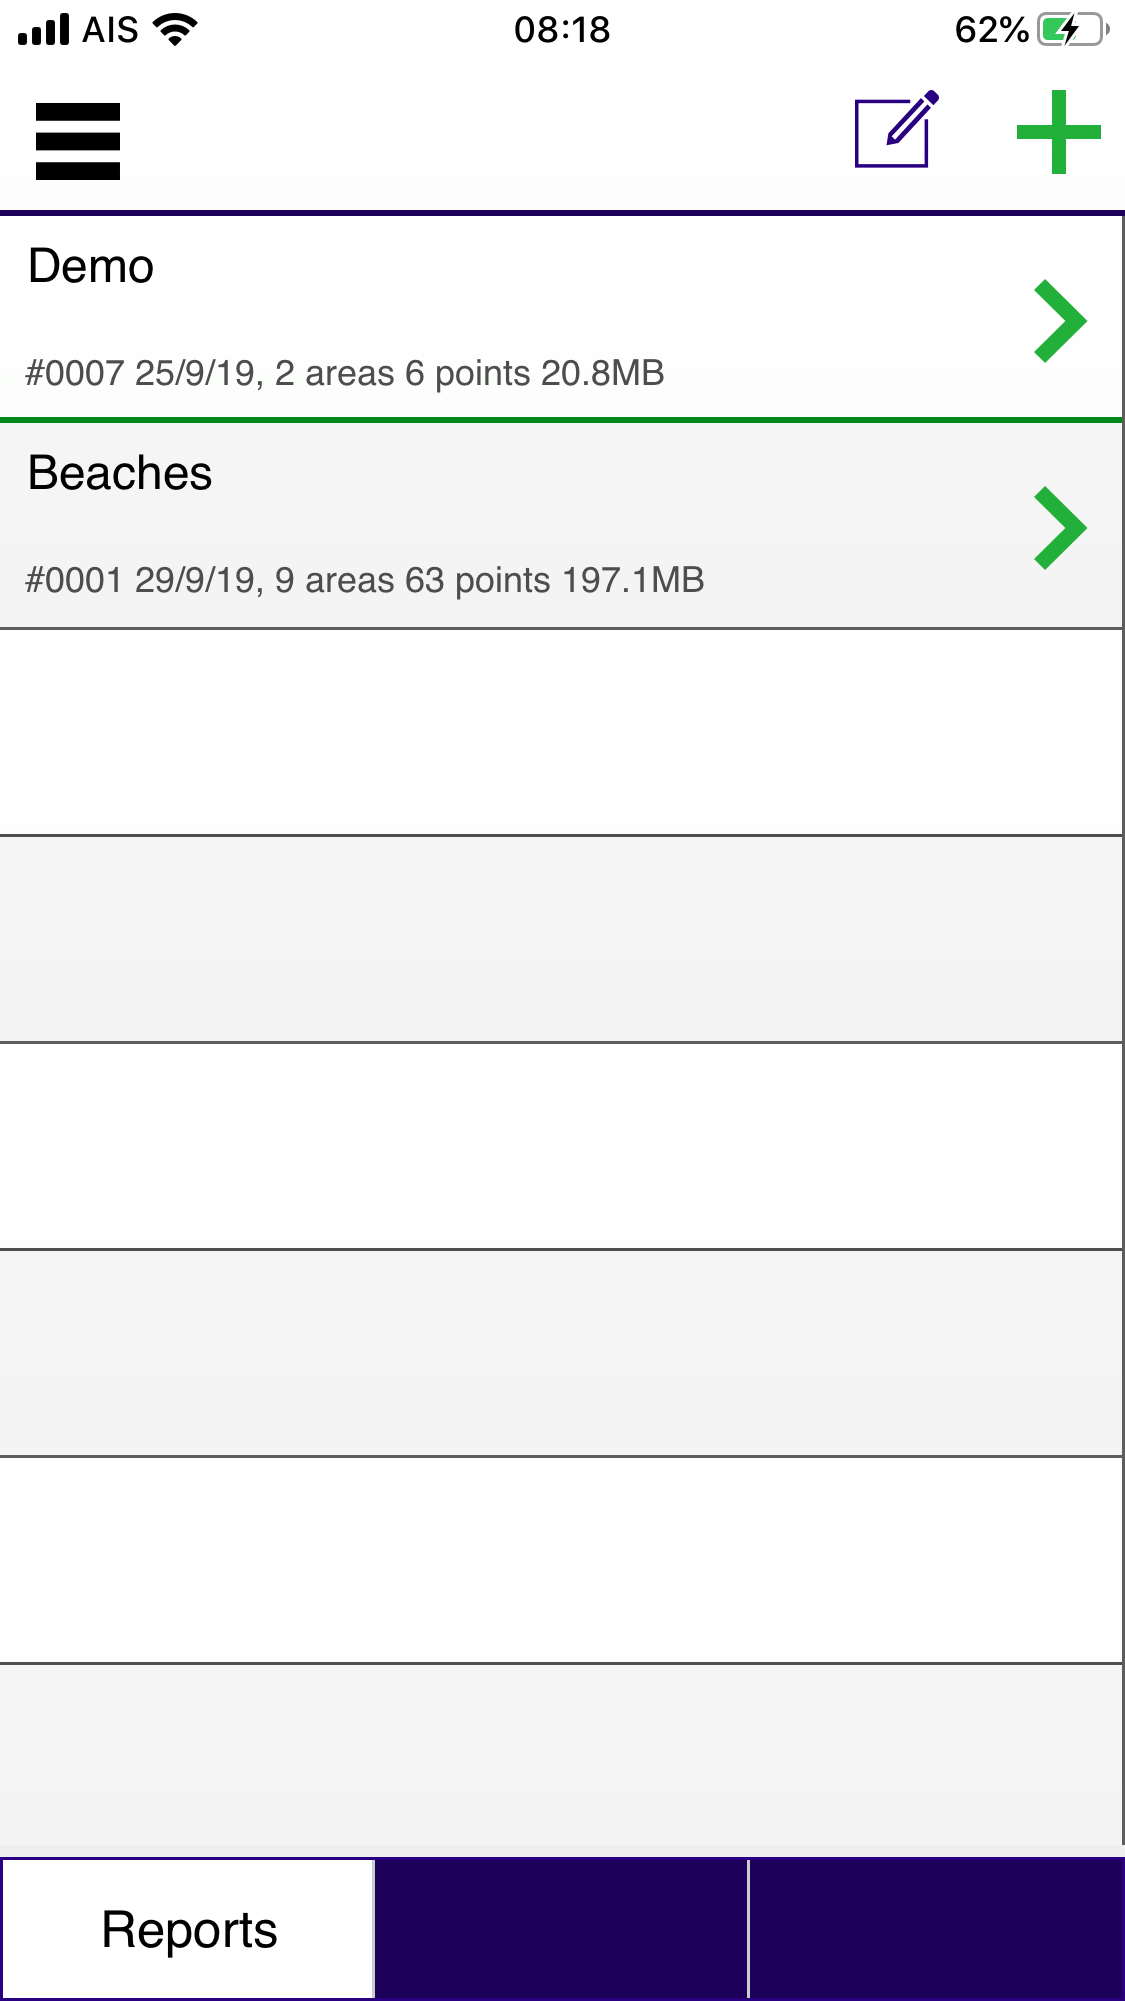
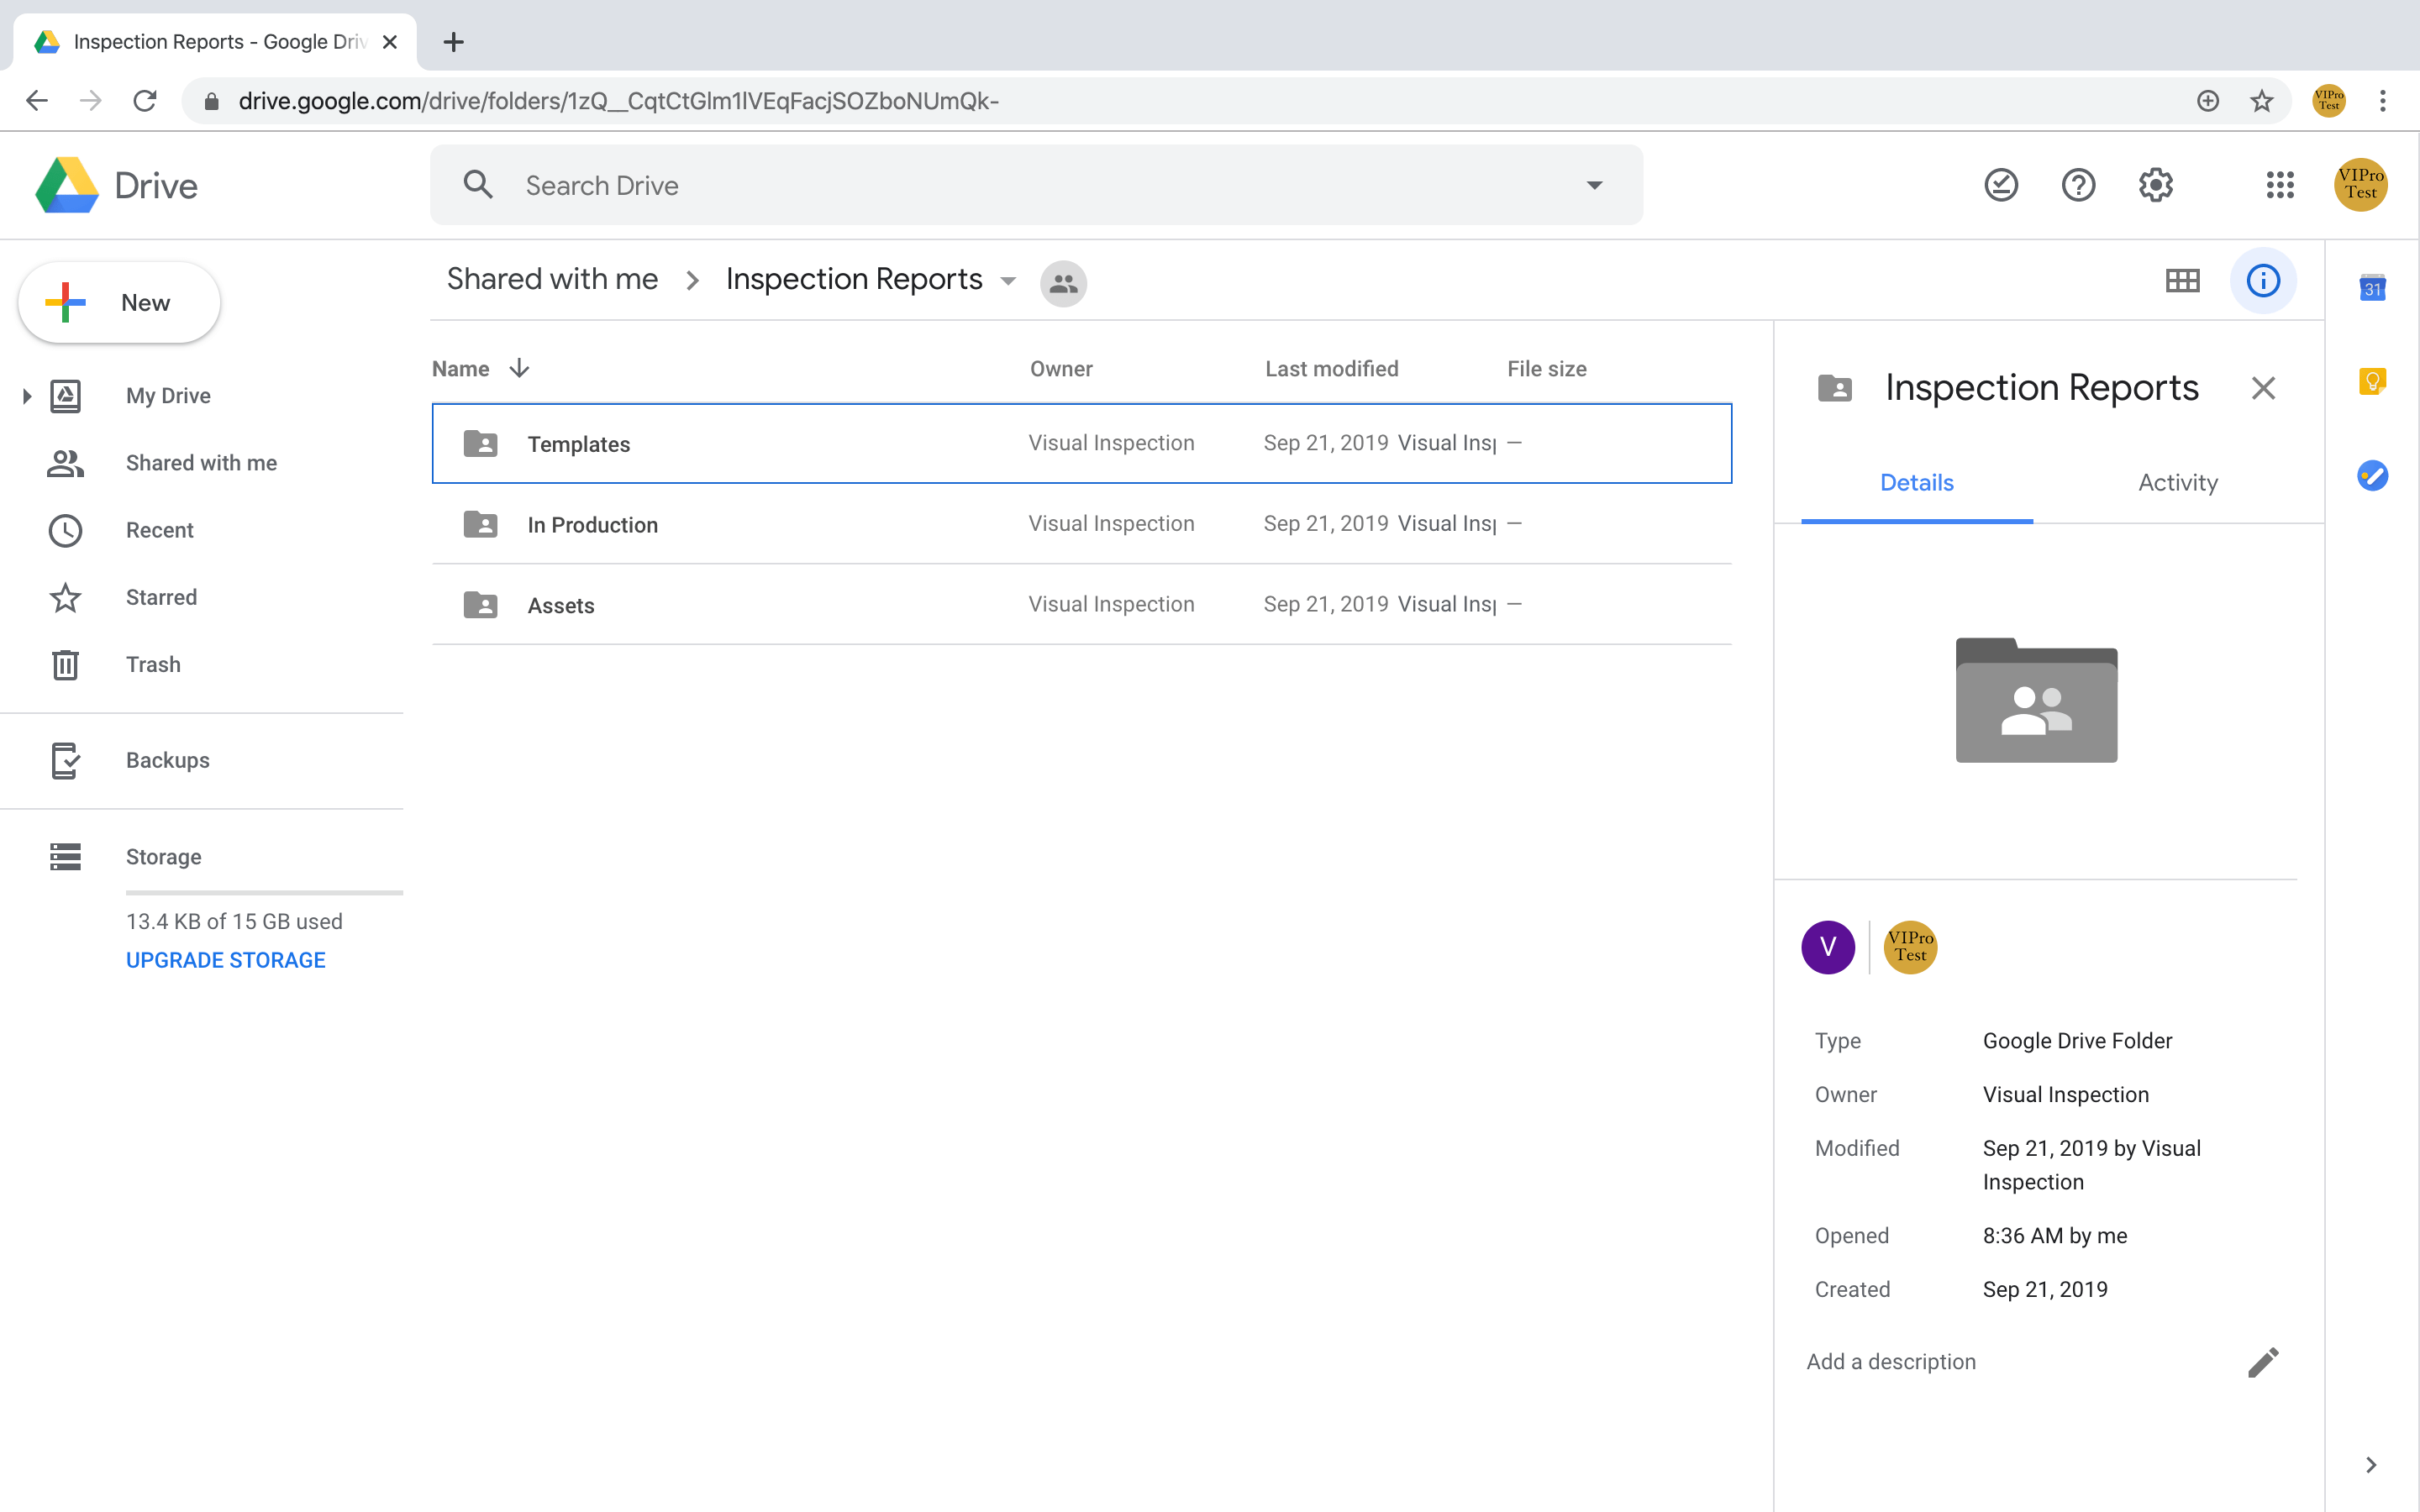
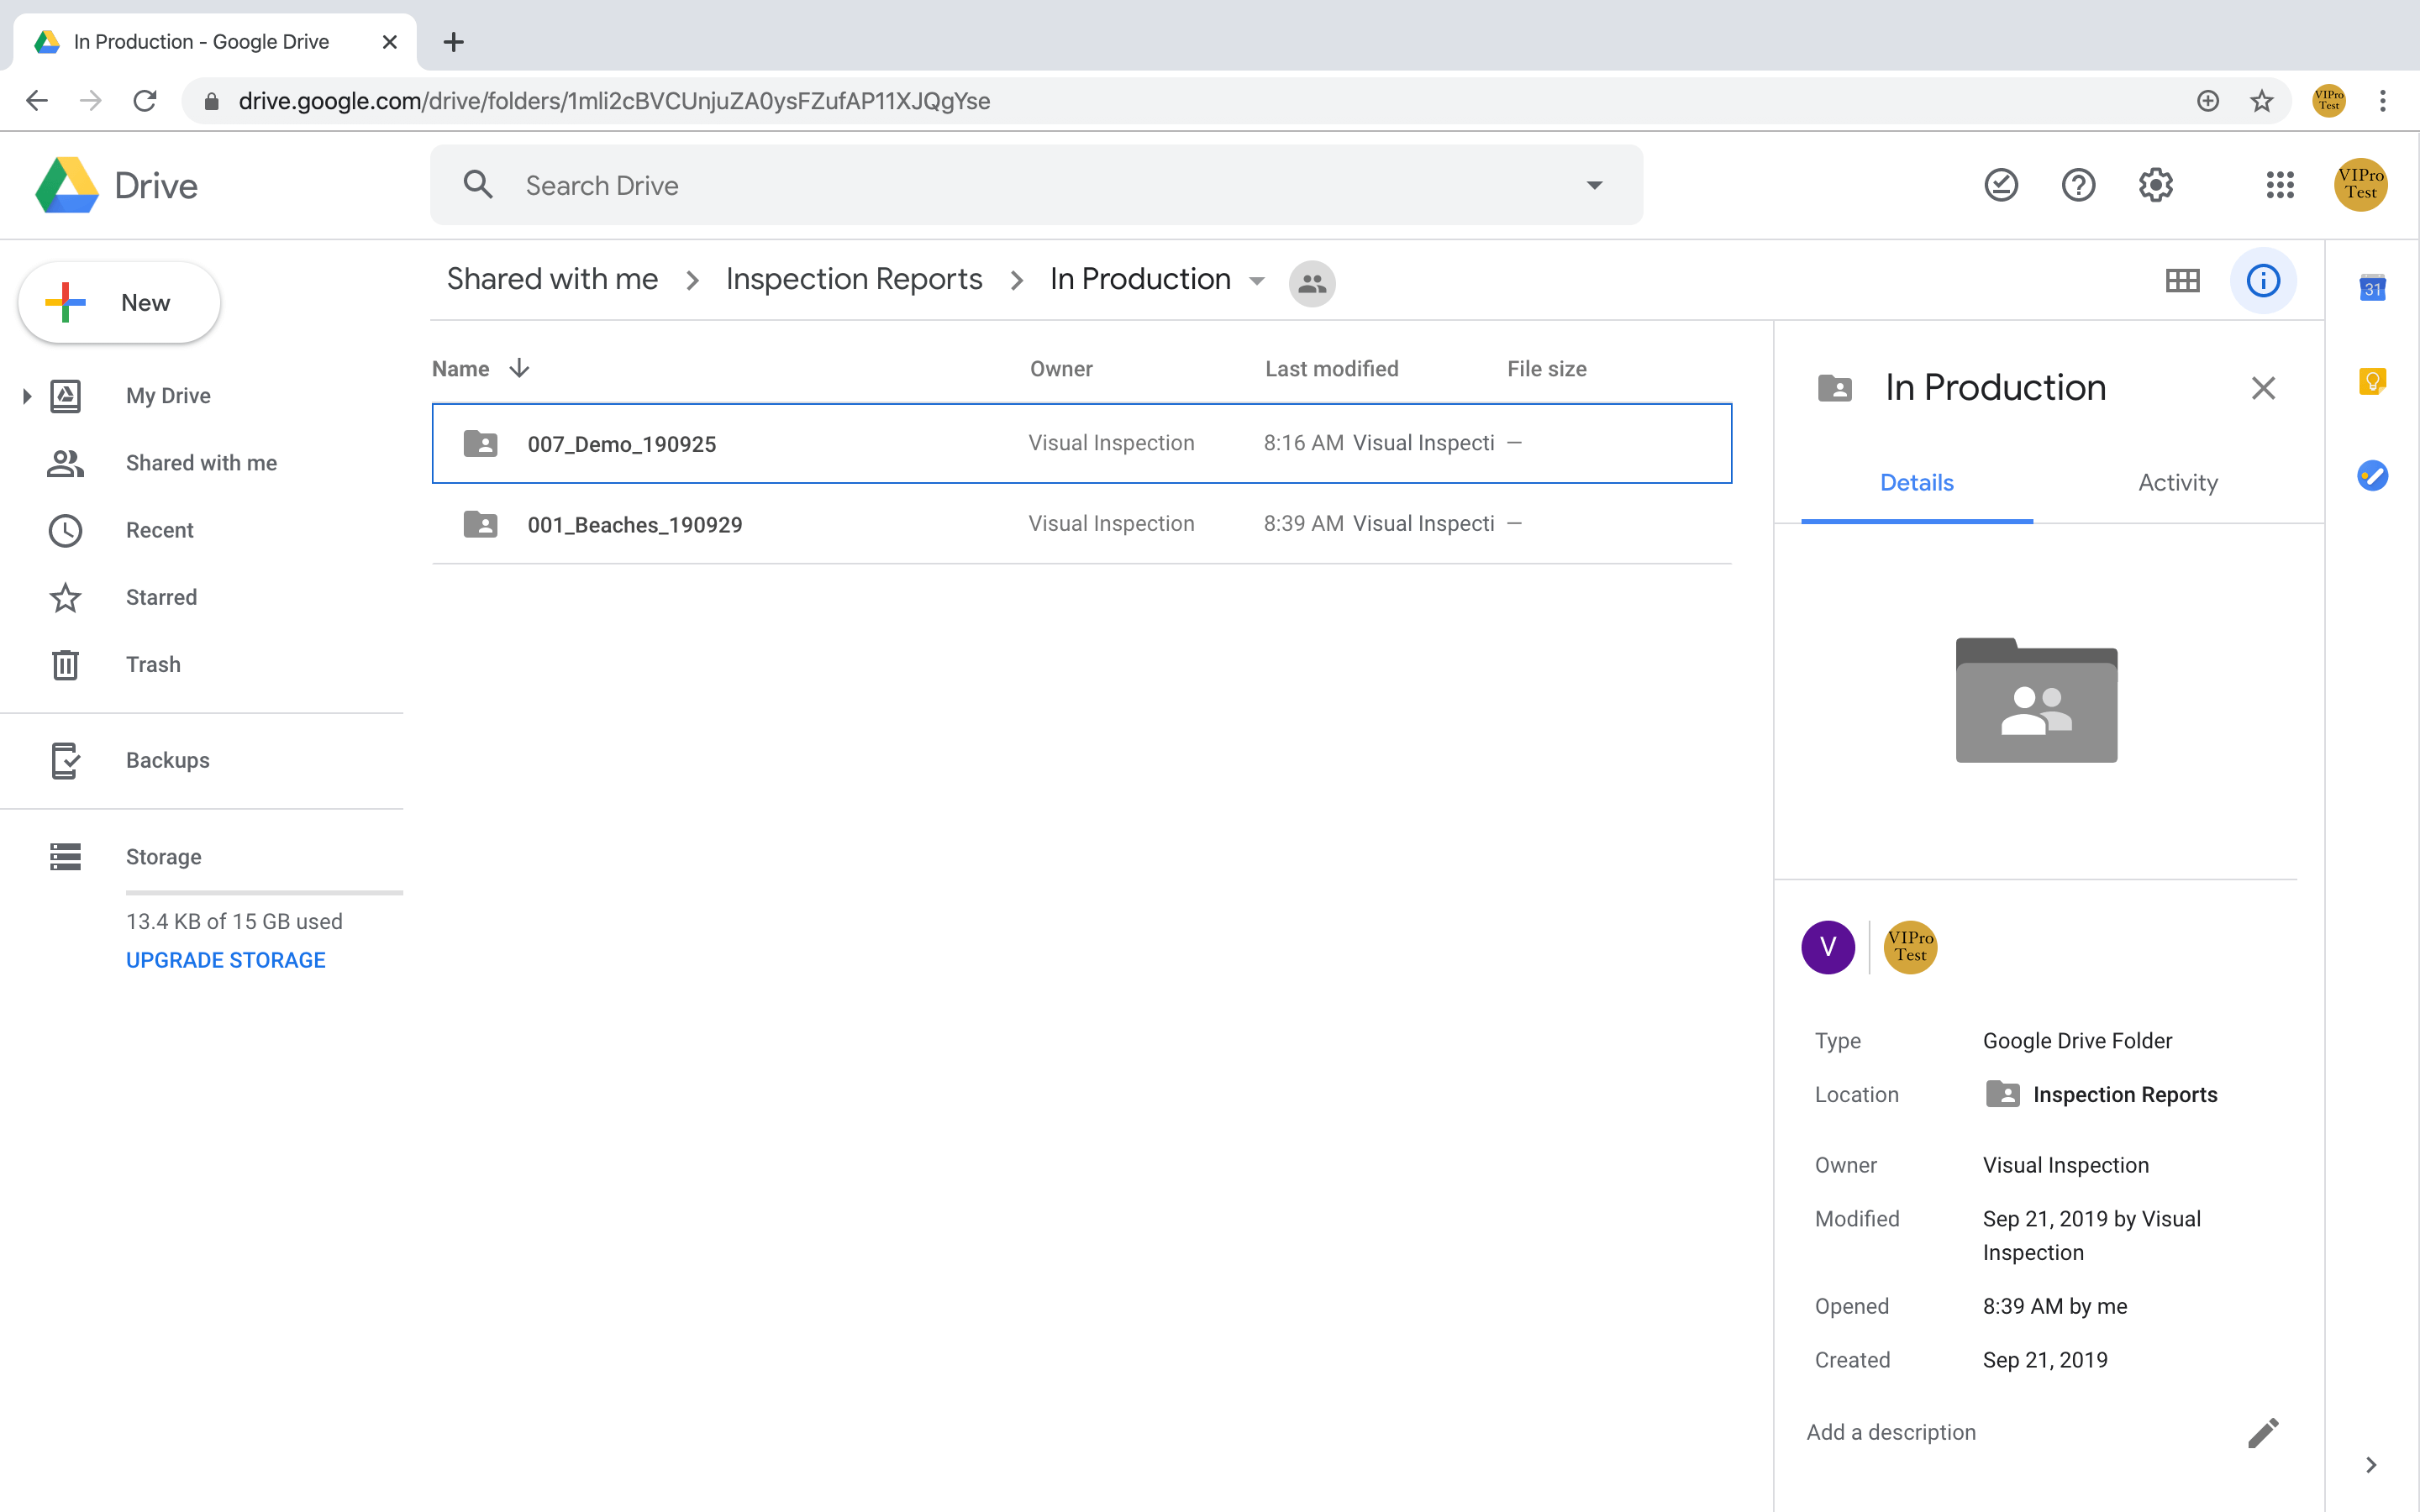
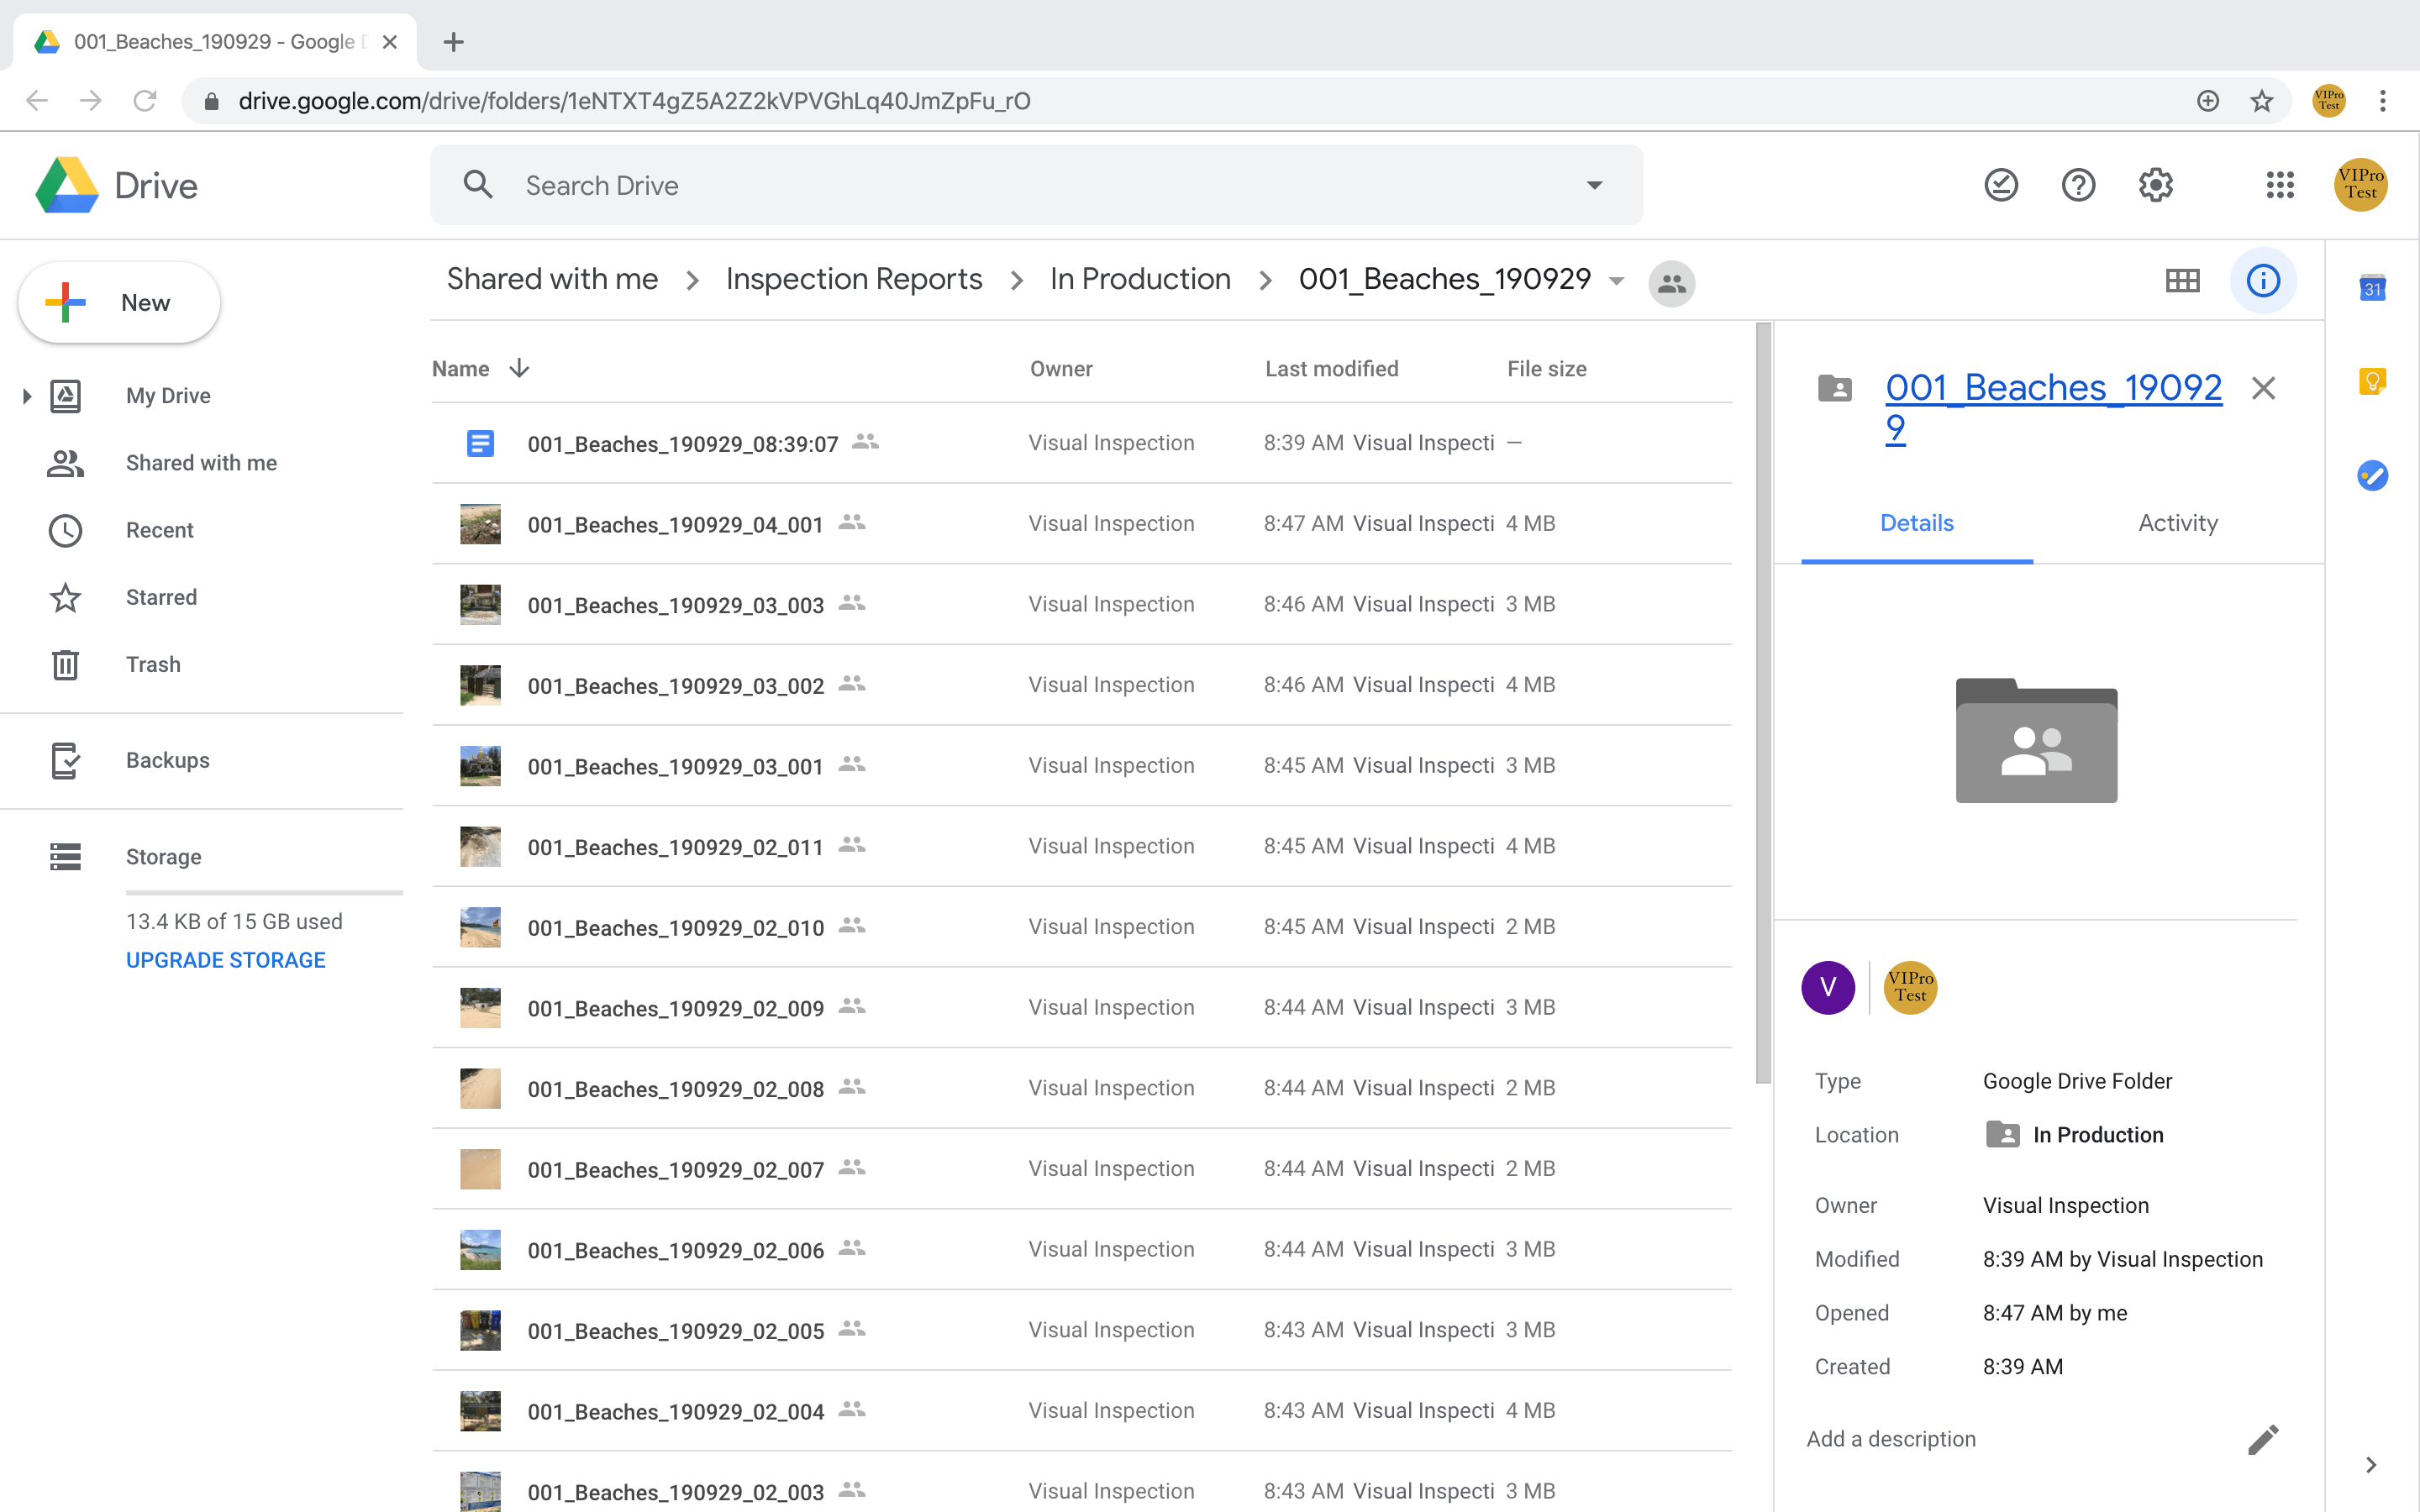
Reports
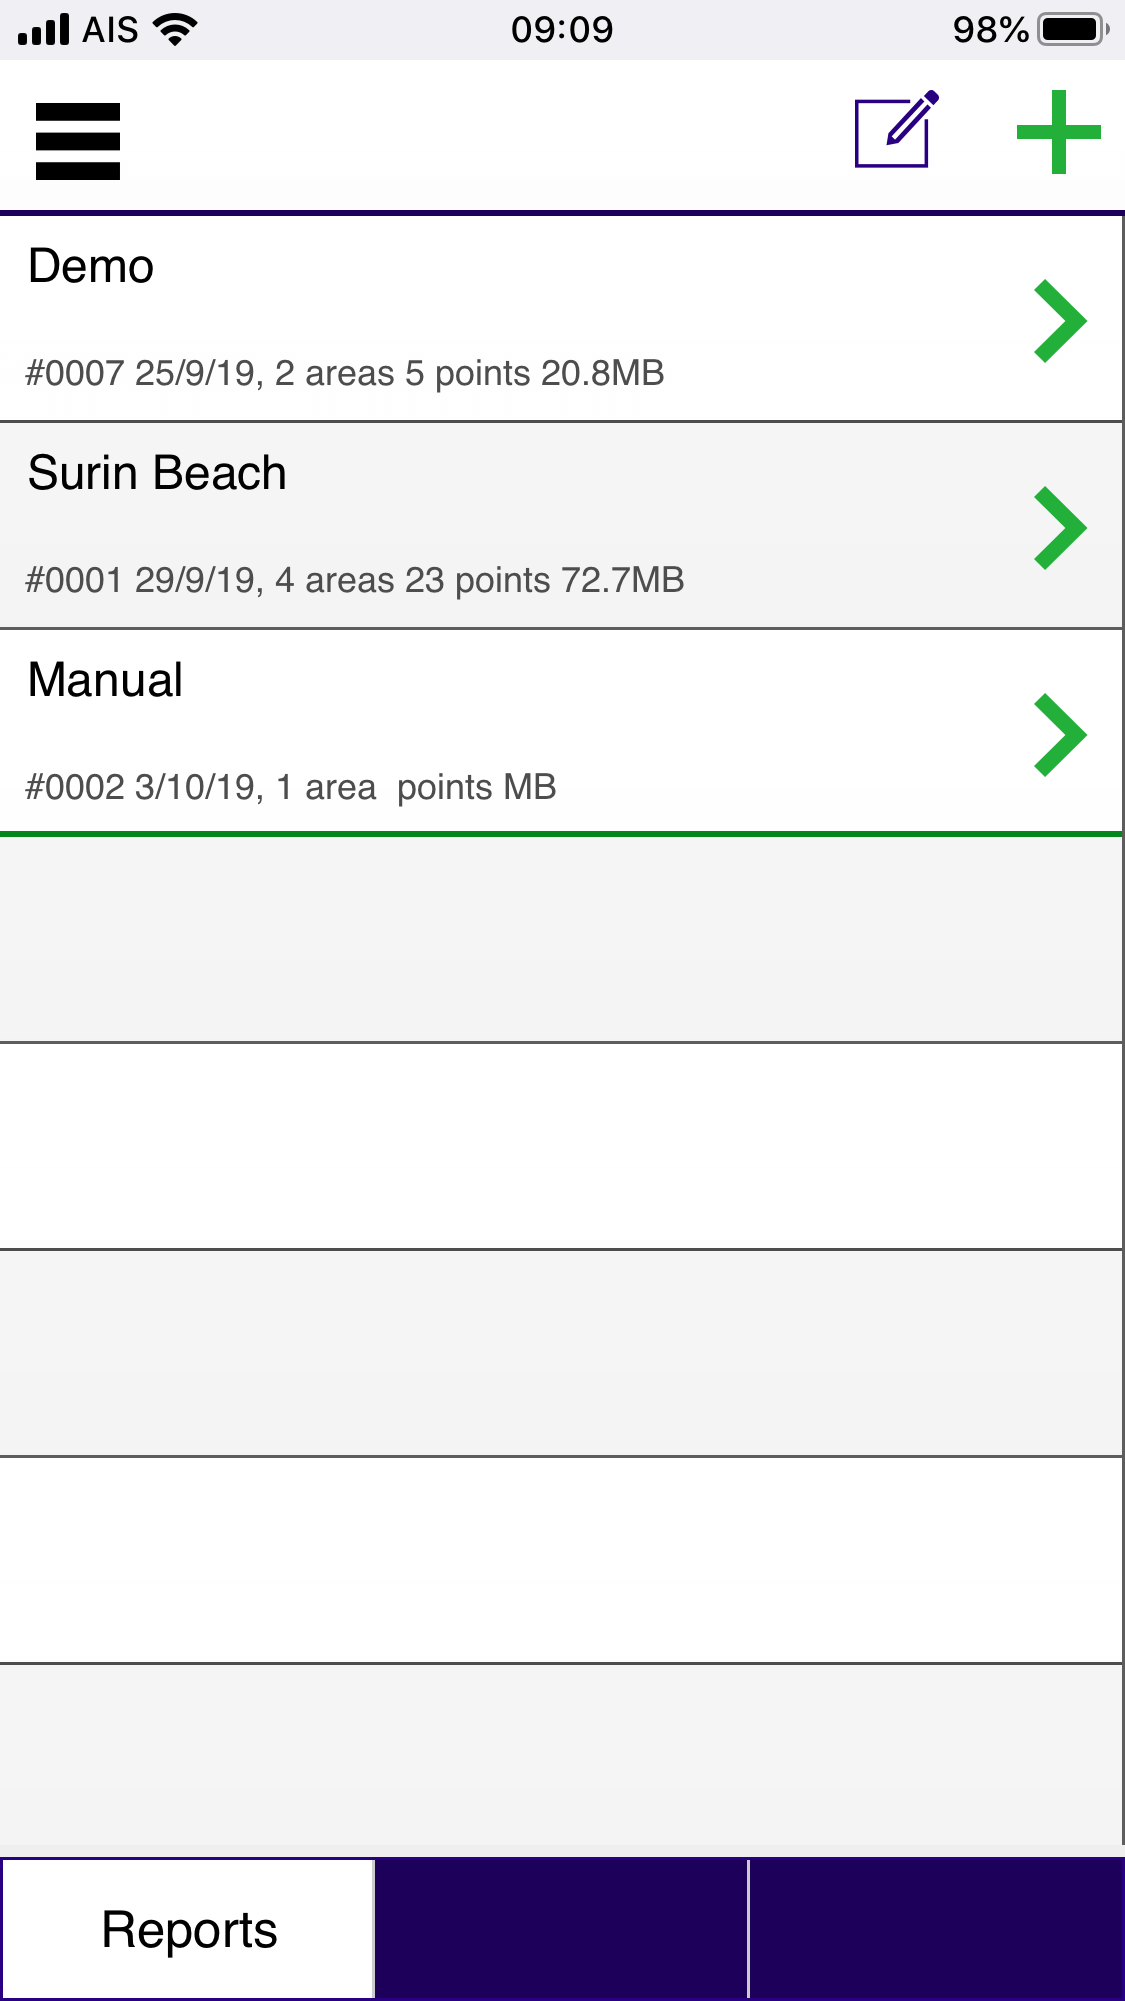
Lists all the reports stored in the app. Below the report title is the serial number used to identify the report, the number of areas and points included in the report, and the approximate data size of the photos included in the report.
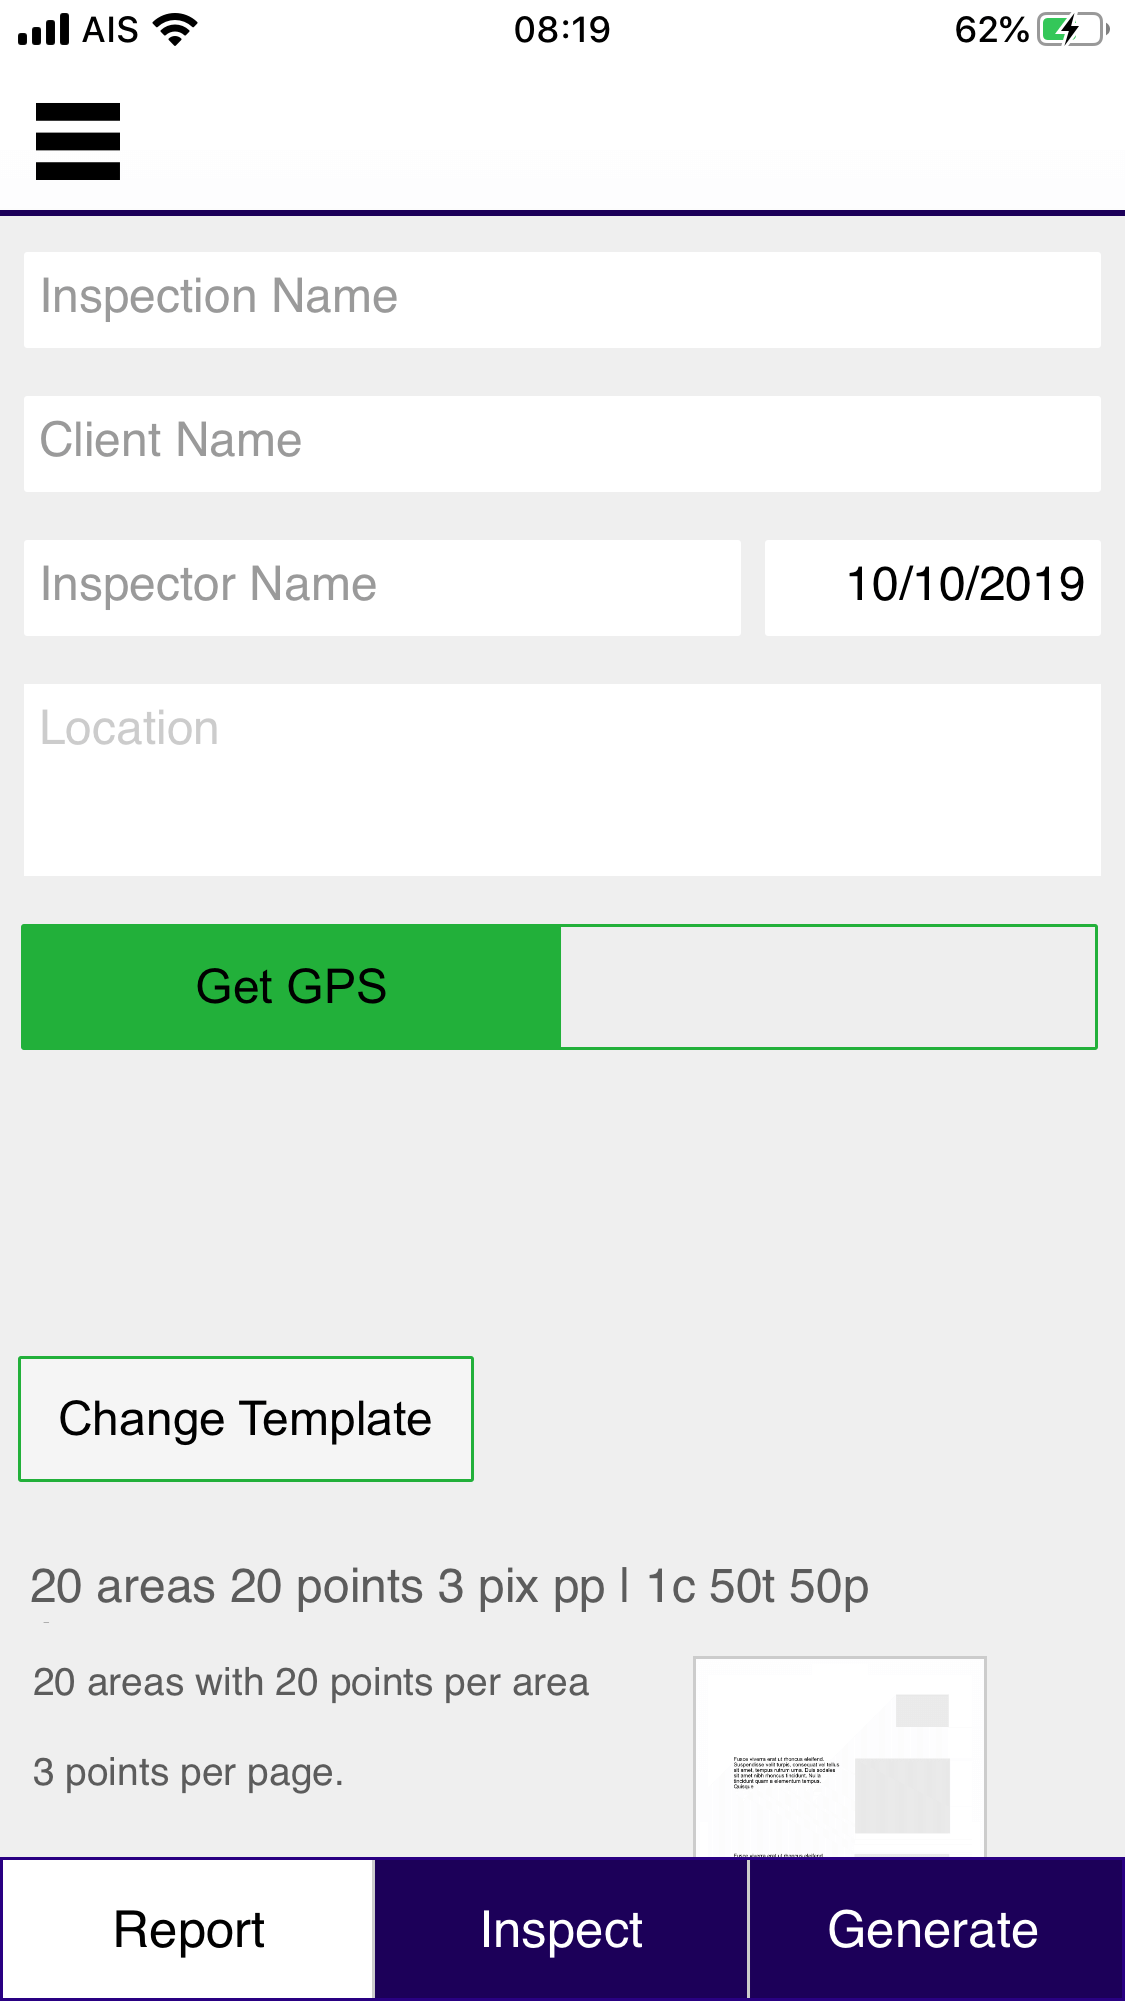
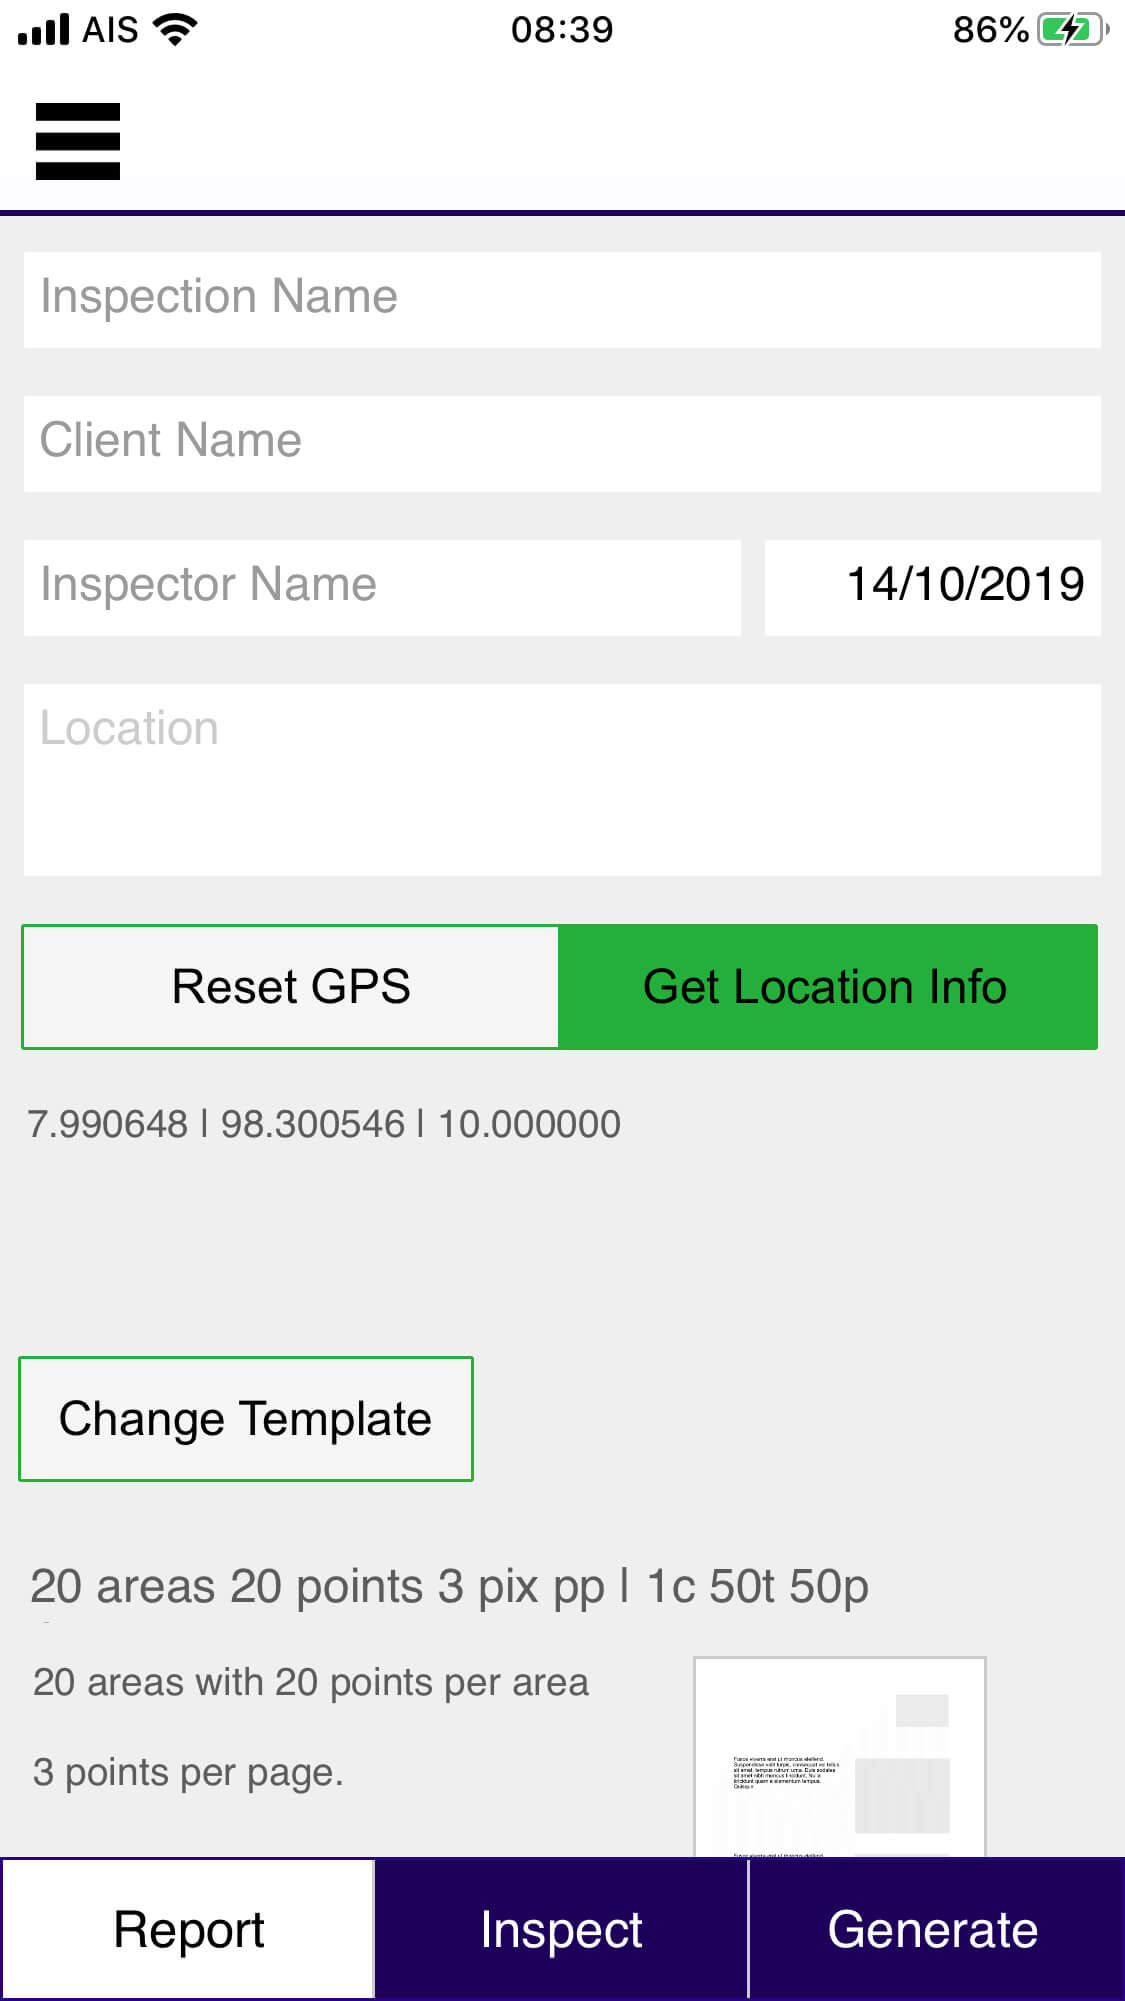
Report
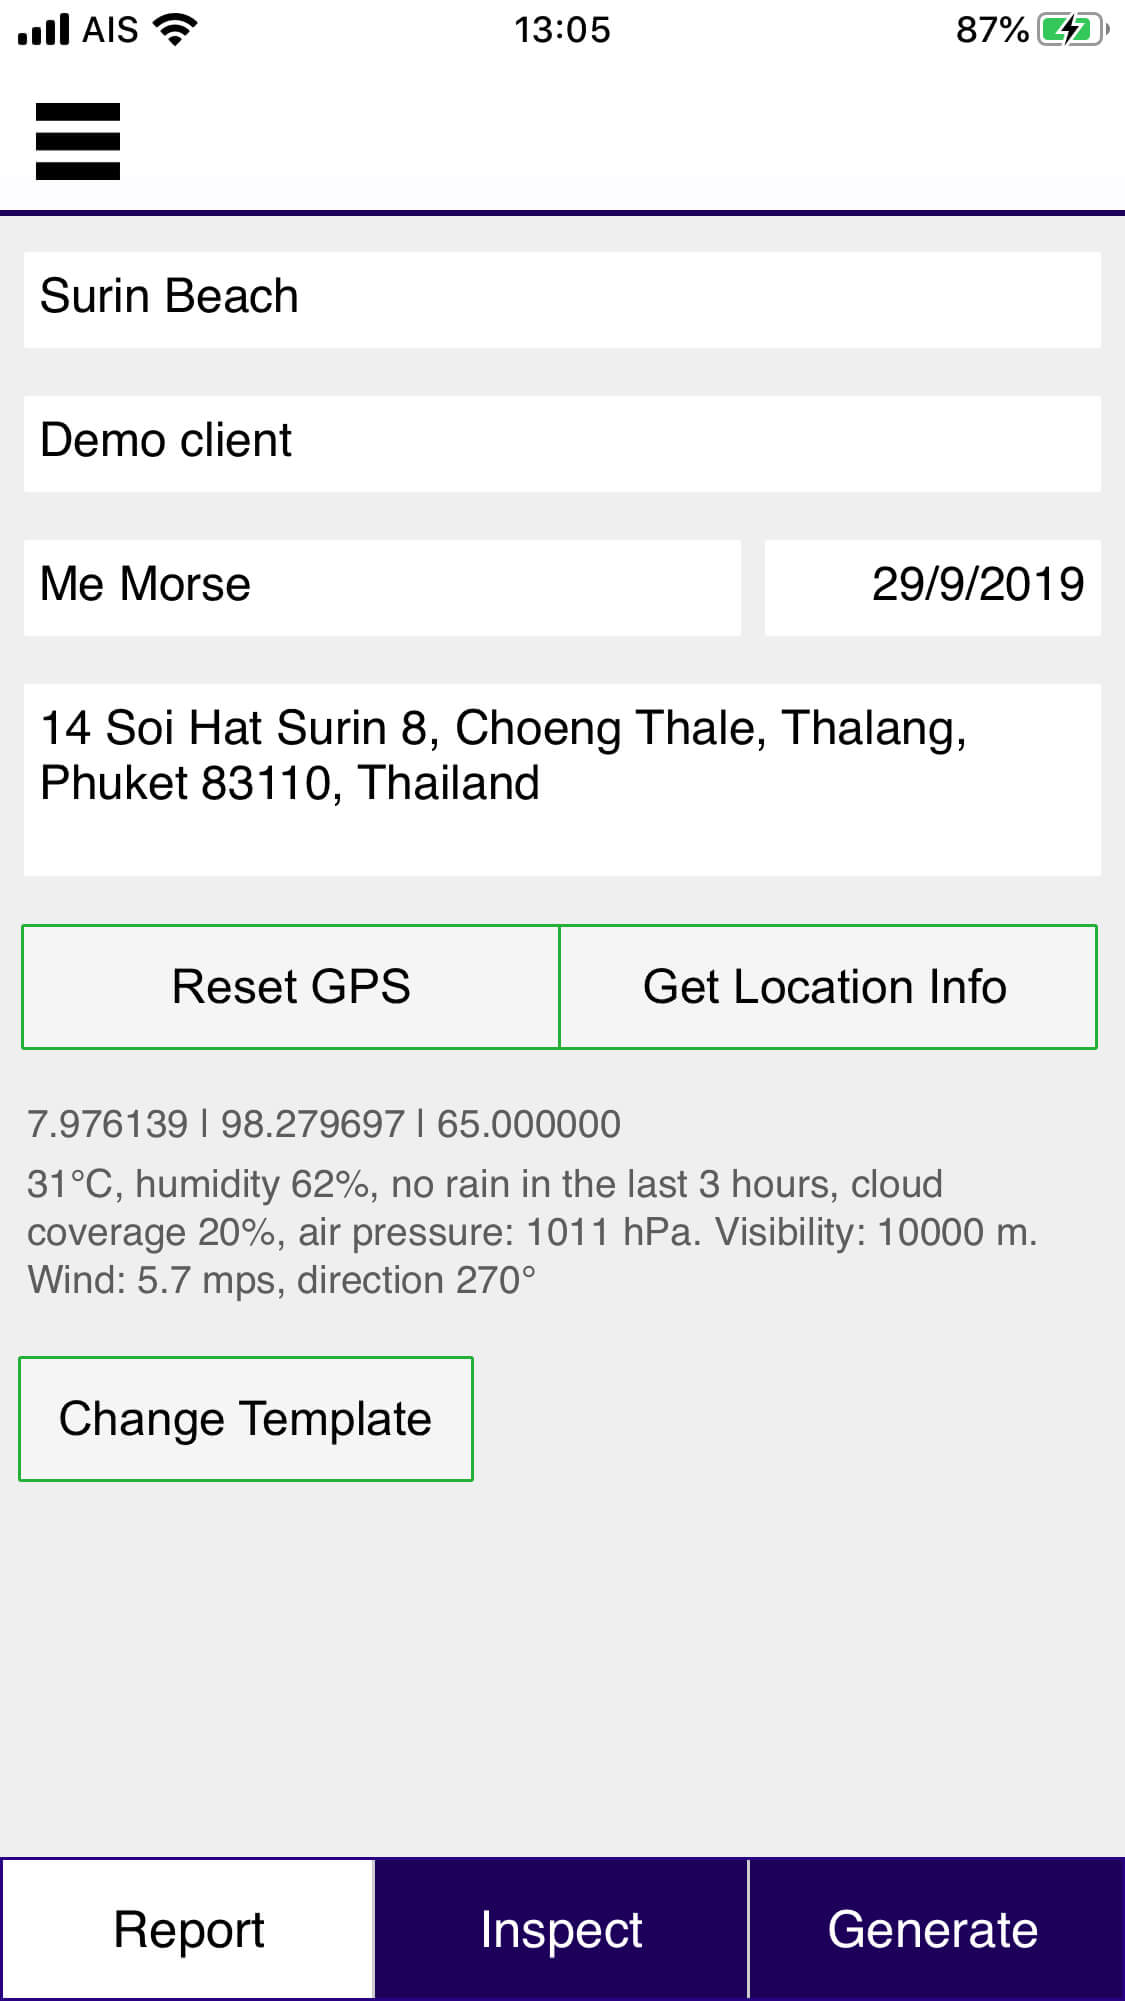
For a single report. The basic details of the screen are shown here. Note that the menu on the bottom of the screen is context sensitive, ie changes depending on which screen you are
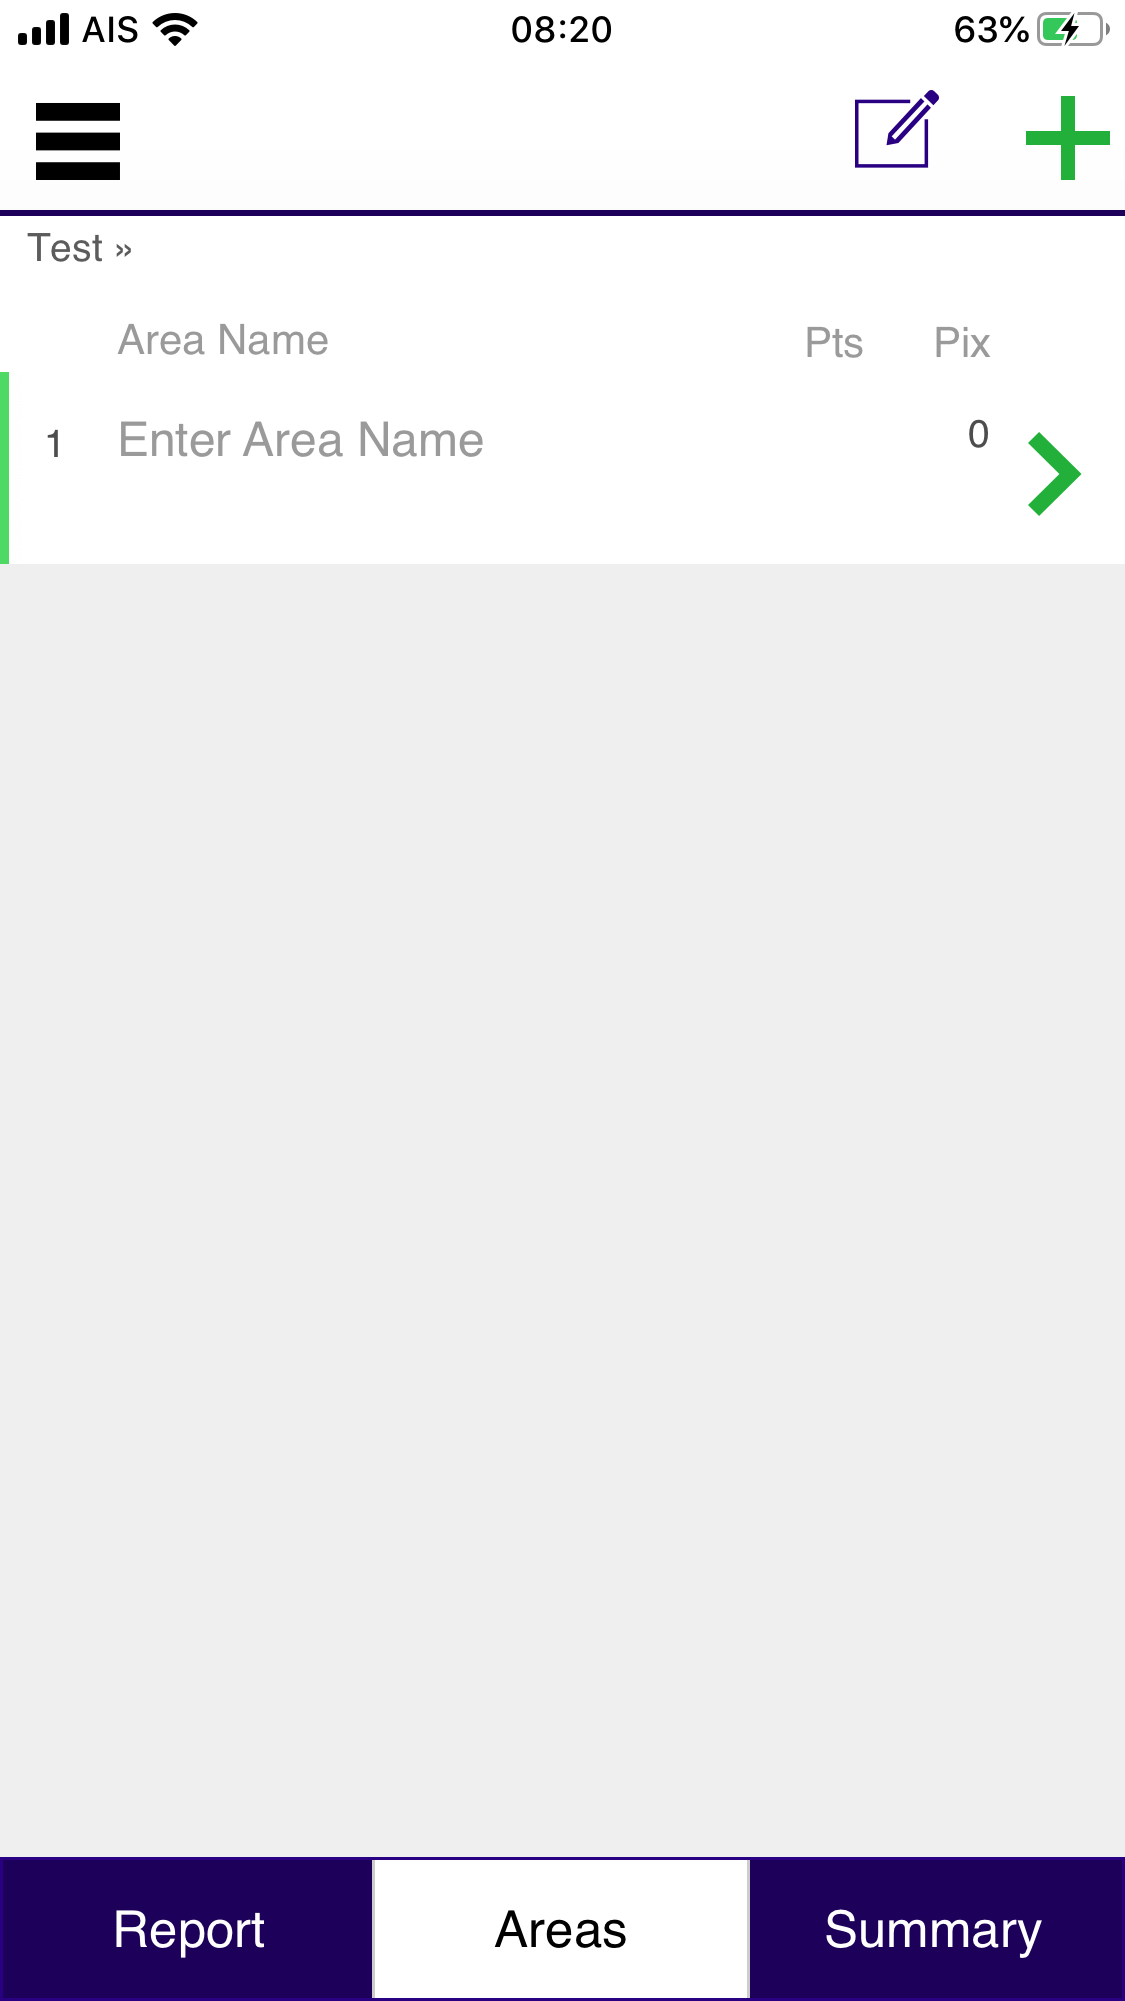
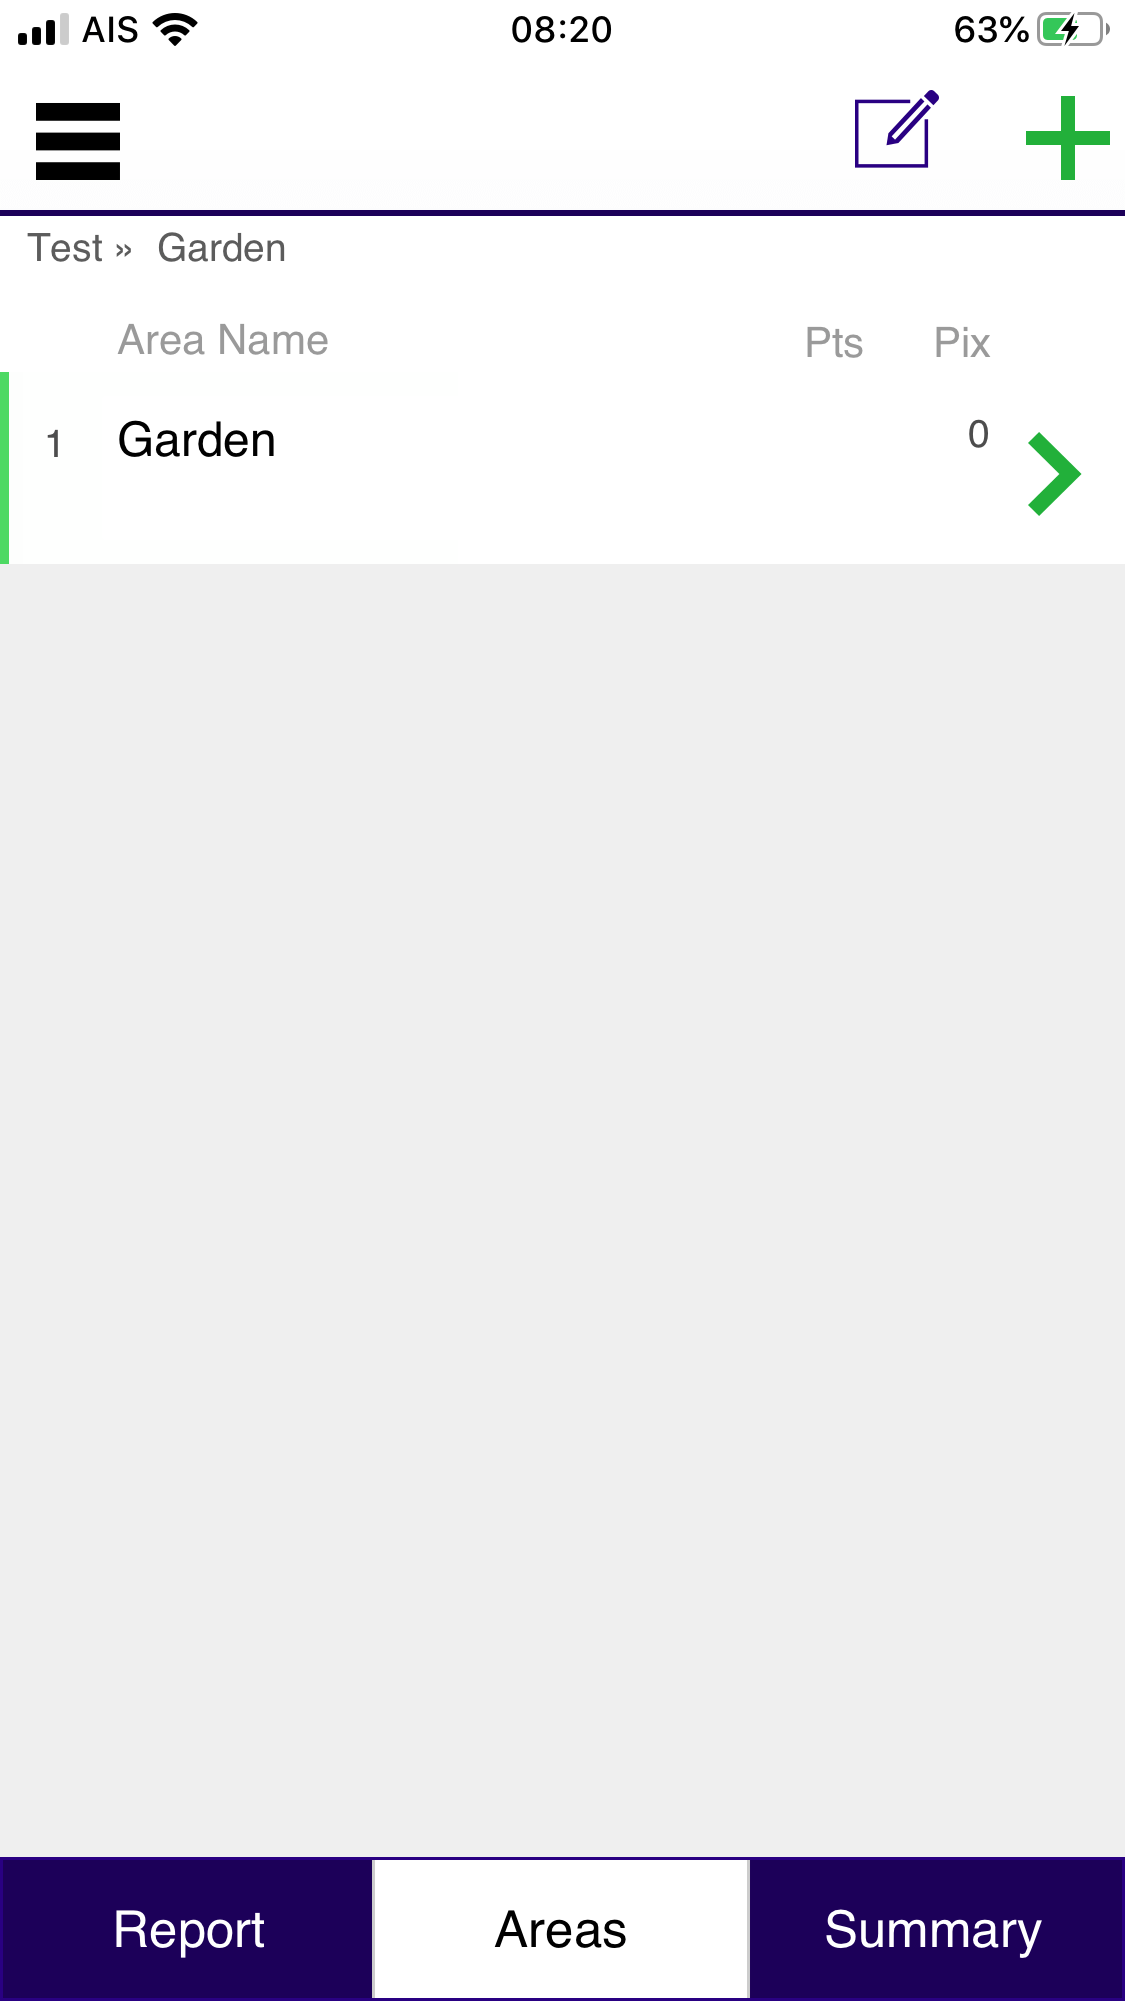
Areas
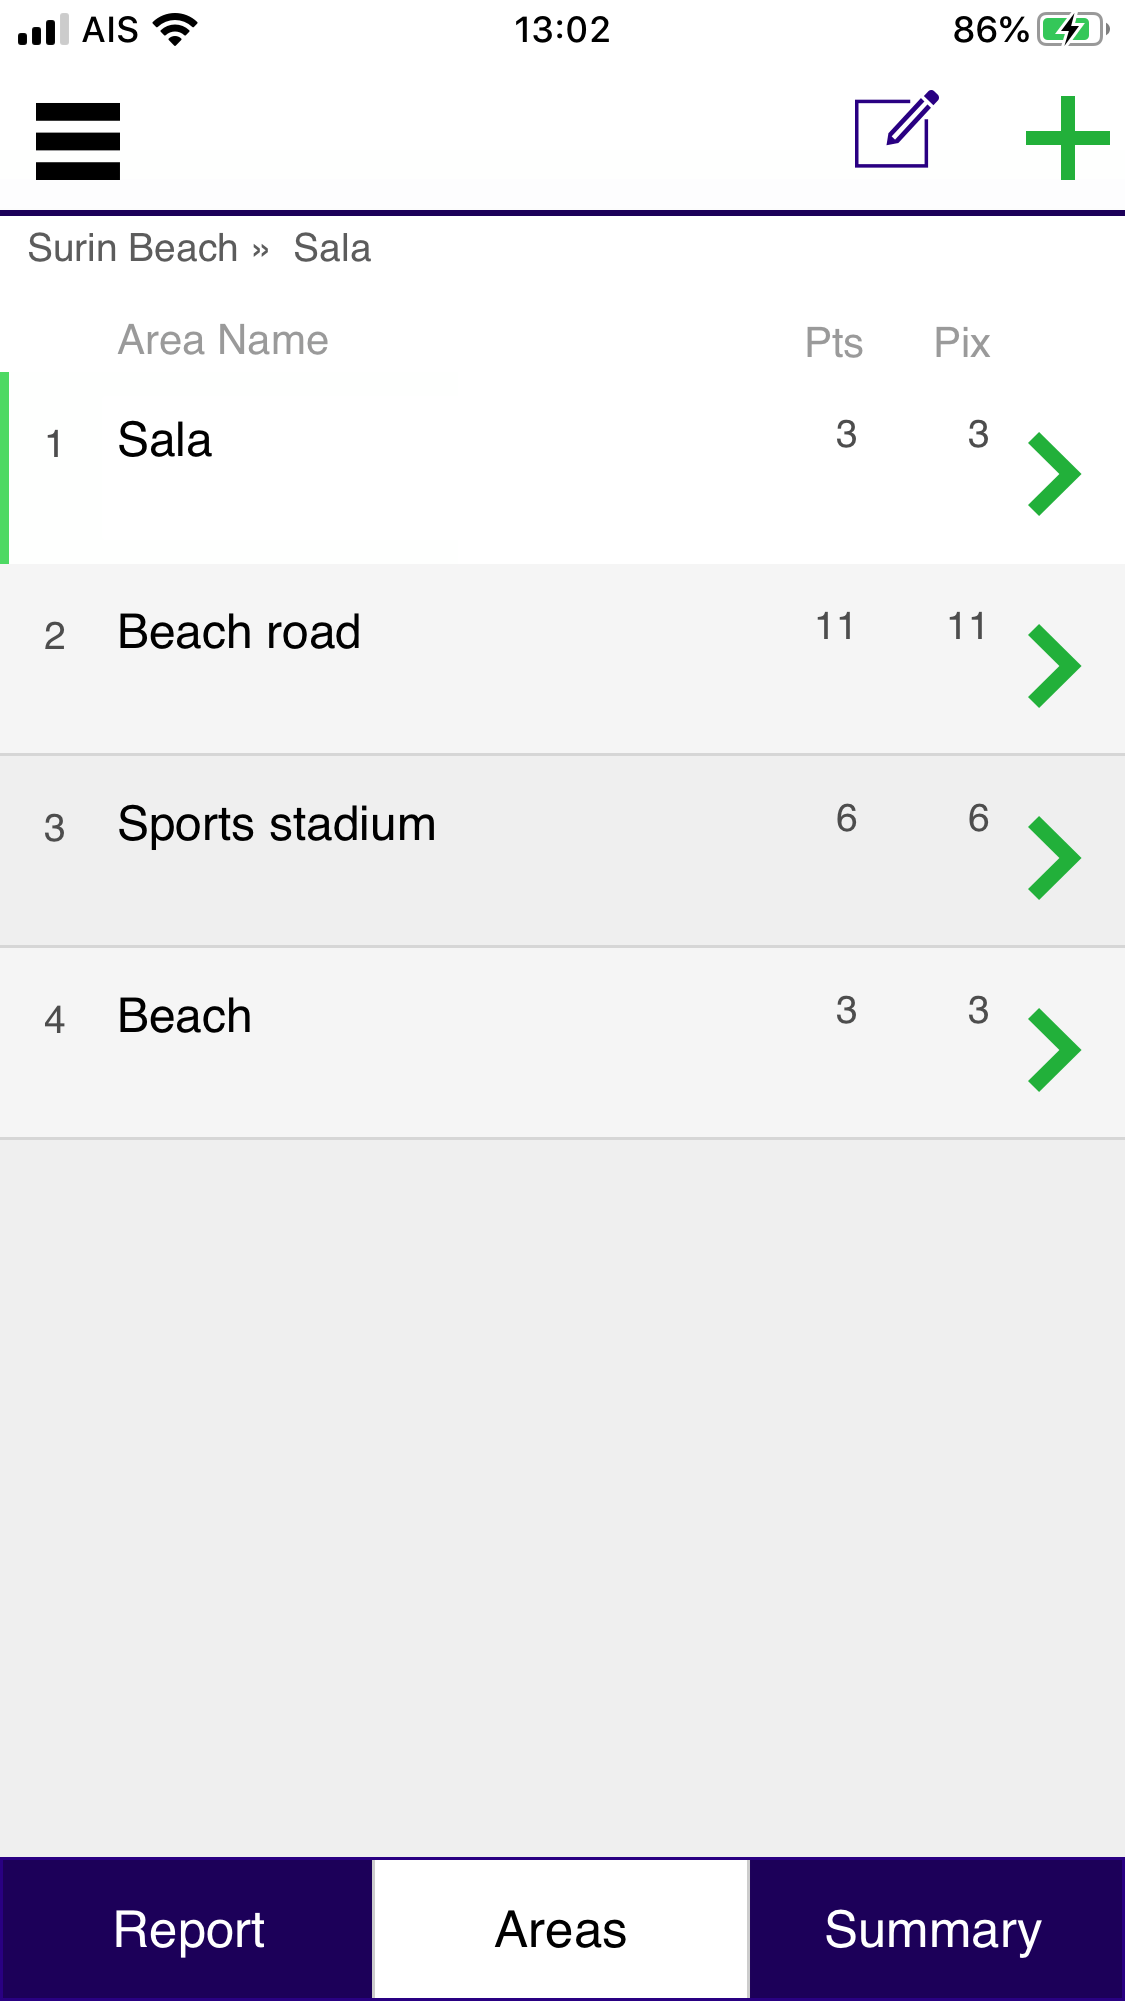
List the areas within a report, along with the number of points and photos included within each area.
Points
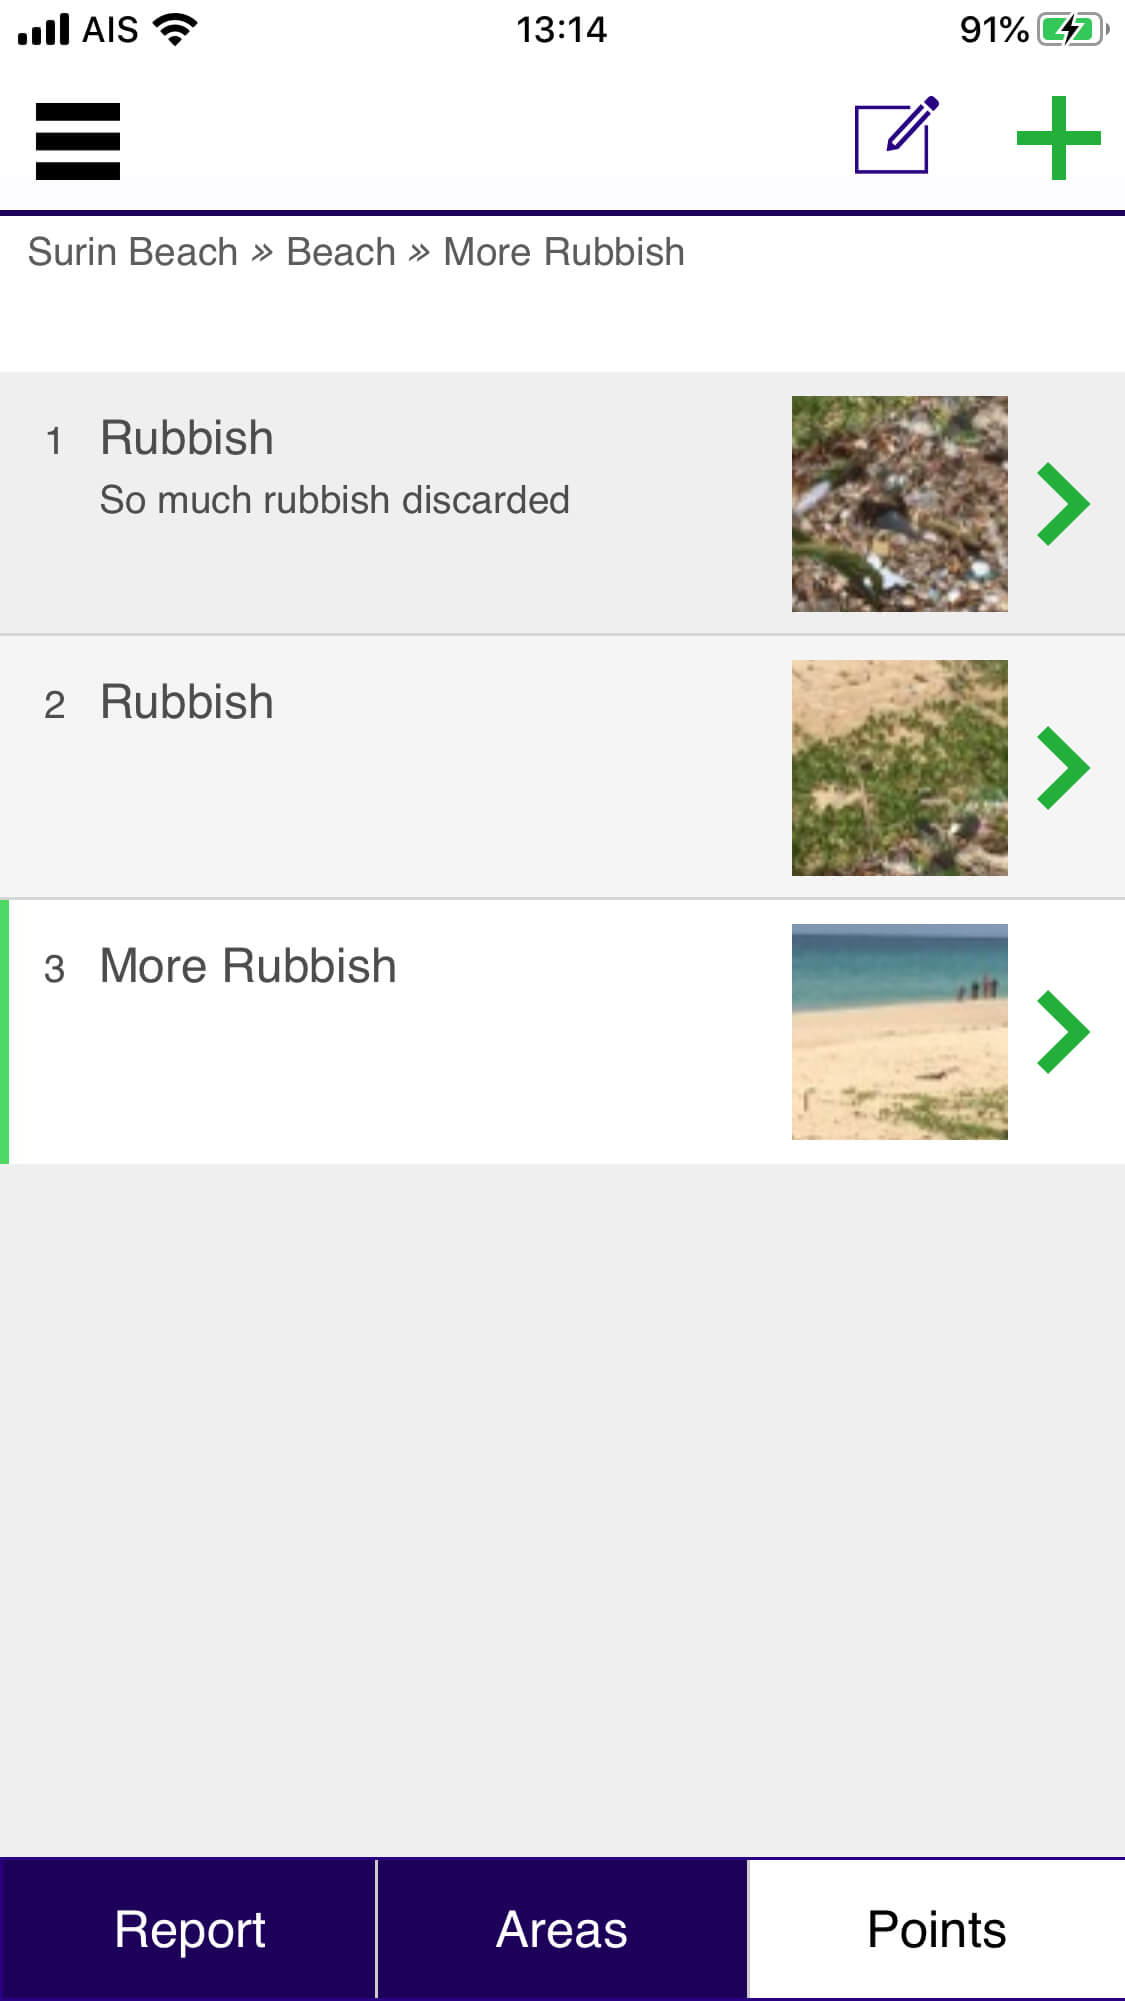
List the points within an area of the report. Towards the top of the screen you will see where you are within the report: report name >> report area >> point
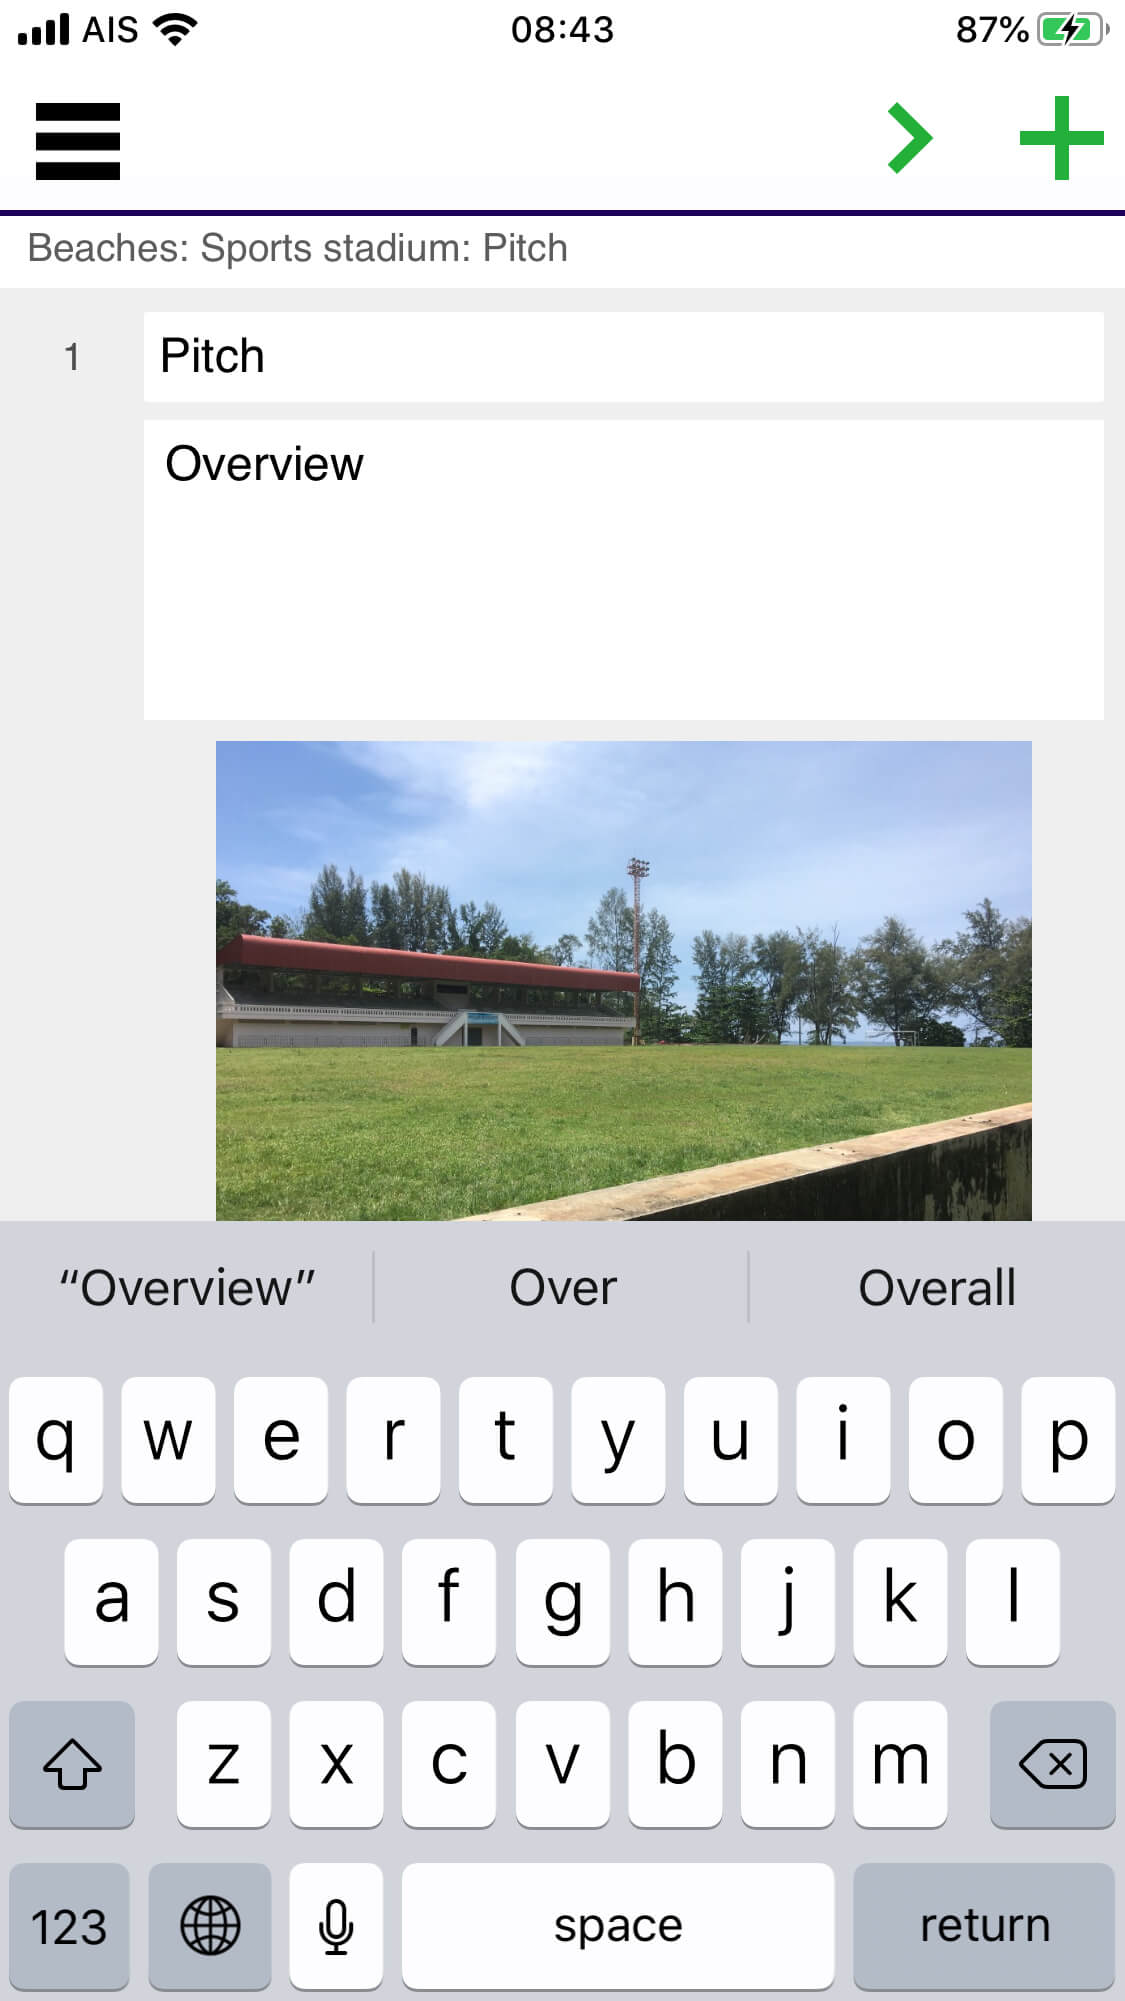
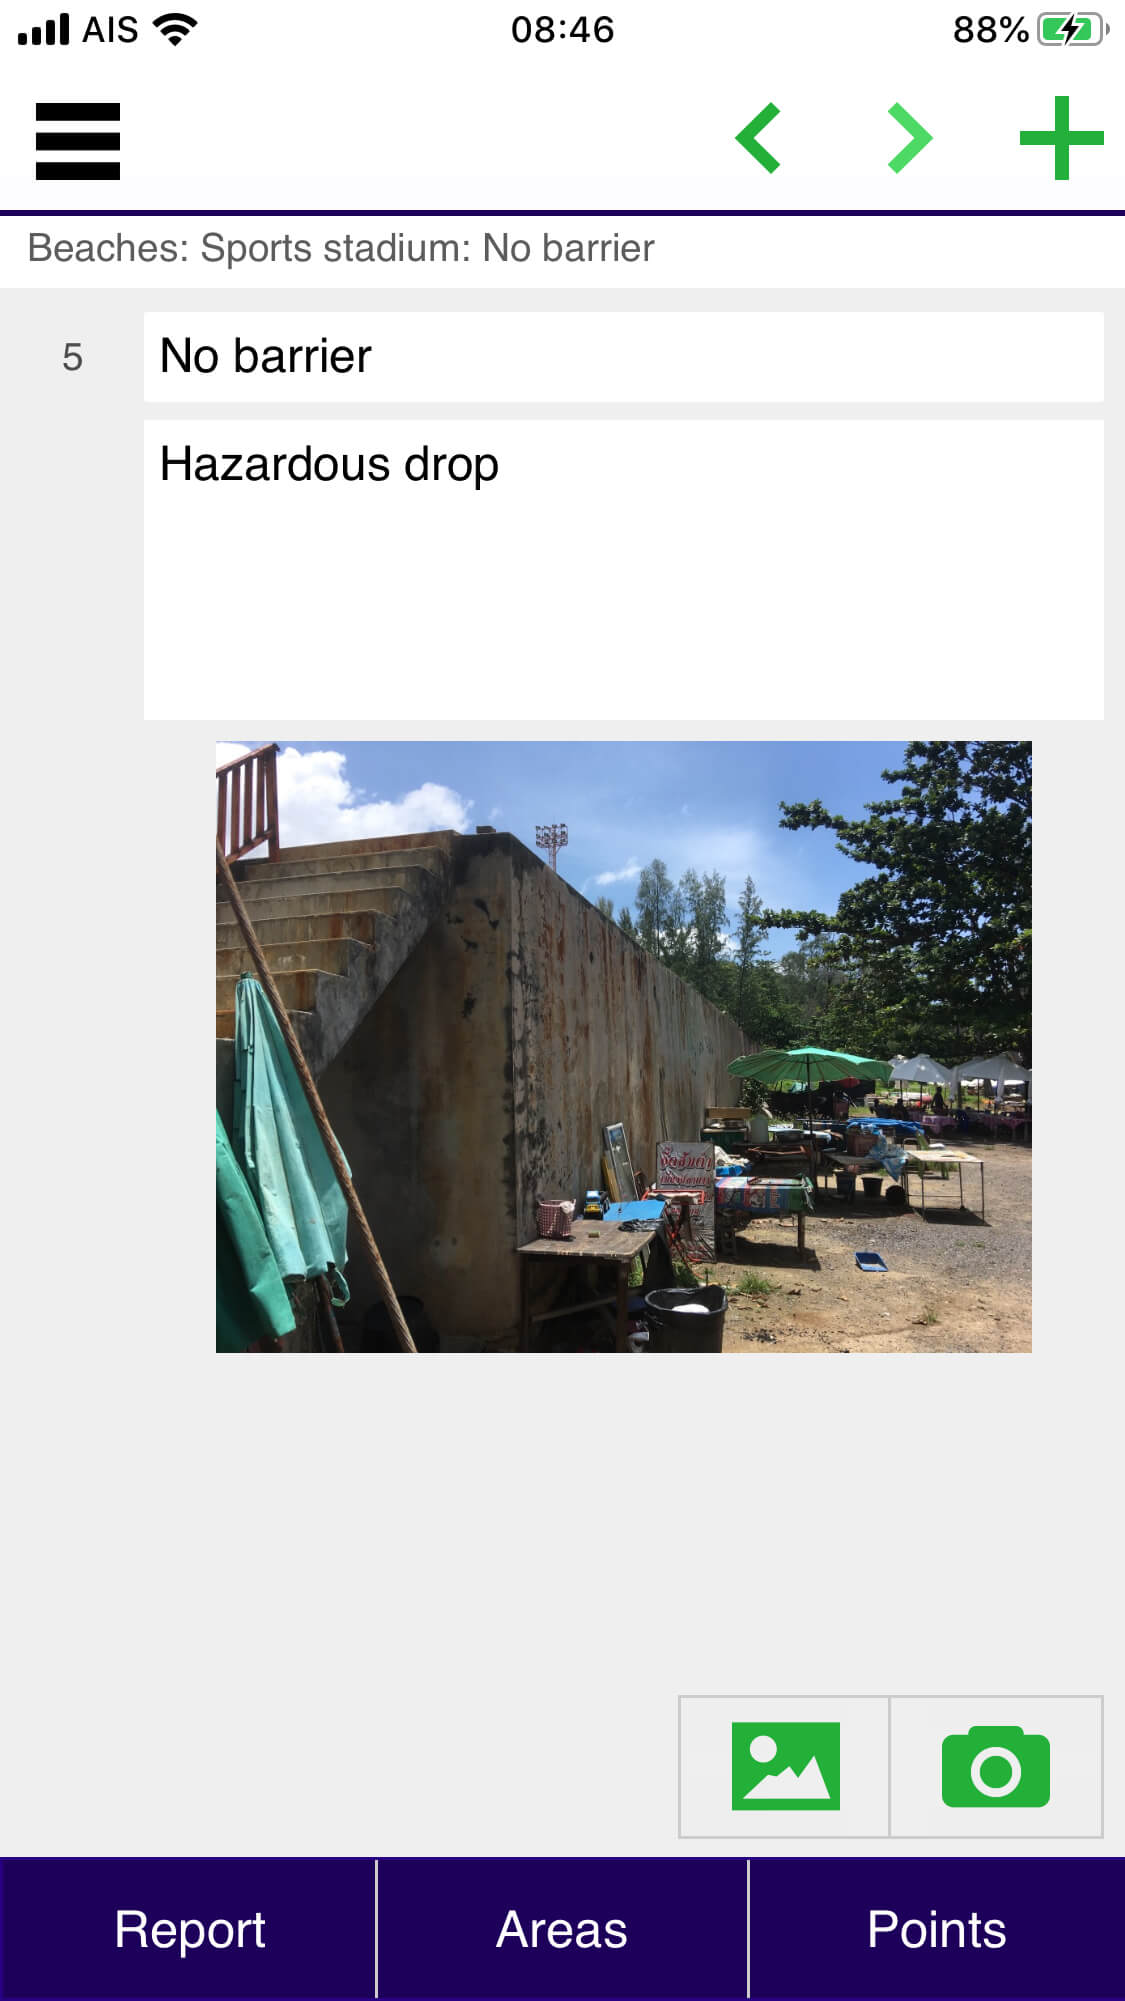
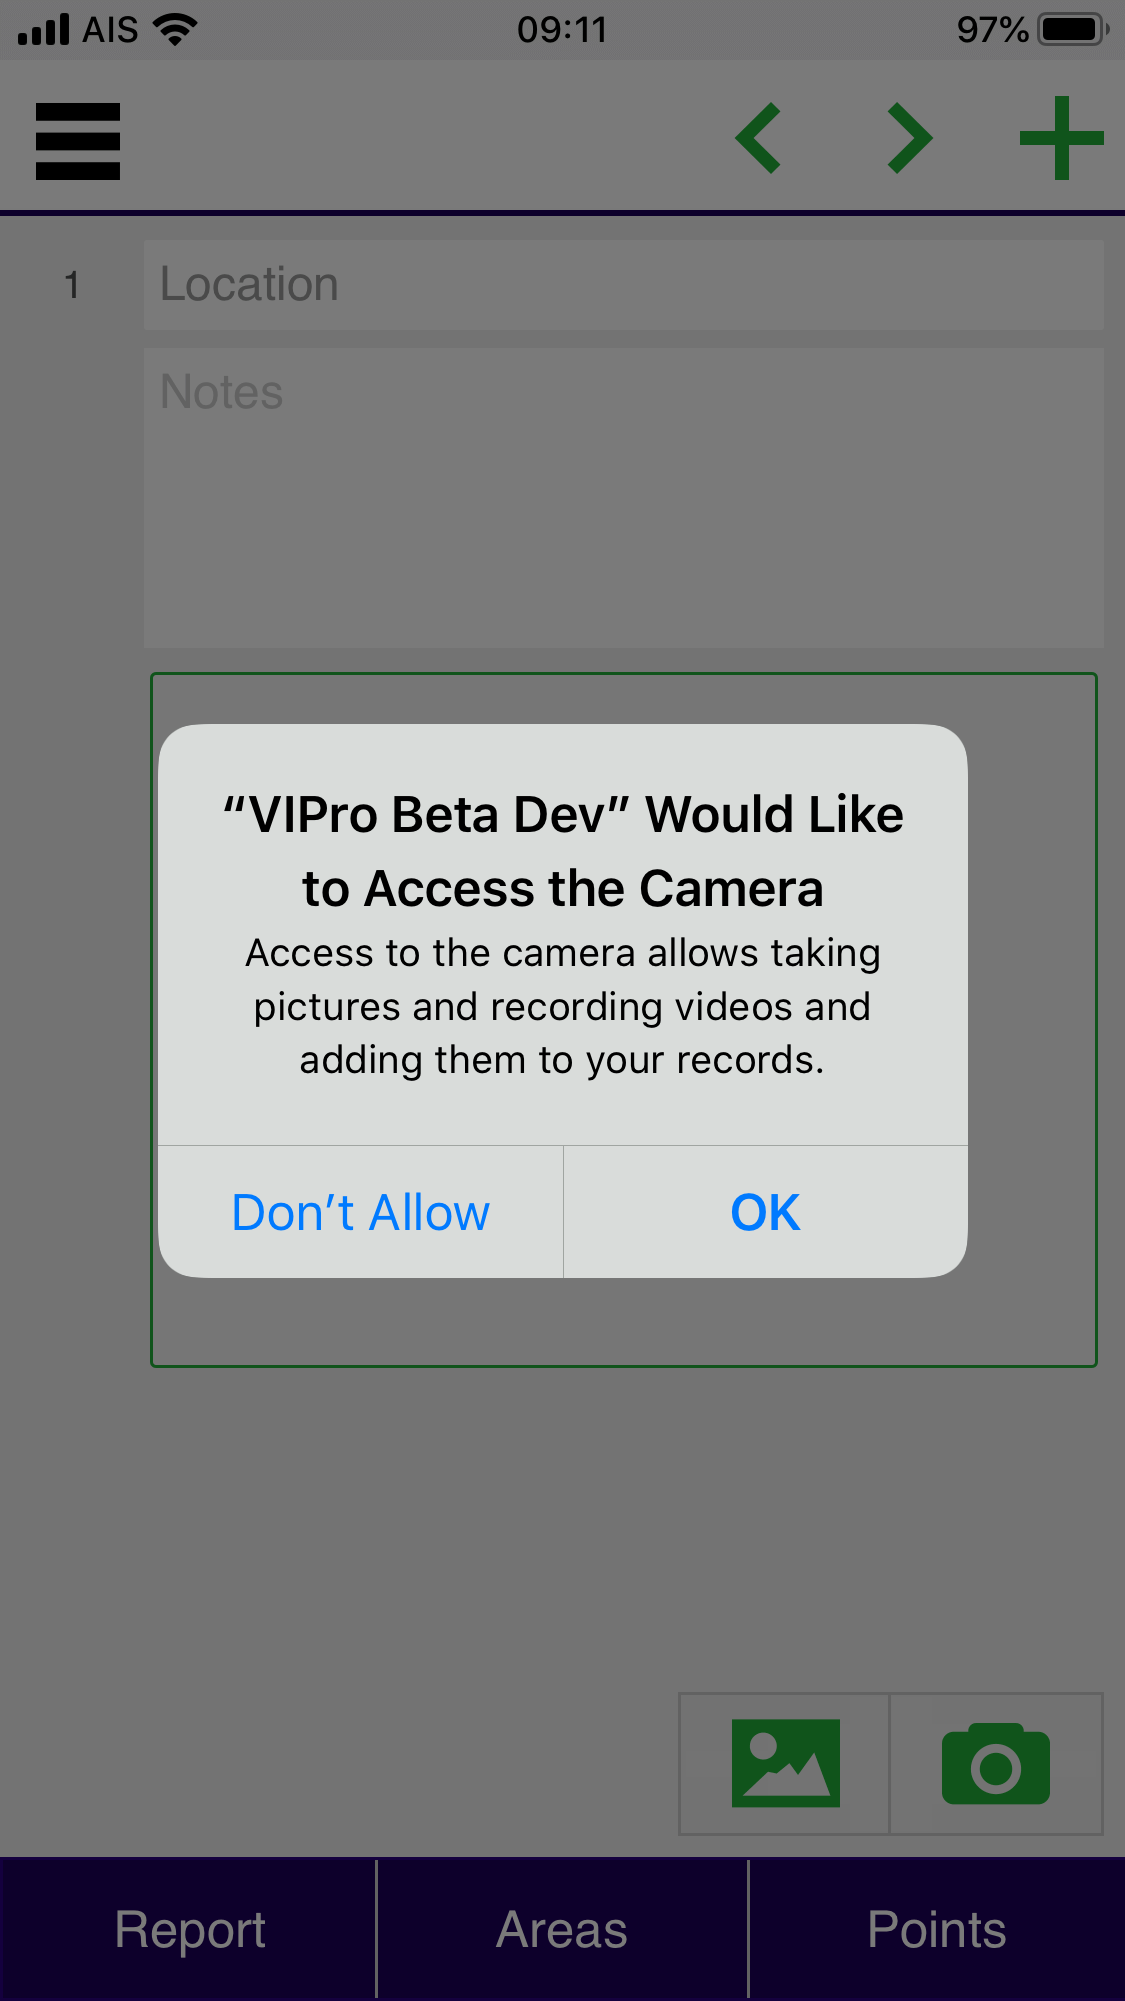
Point

An empty point screen, here the location name. notes and photo are collected. Click on either camera icon to use the camera, or the photo icon to access your photo library.
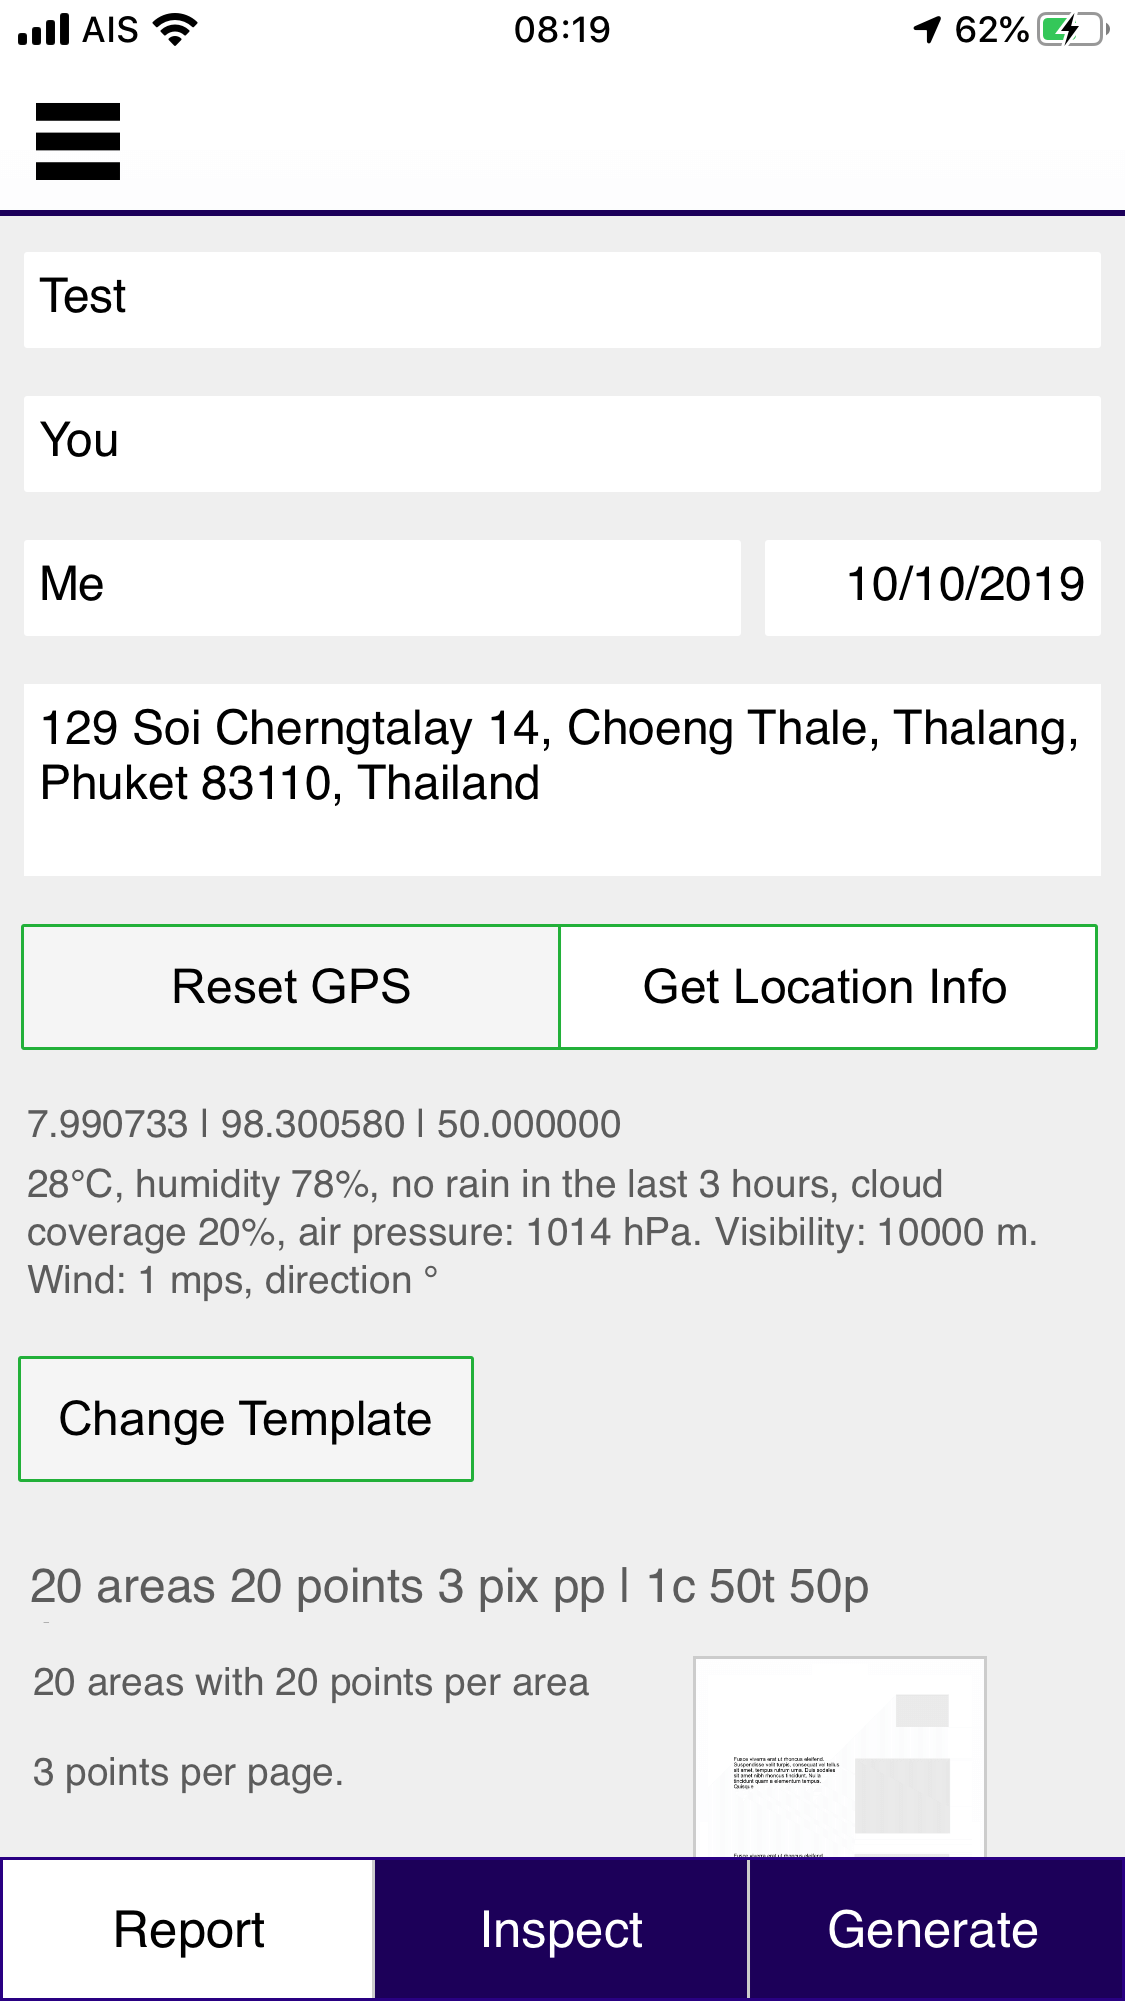
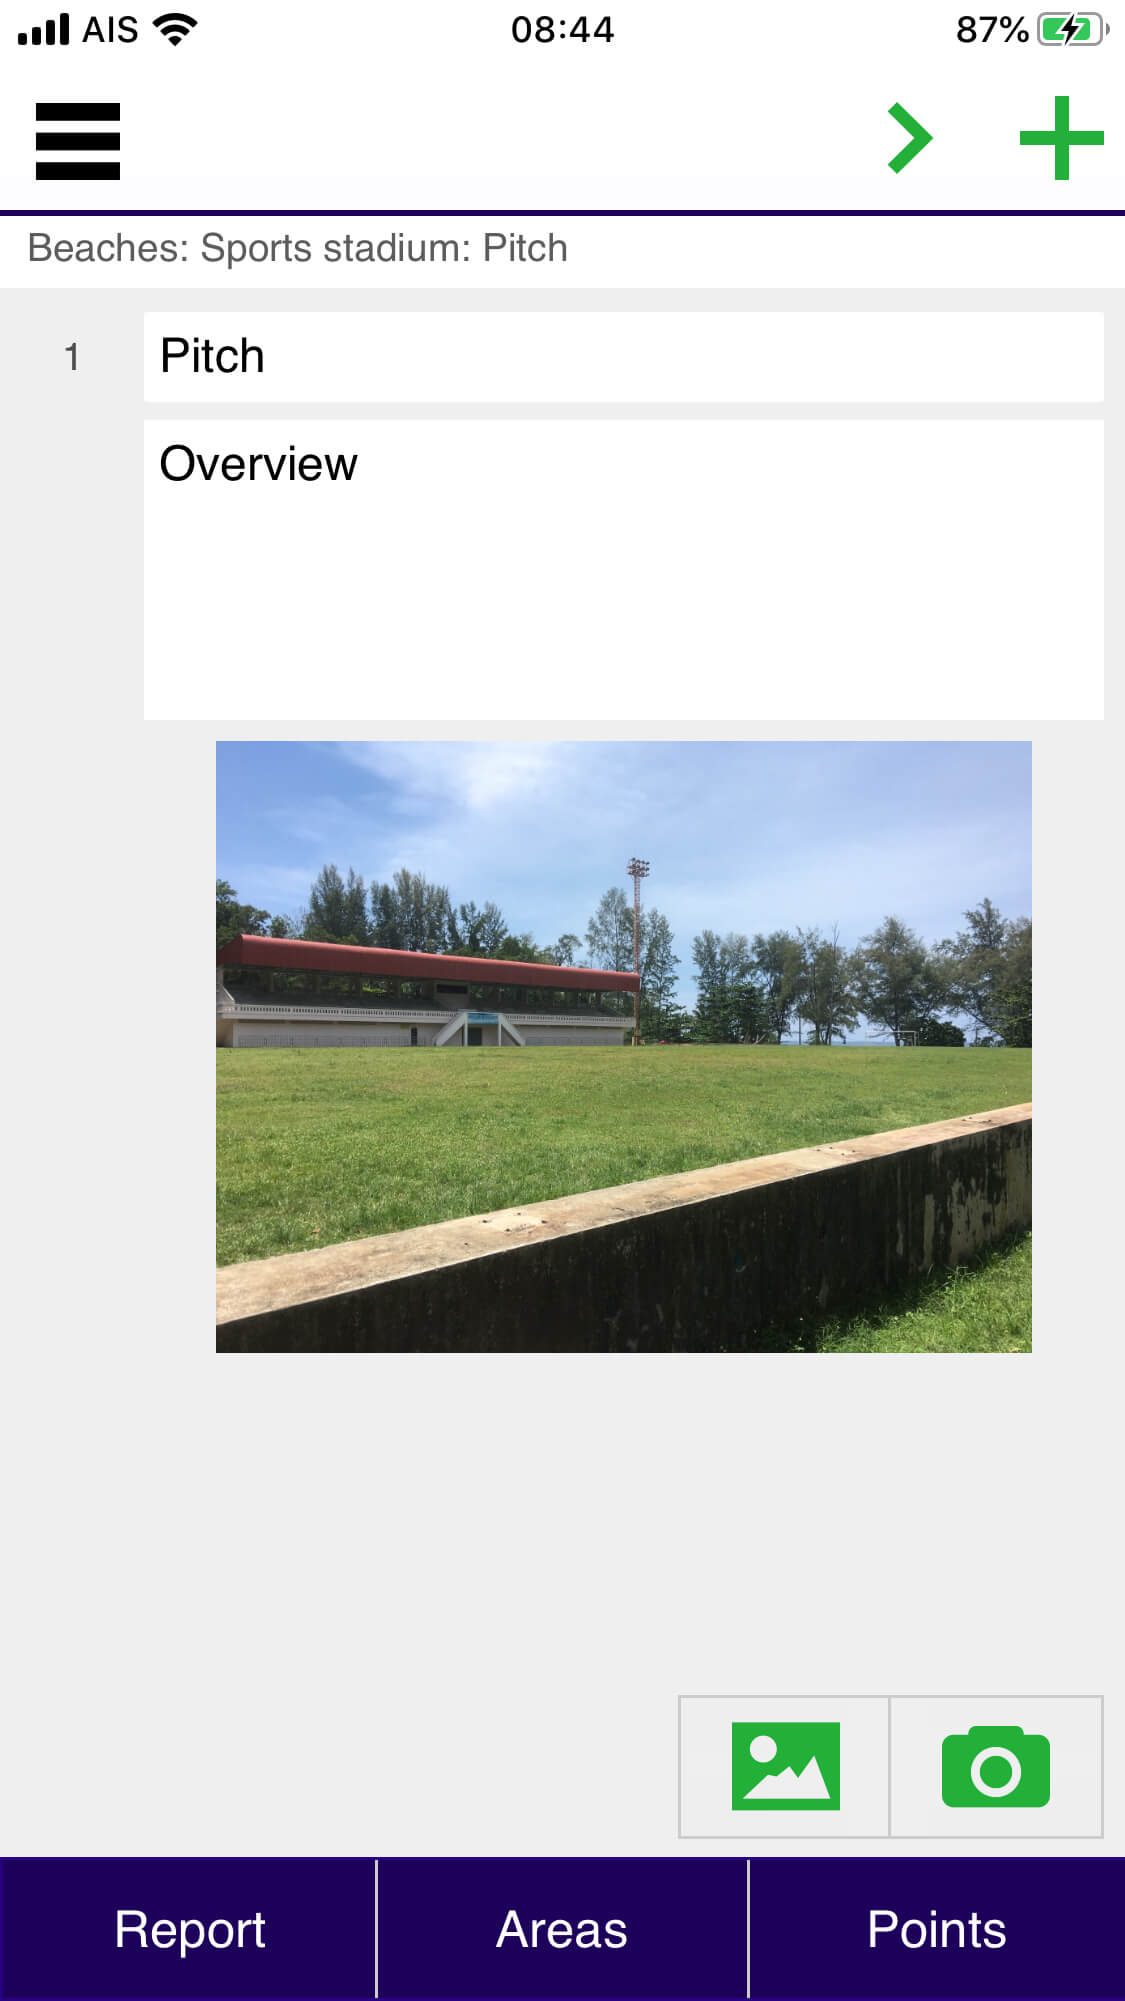
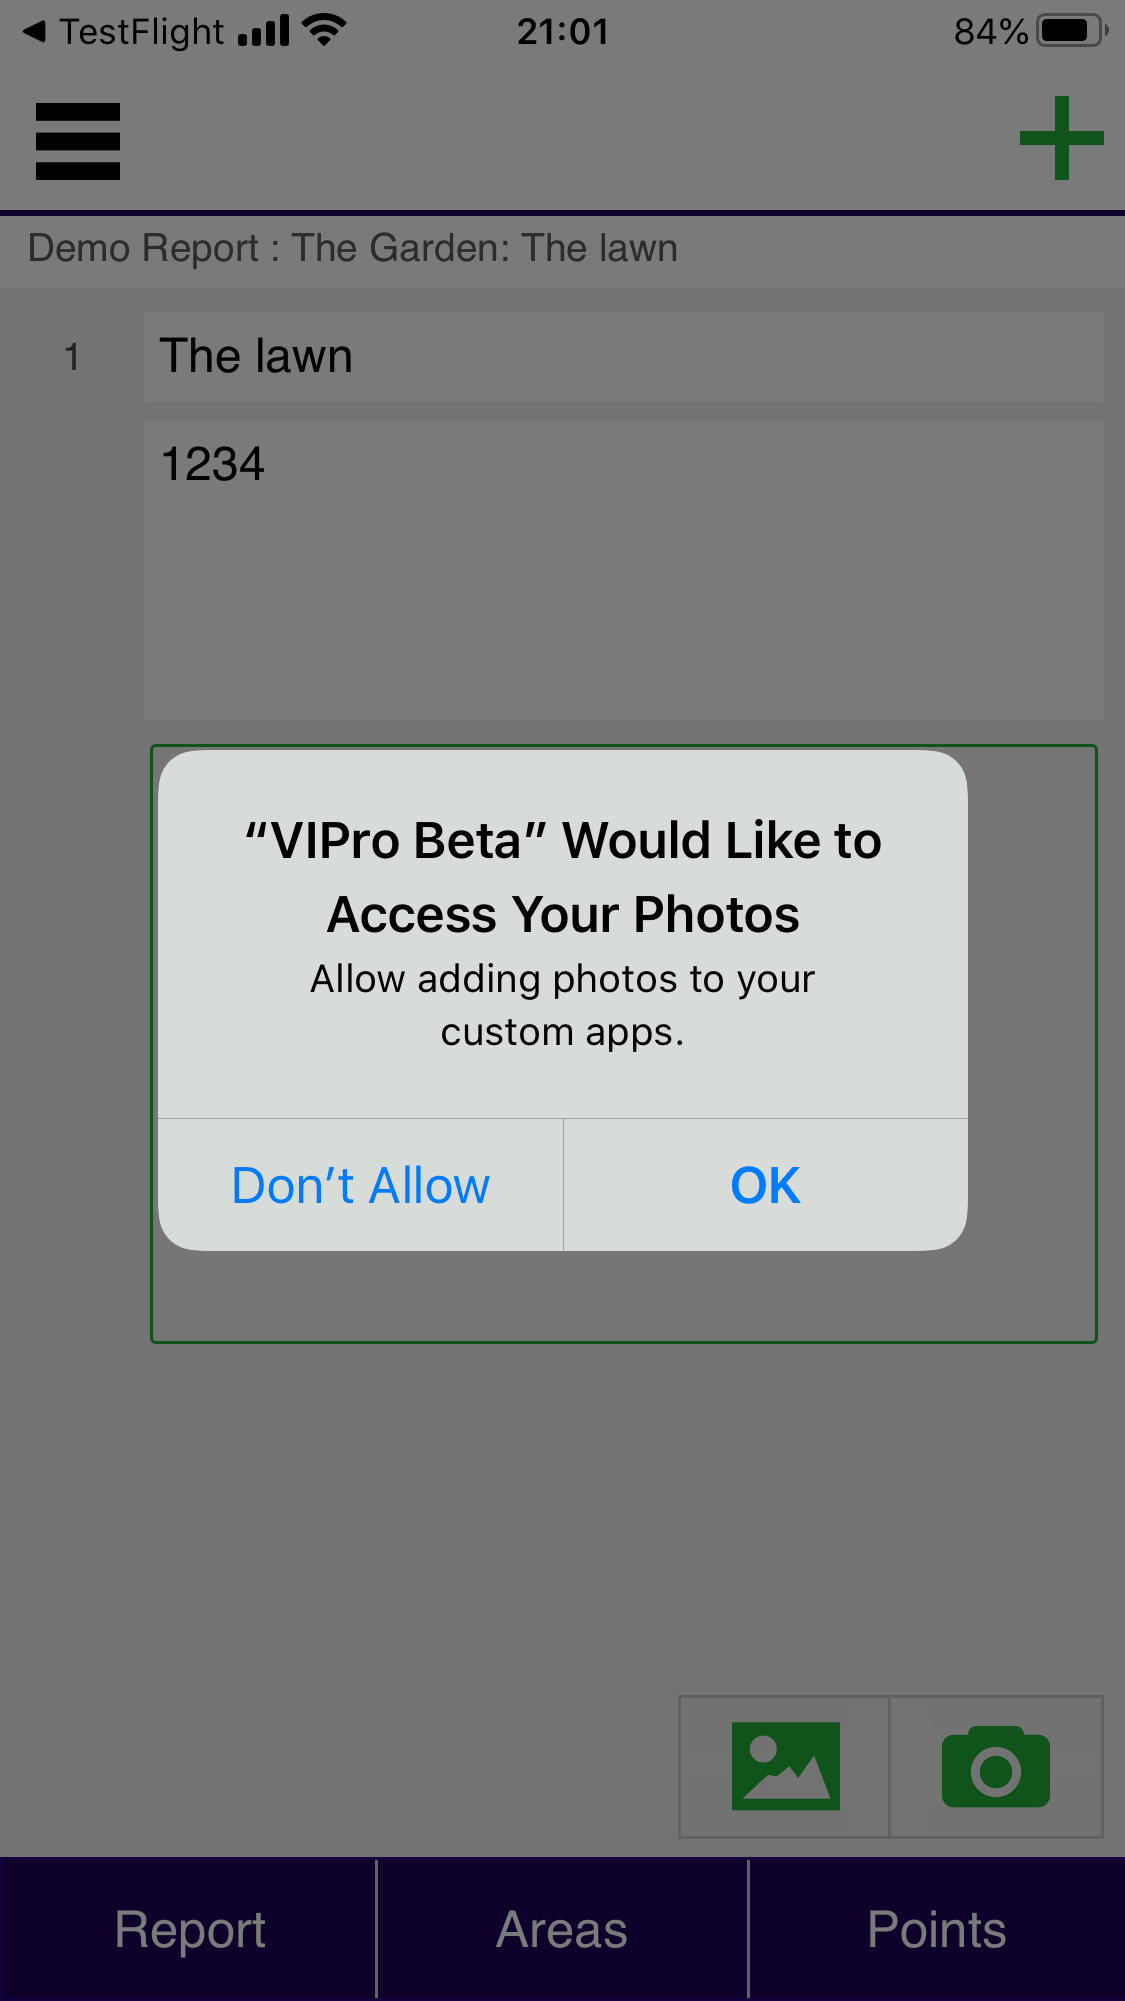
Report Point
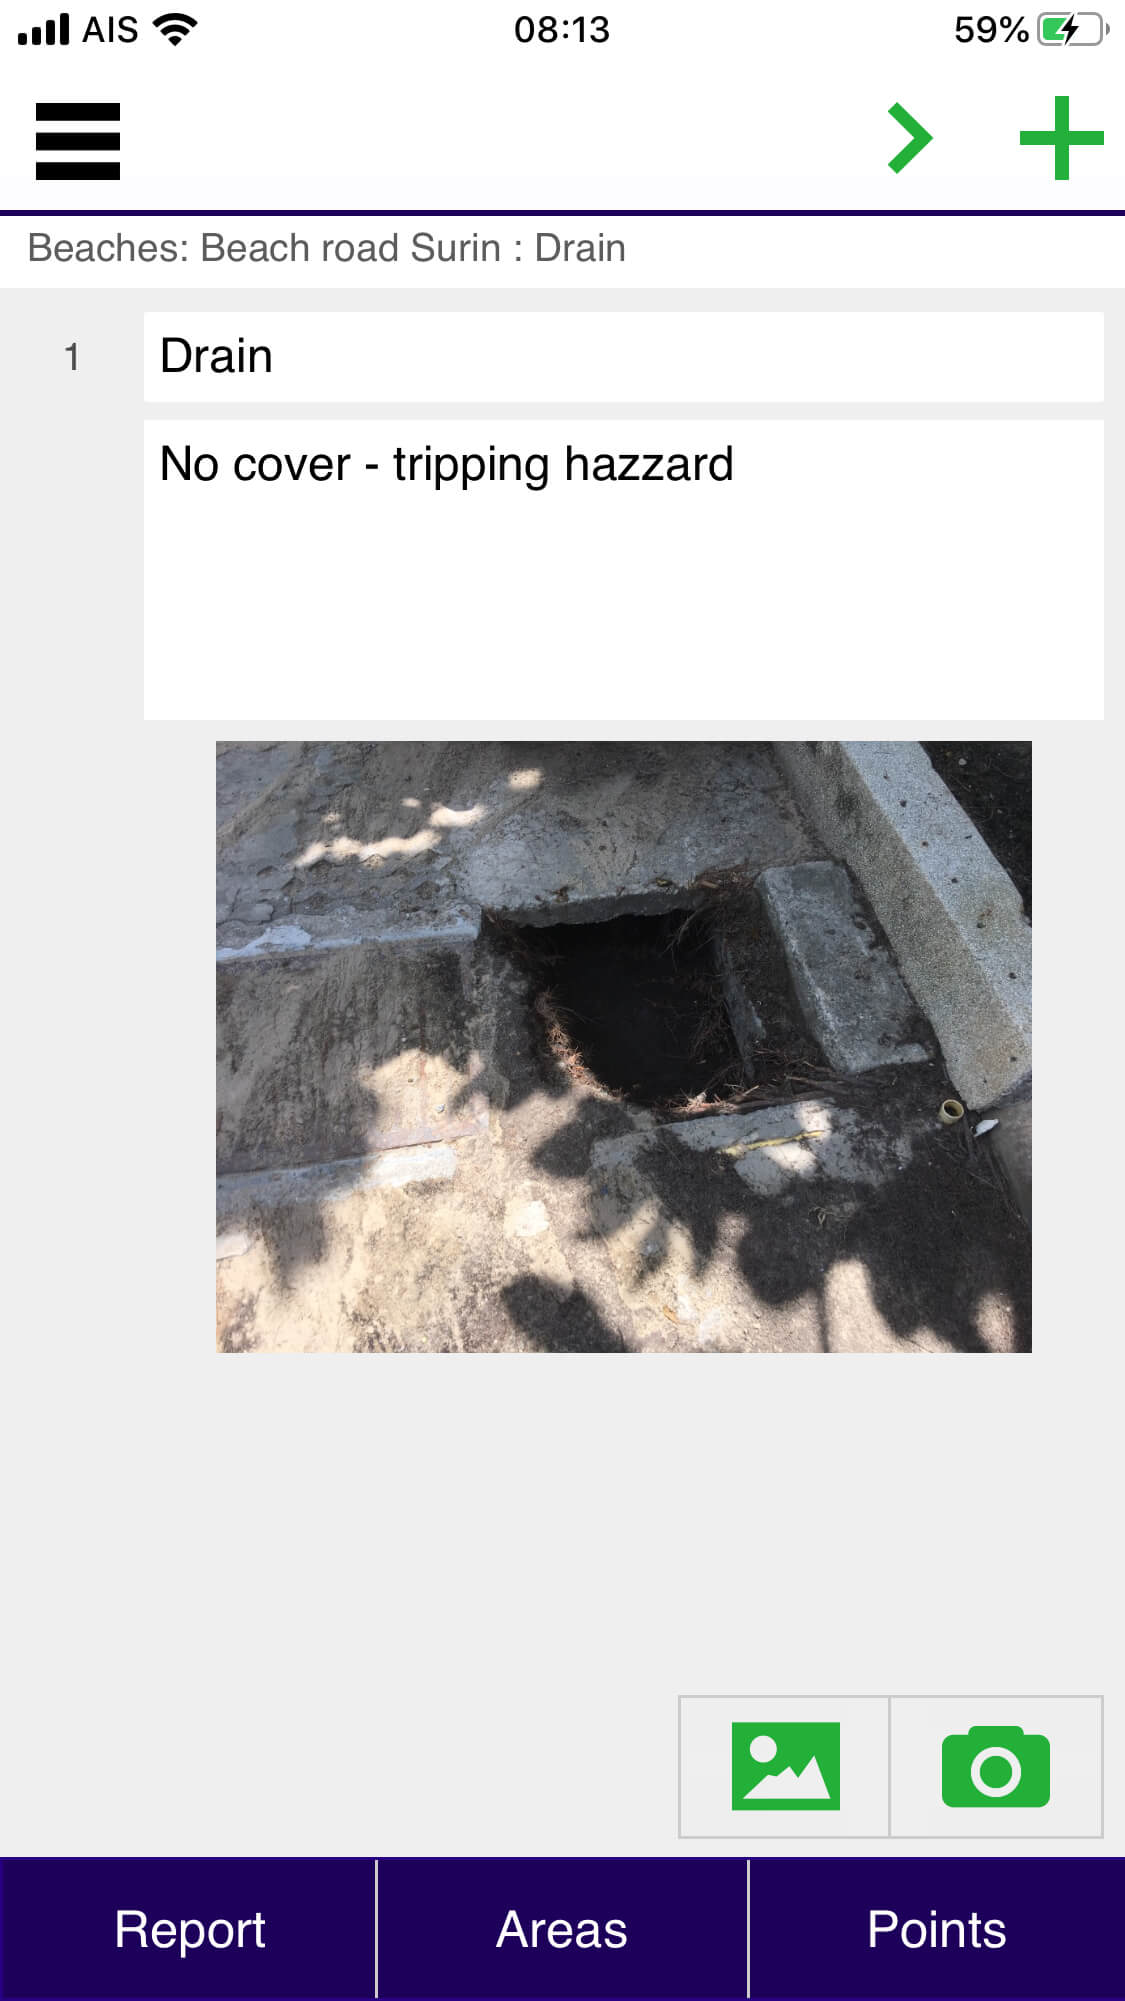
The screen after data has been entered.
Point Landscape

You can also turn your phone into landscape (wide) orientation to capture notes and images in the Point screen. Use the ‘+’ icon on the top of the screen to add a new point after the current one. Use ‘<’ and ‘>’ to navigate backwards and forwards between points.
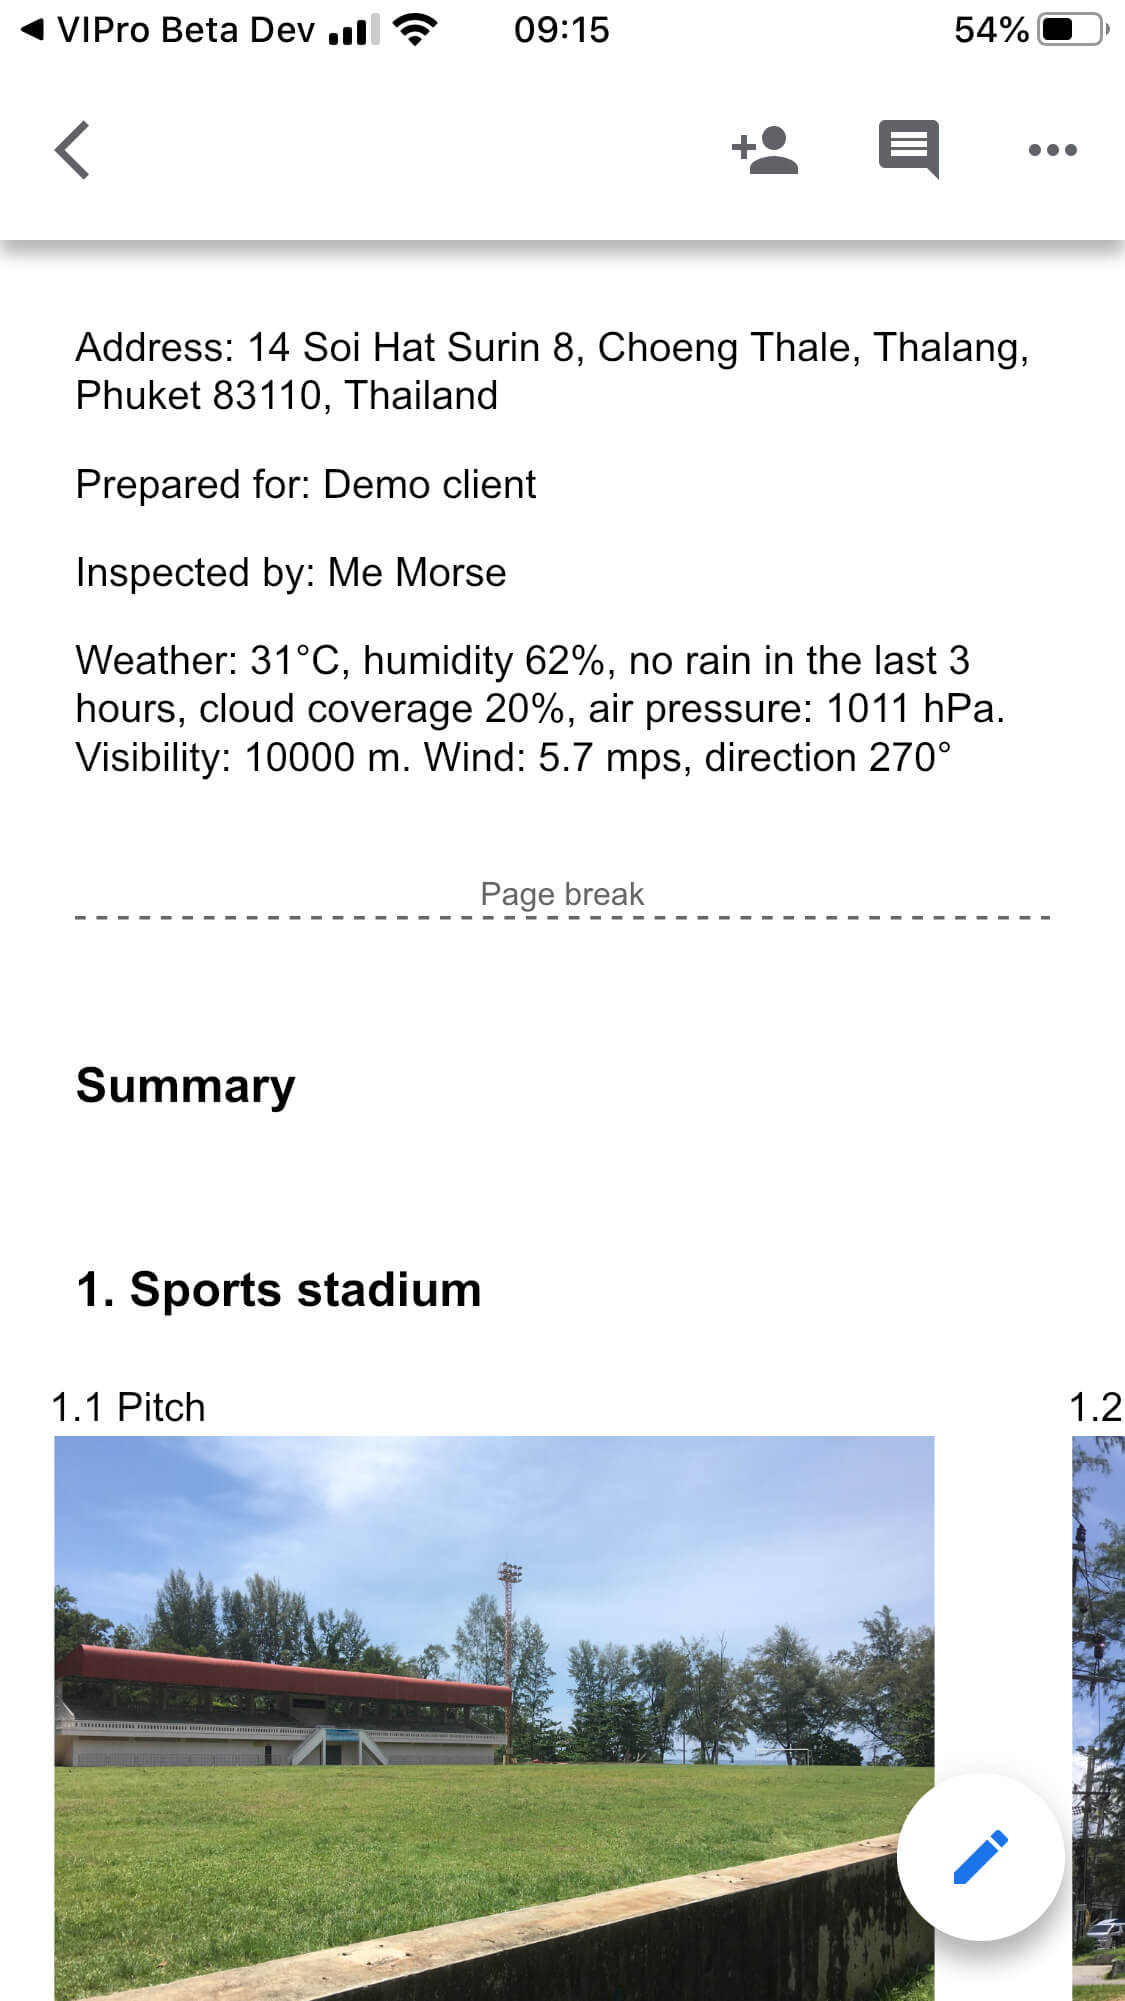
Summary
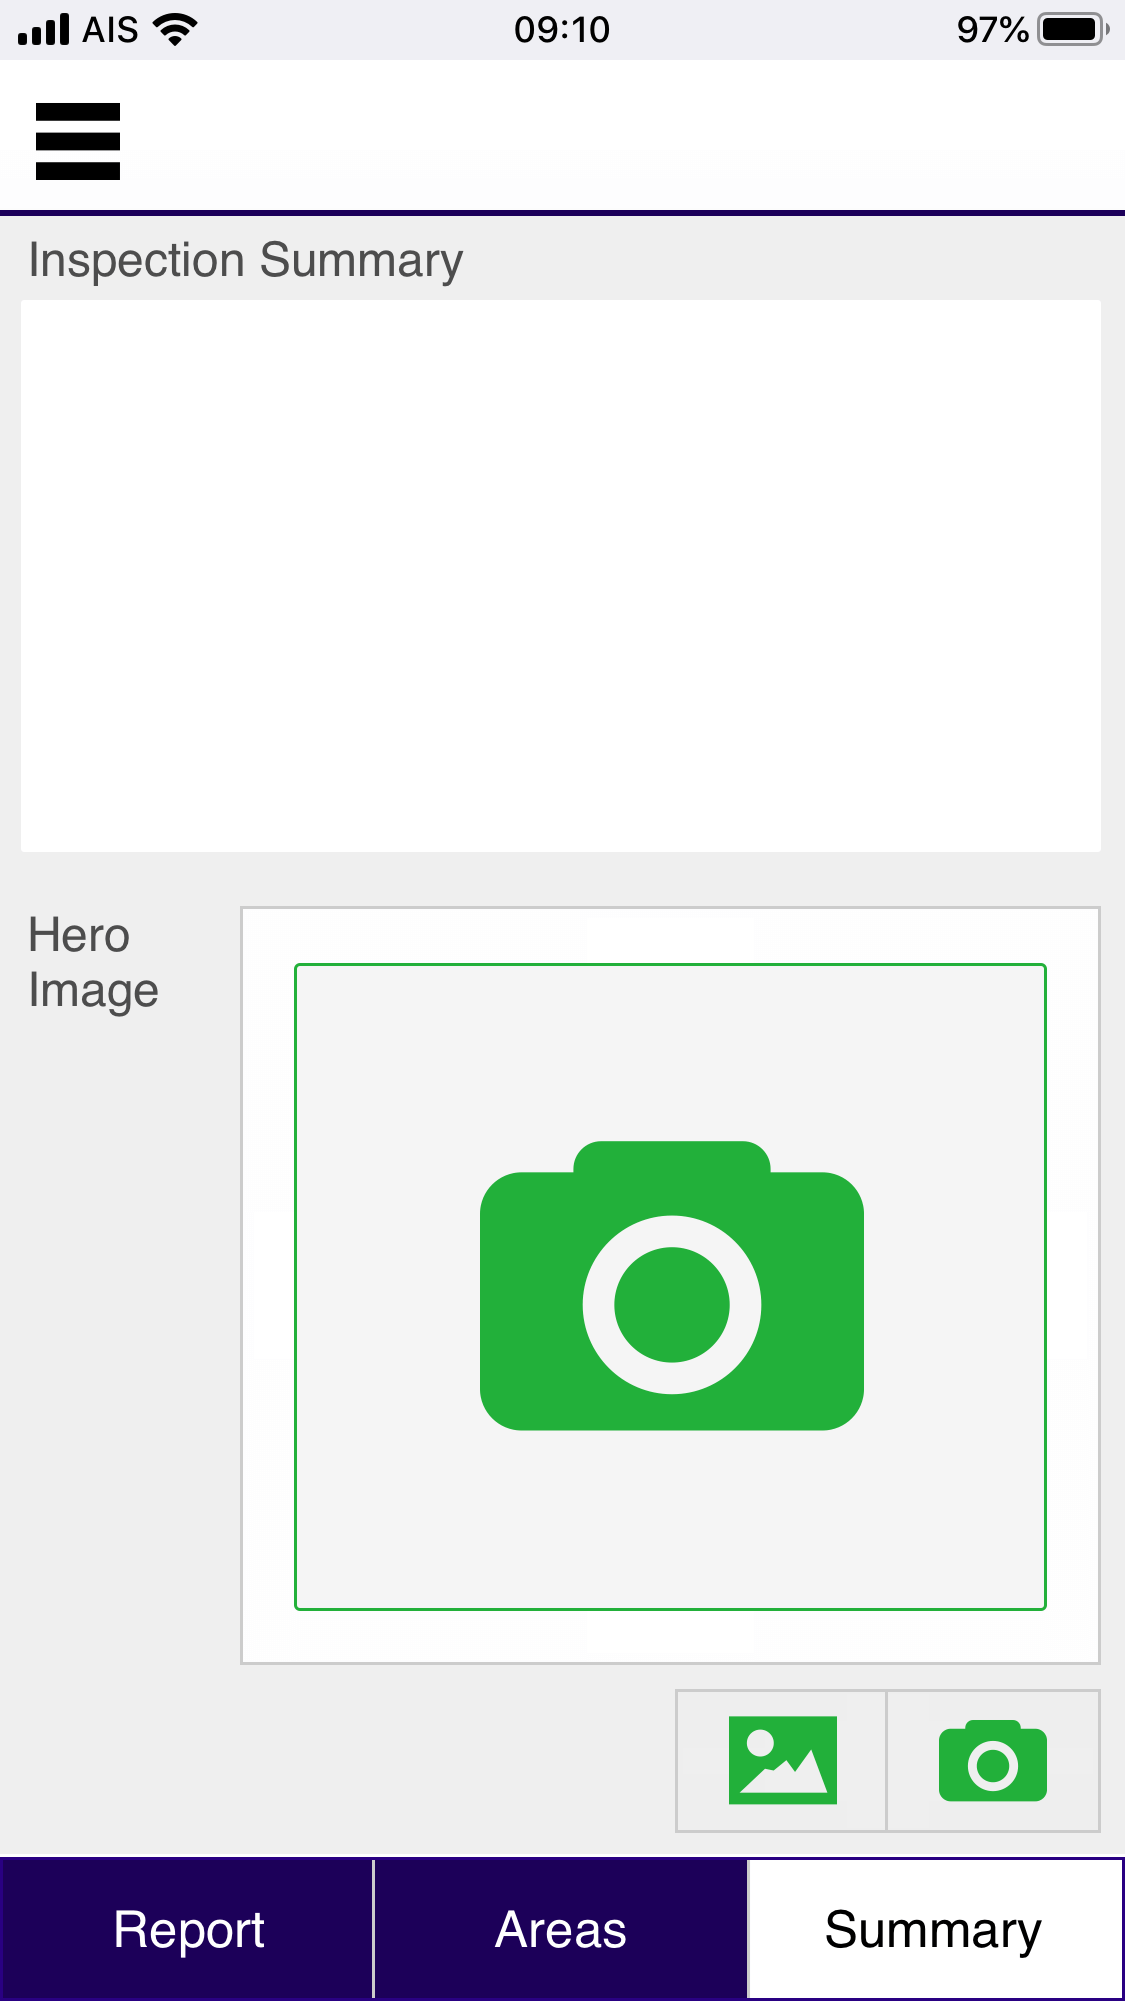
A summary description for the report from here, or added later in Google Docs. A brief note could be expanded later on. The optional Hero Image is displayed on the front page of the report.
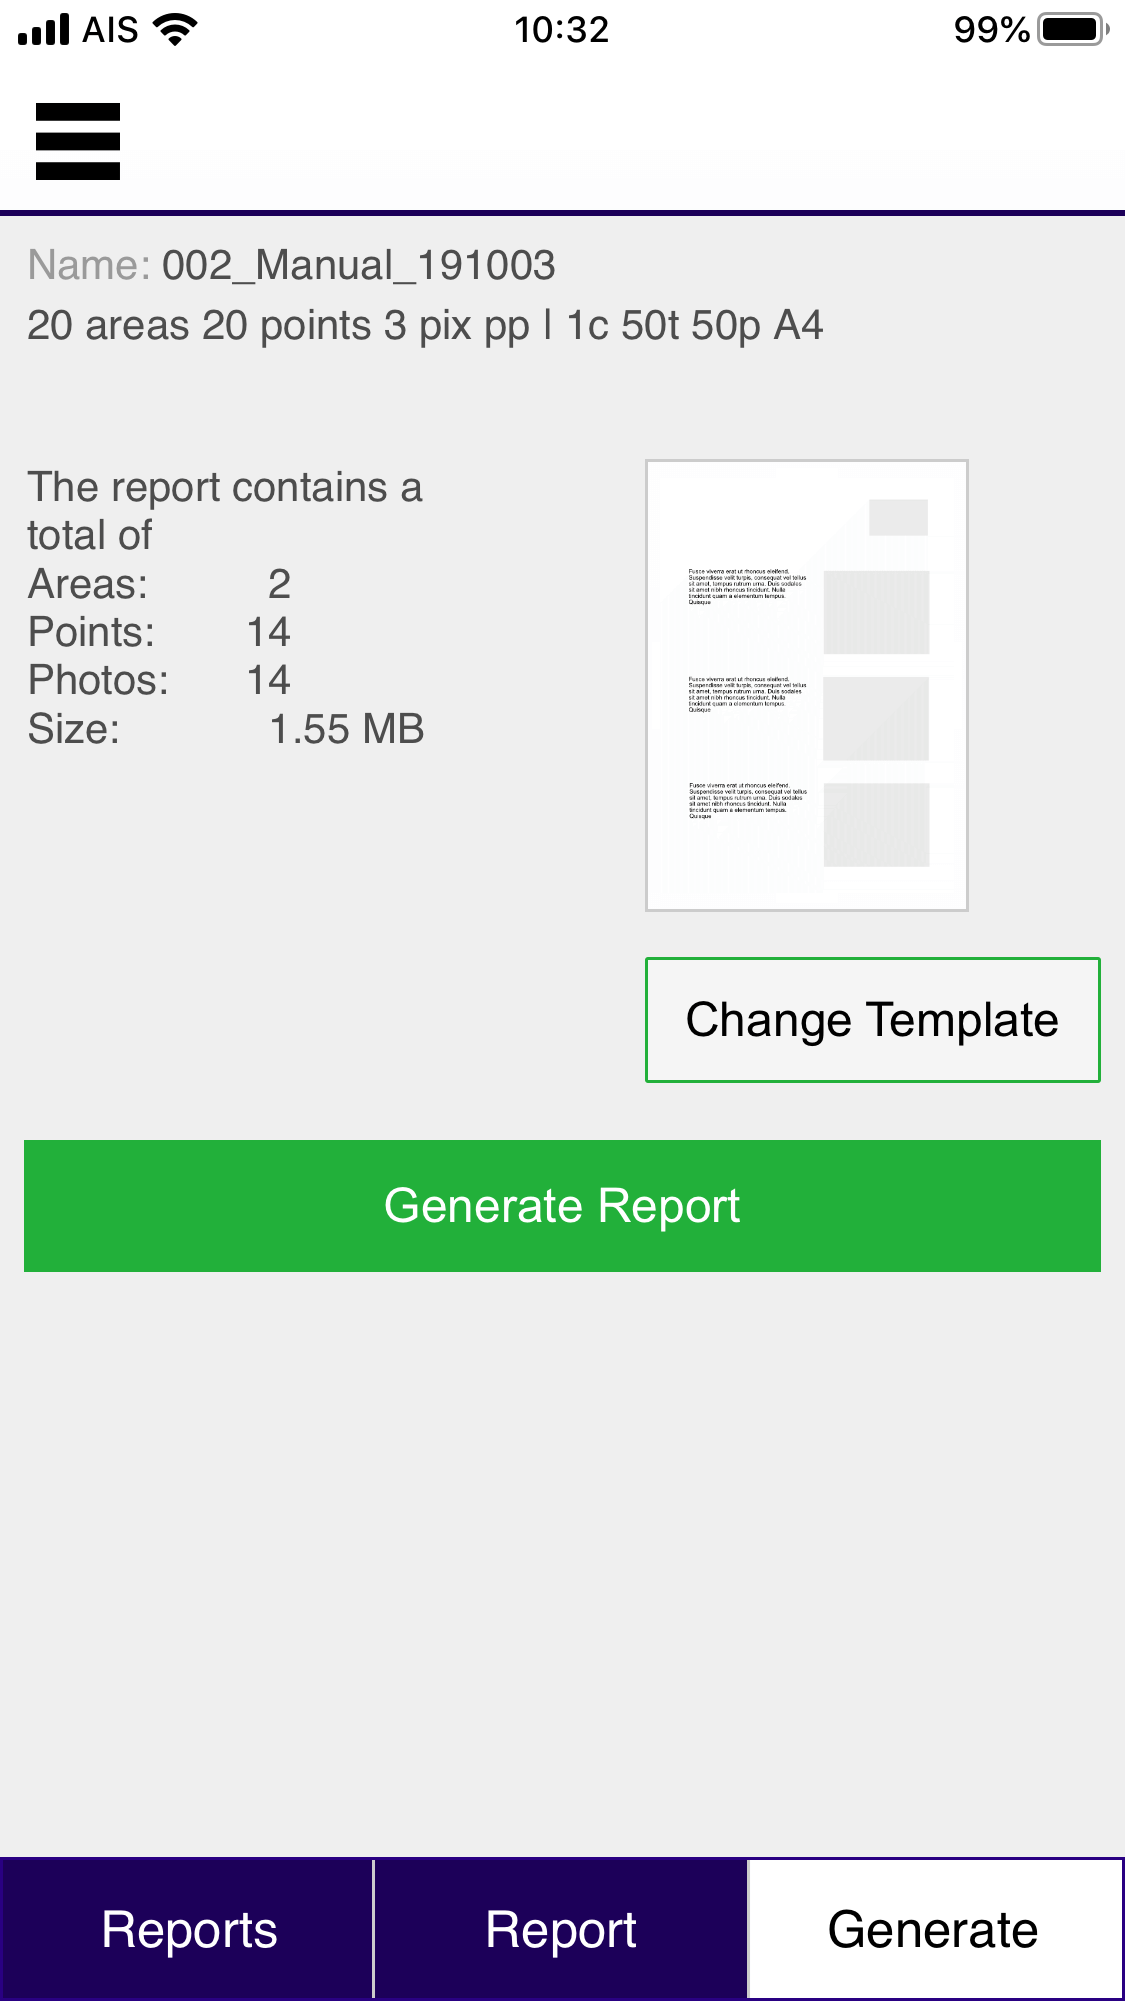
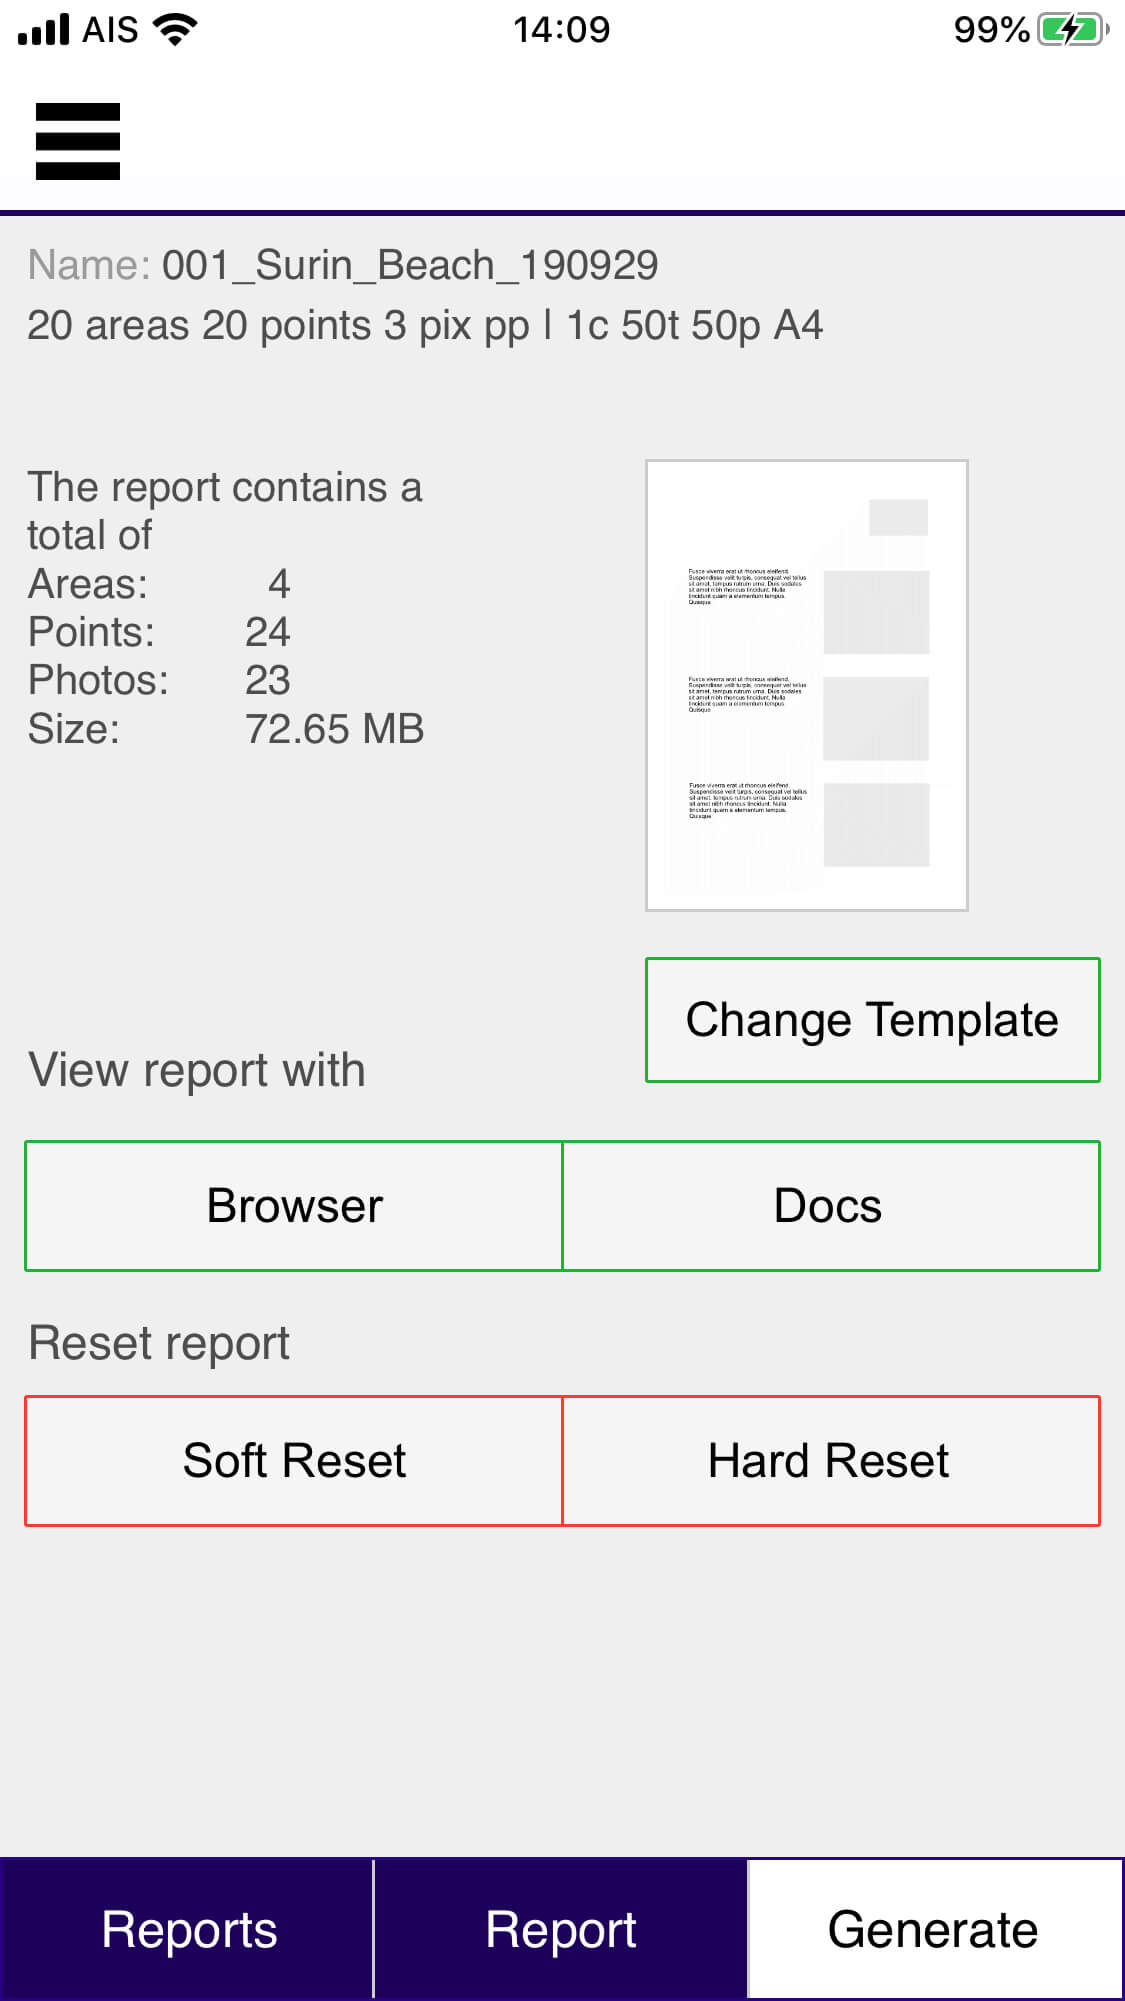
Generate
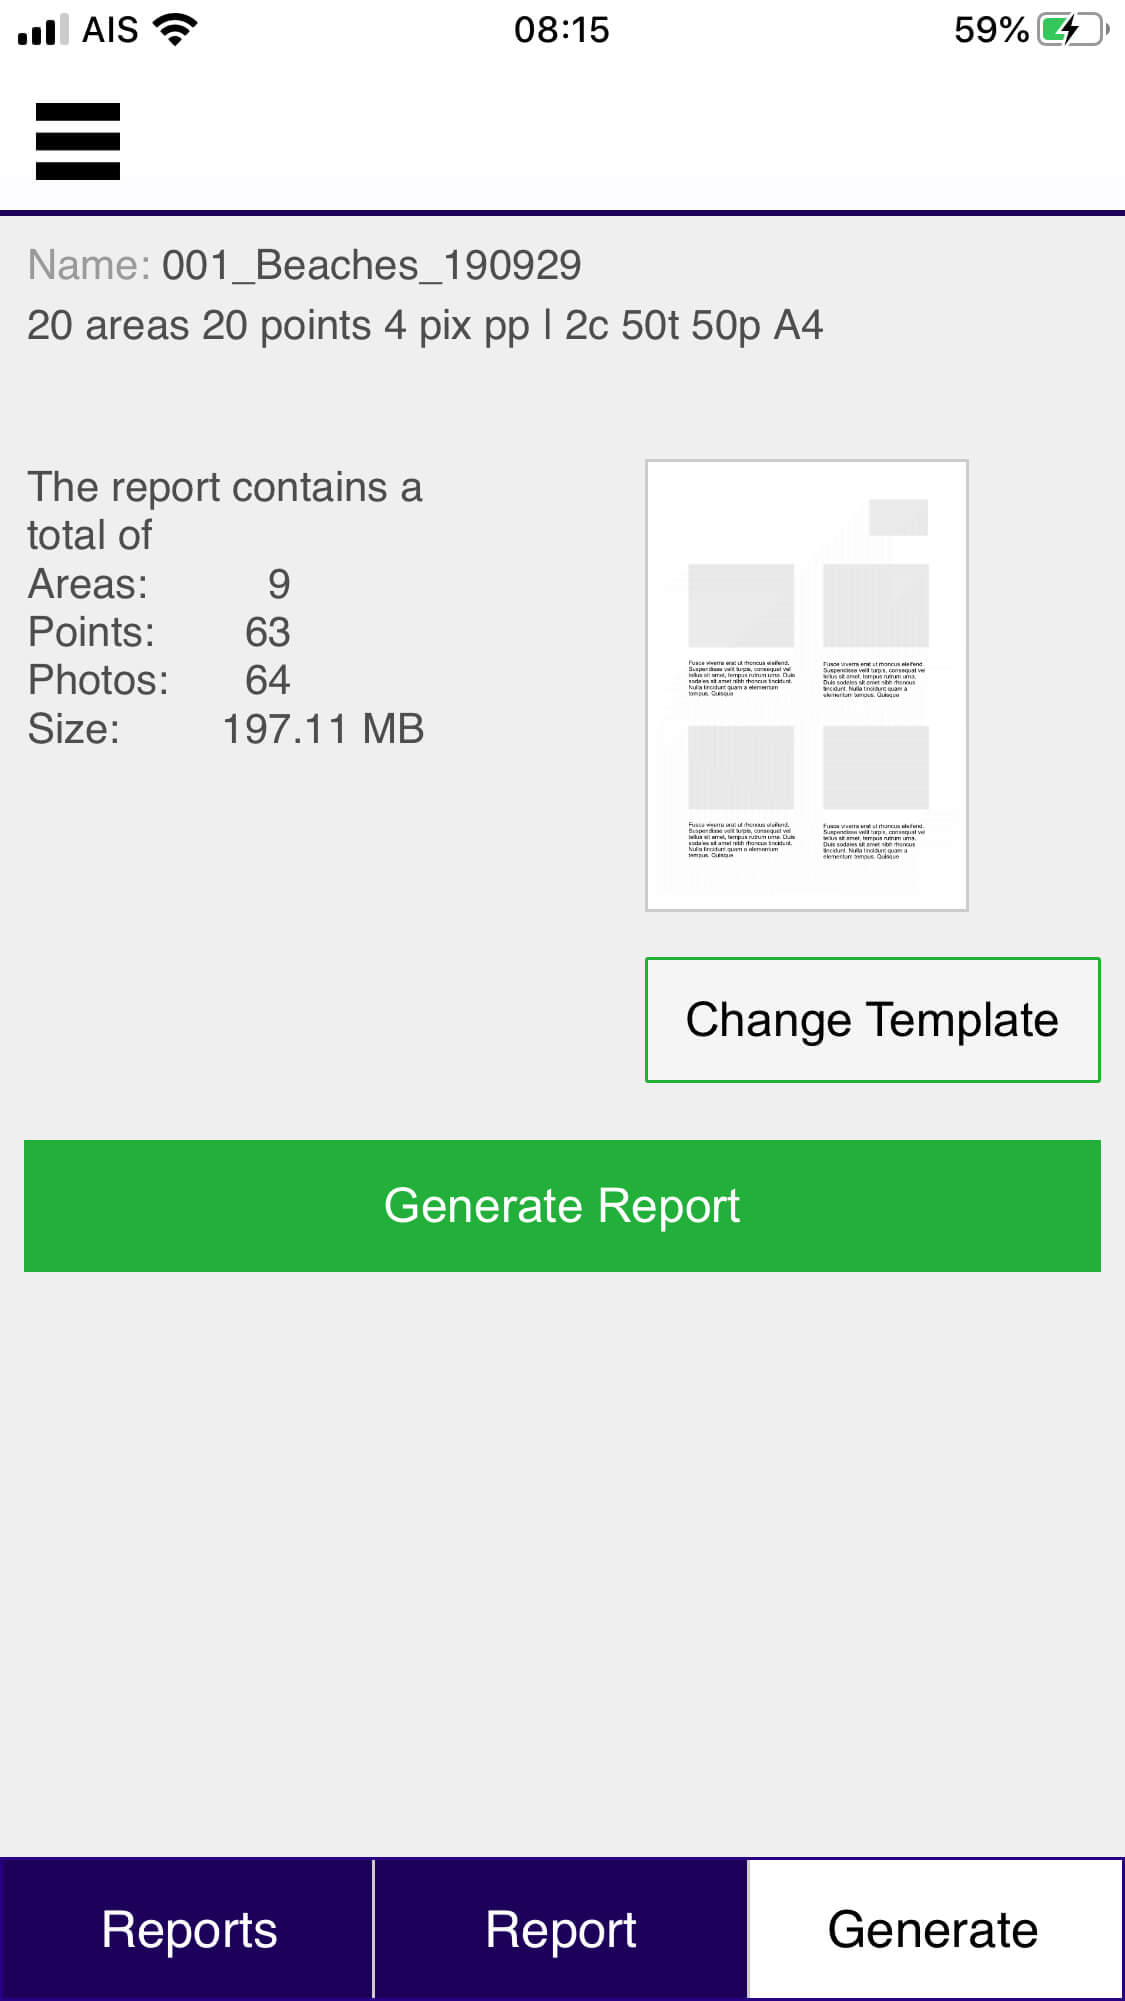
Here you can generate an new Report on Google Docs. The screen shows the details of the selected template, together with the number of areas, points and photos contained in the report, as well as the approximate size of data used for the photos in the report.
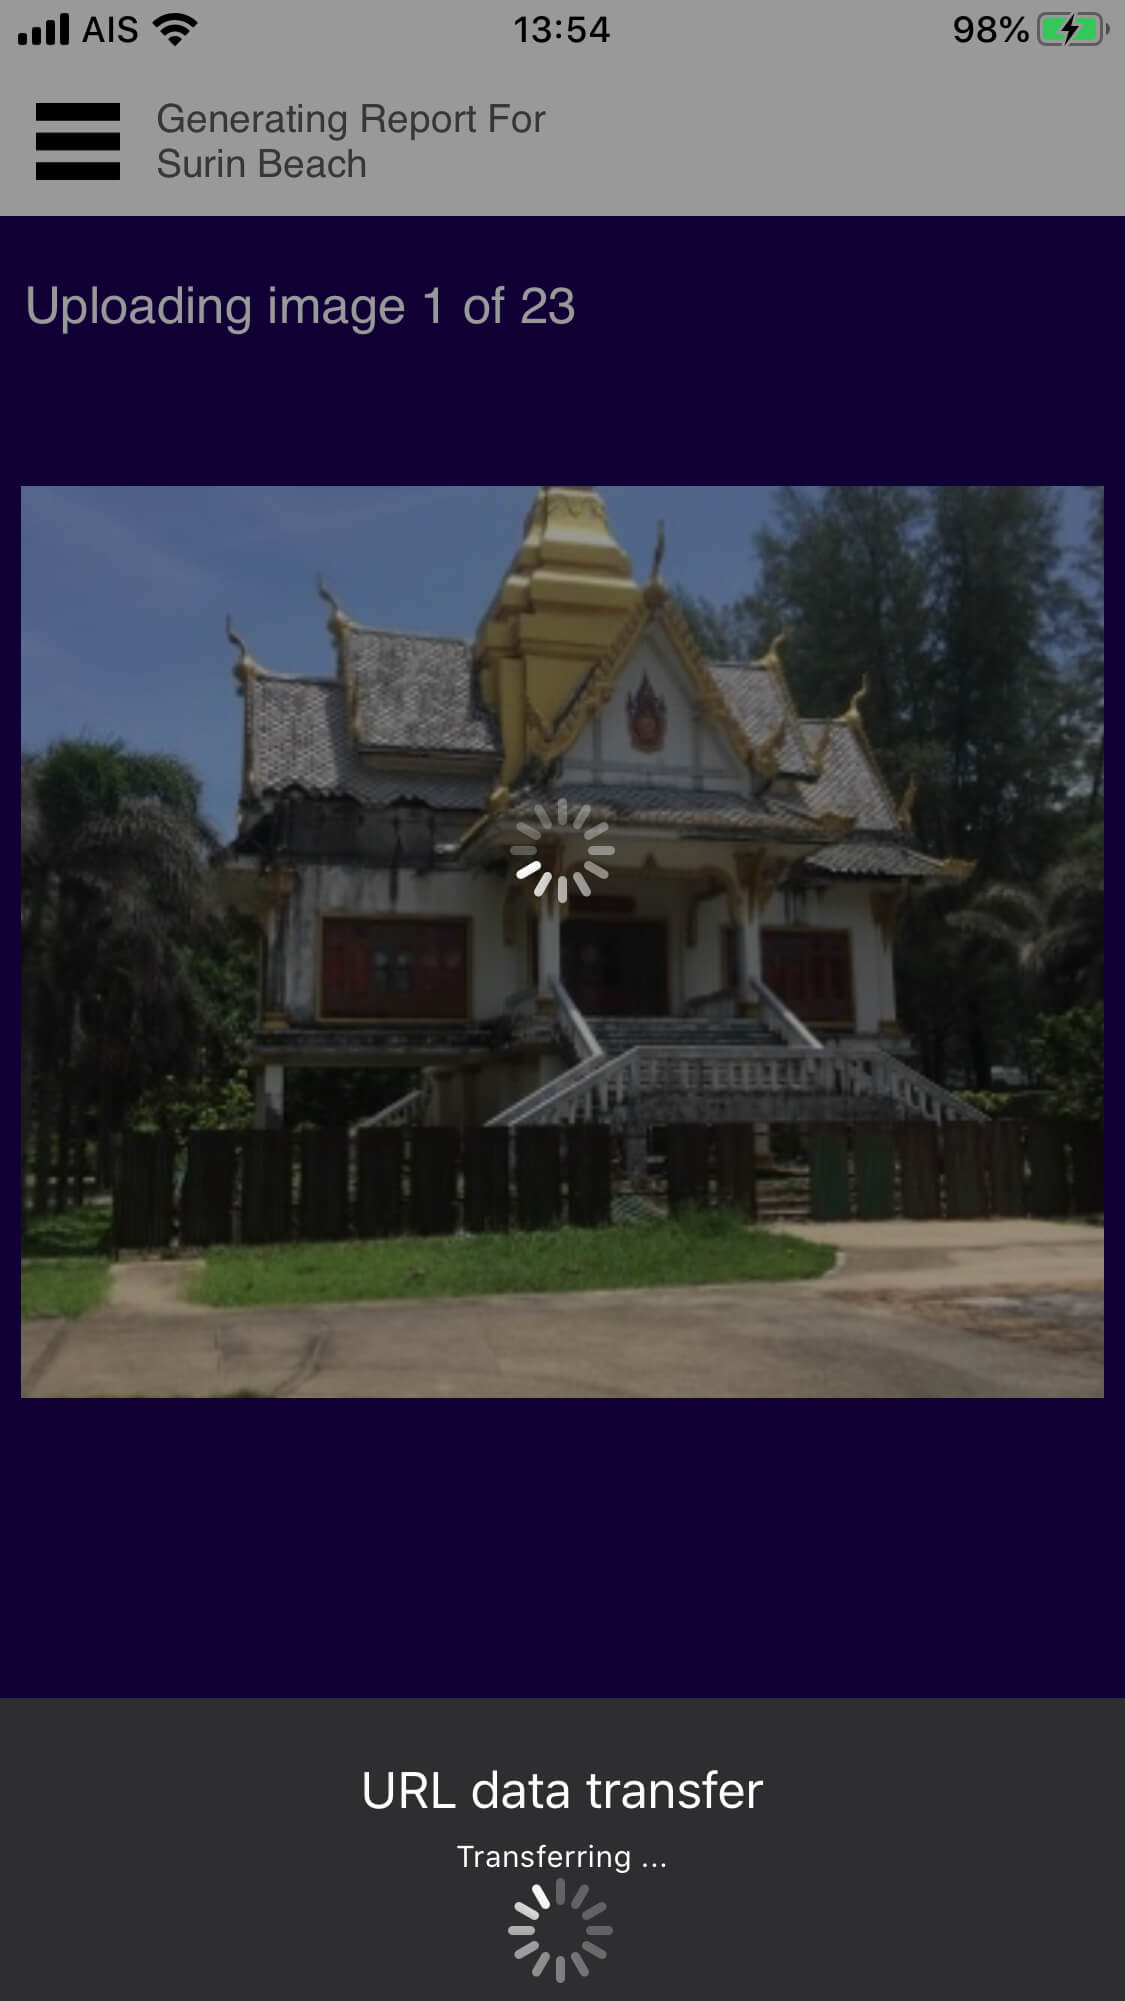
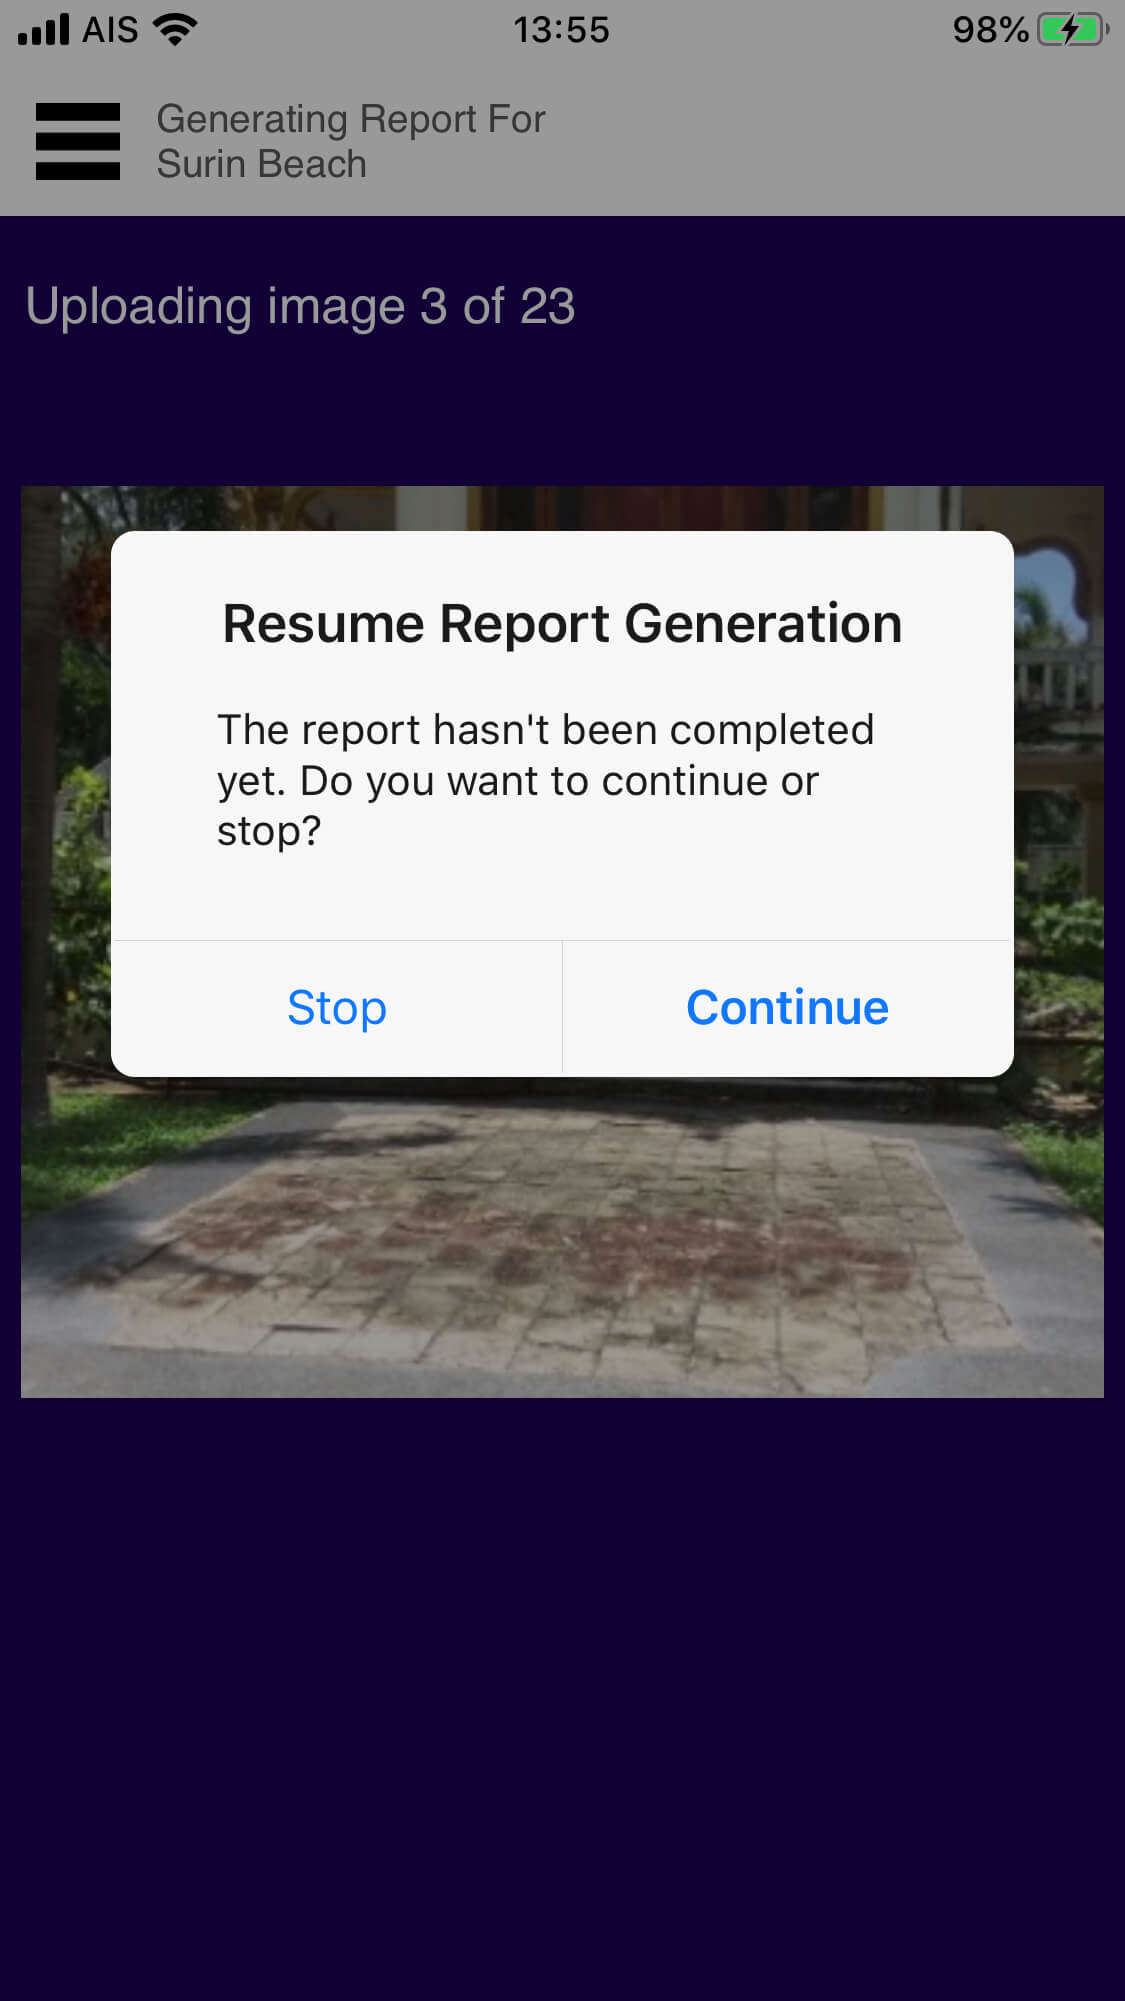
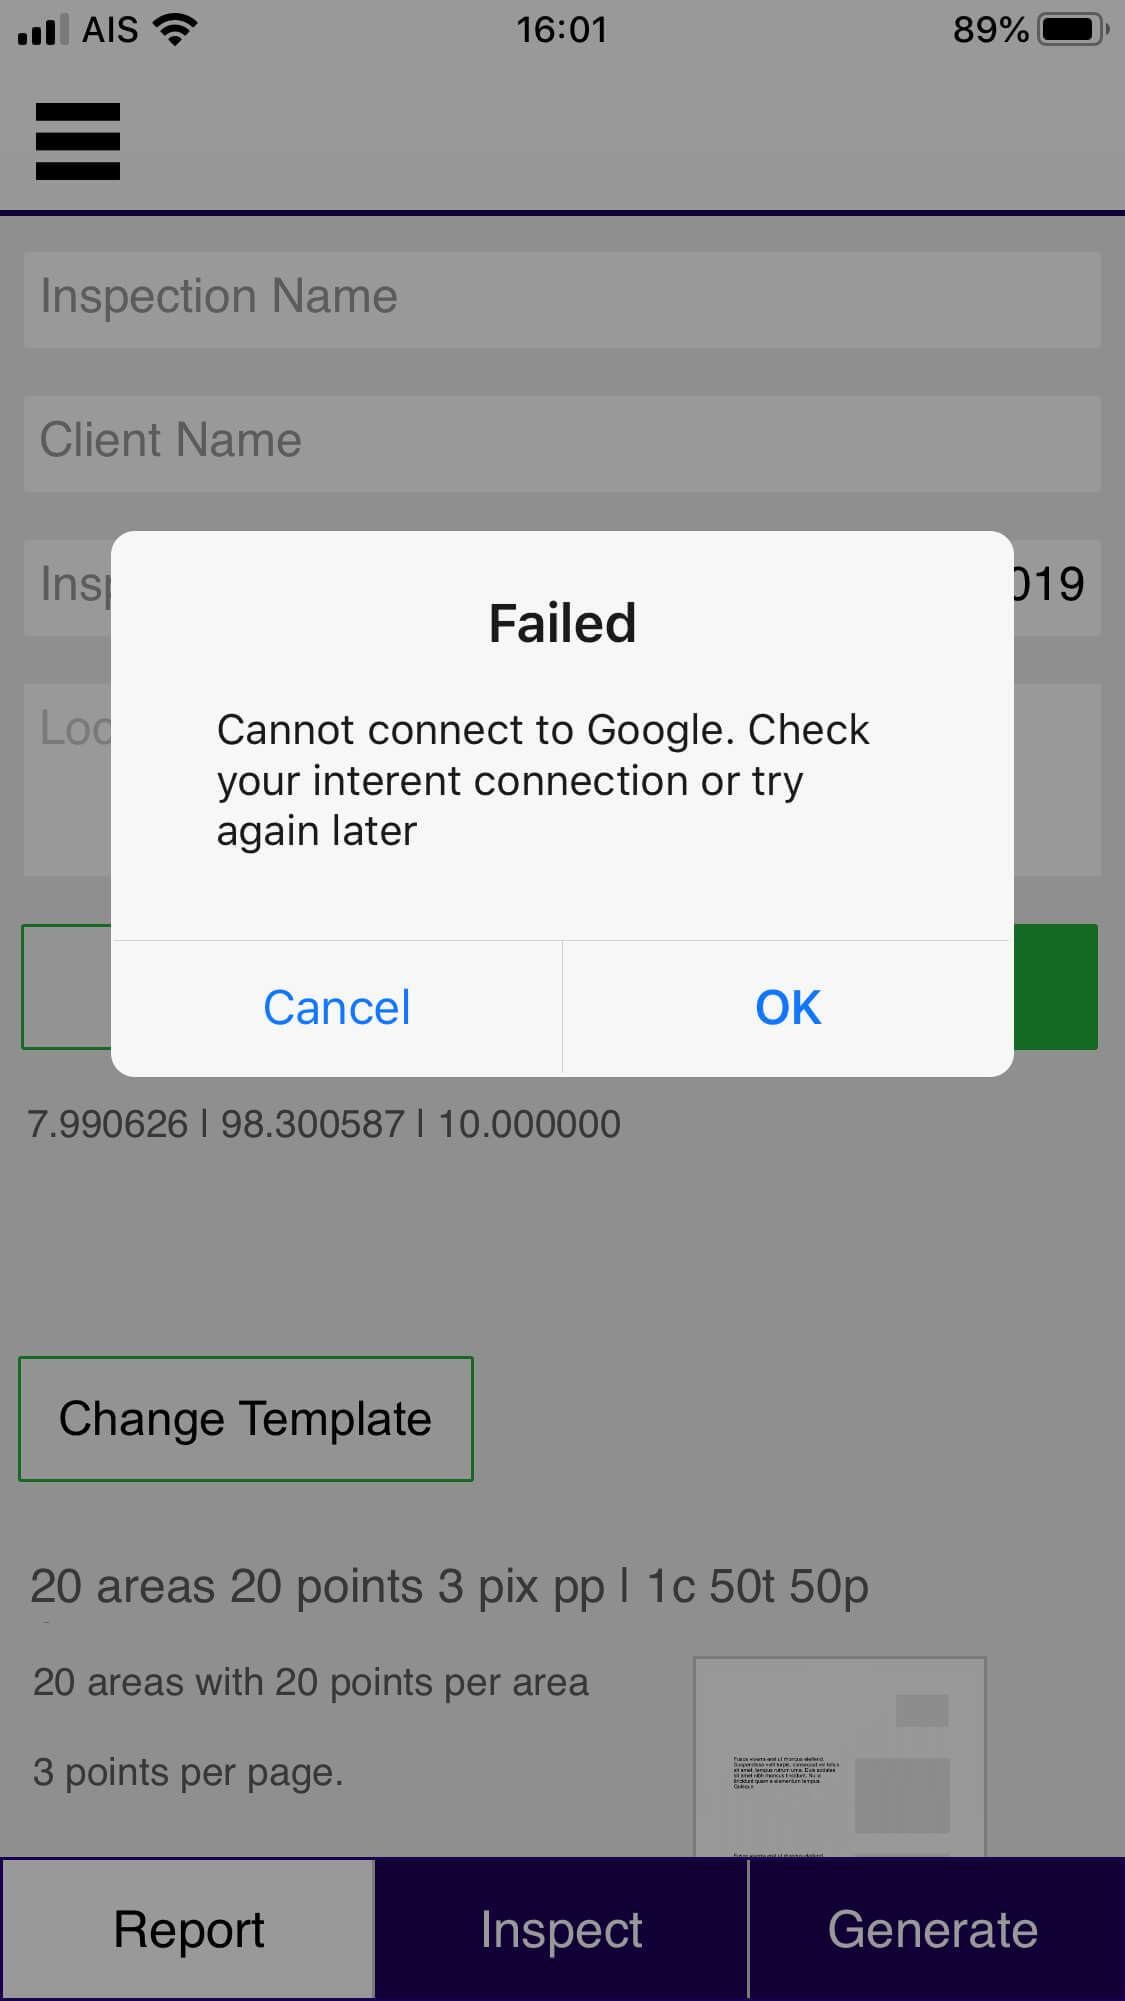
Report Generation

Shown while the app is interacting with the application servers, with feedback on report generation status.
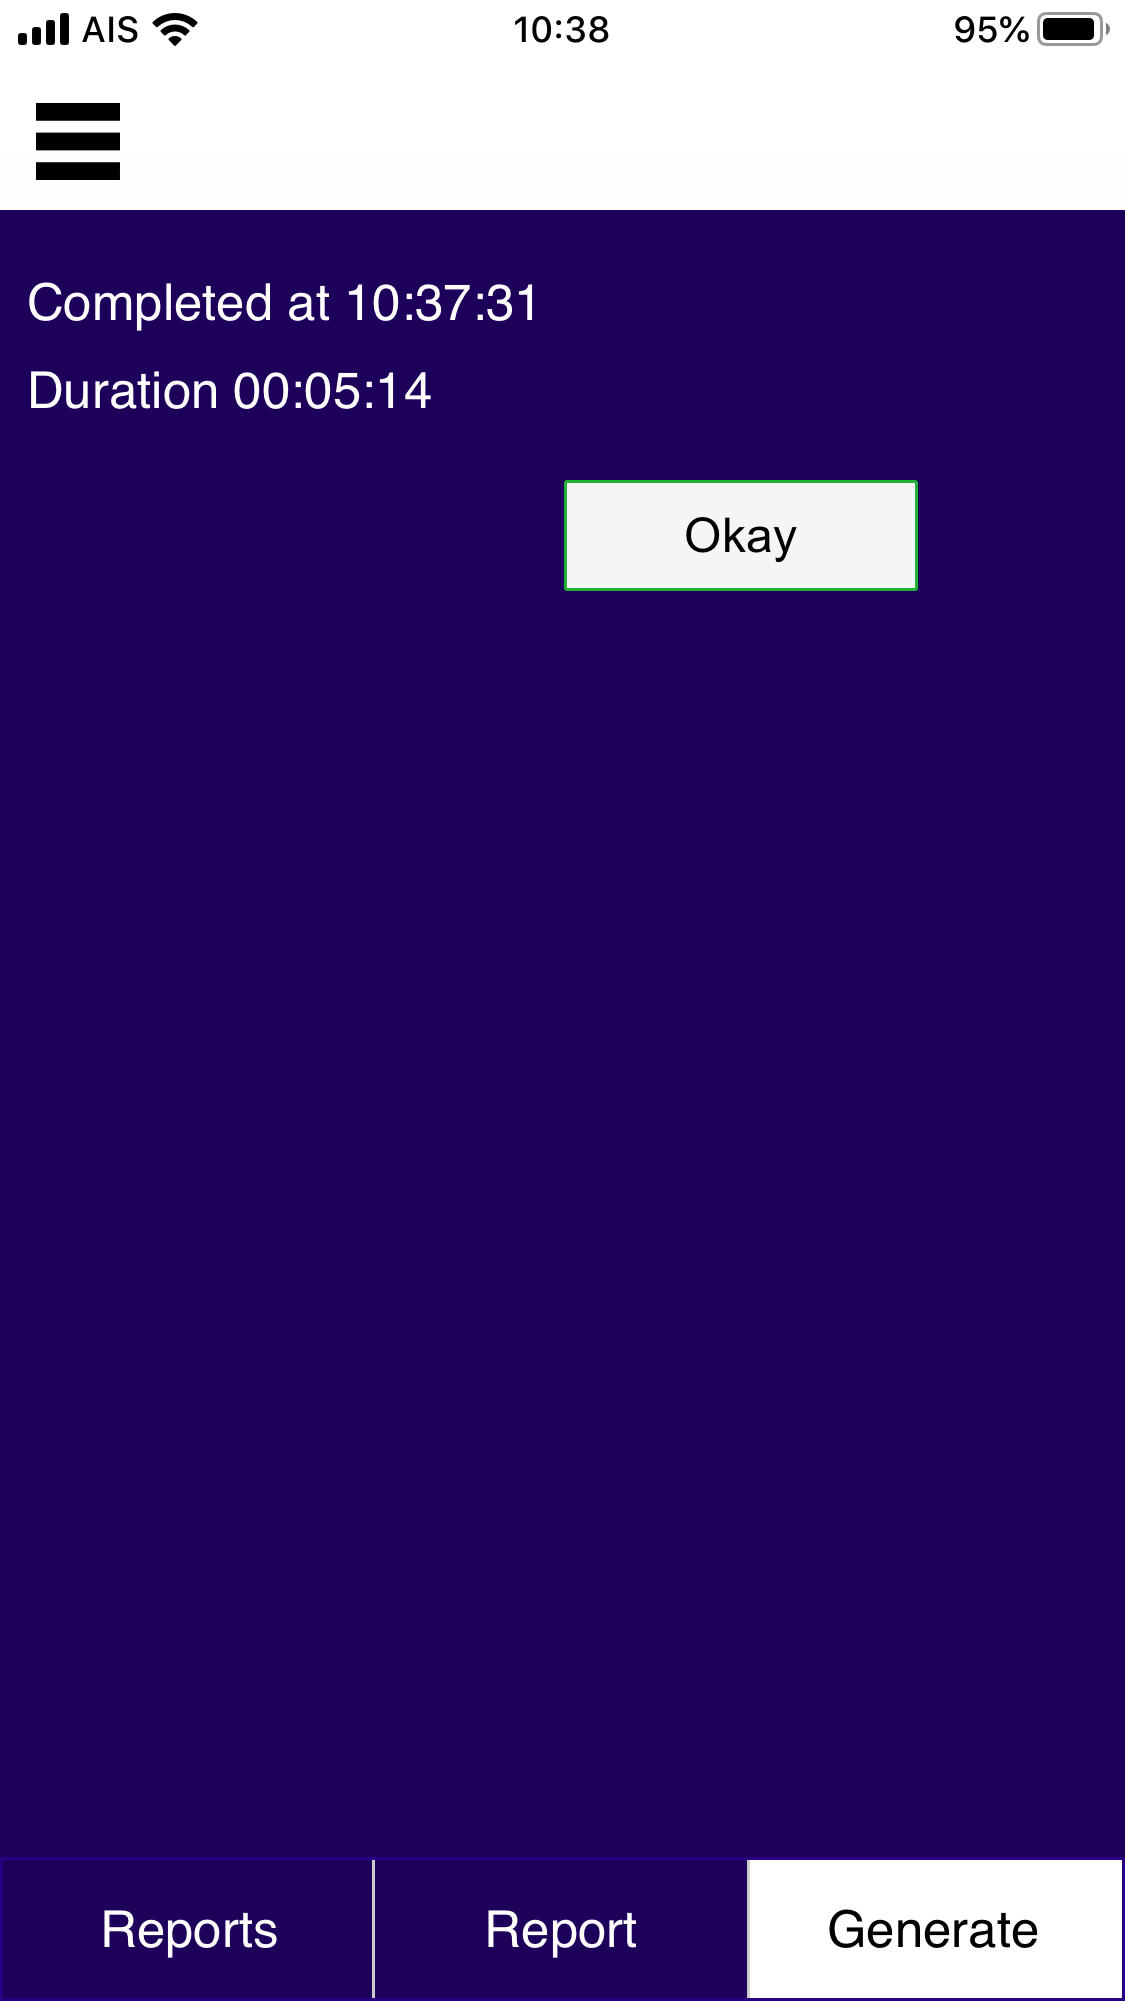
Generate (Post)
.jpg)
After the report has been successfully generated you can view it in either the Google Docs app (which needs to be installed on your device) or in web browser.
Settings
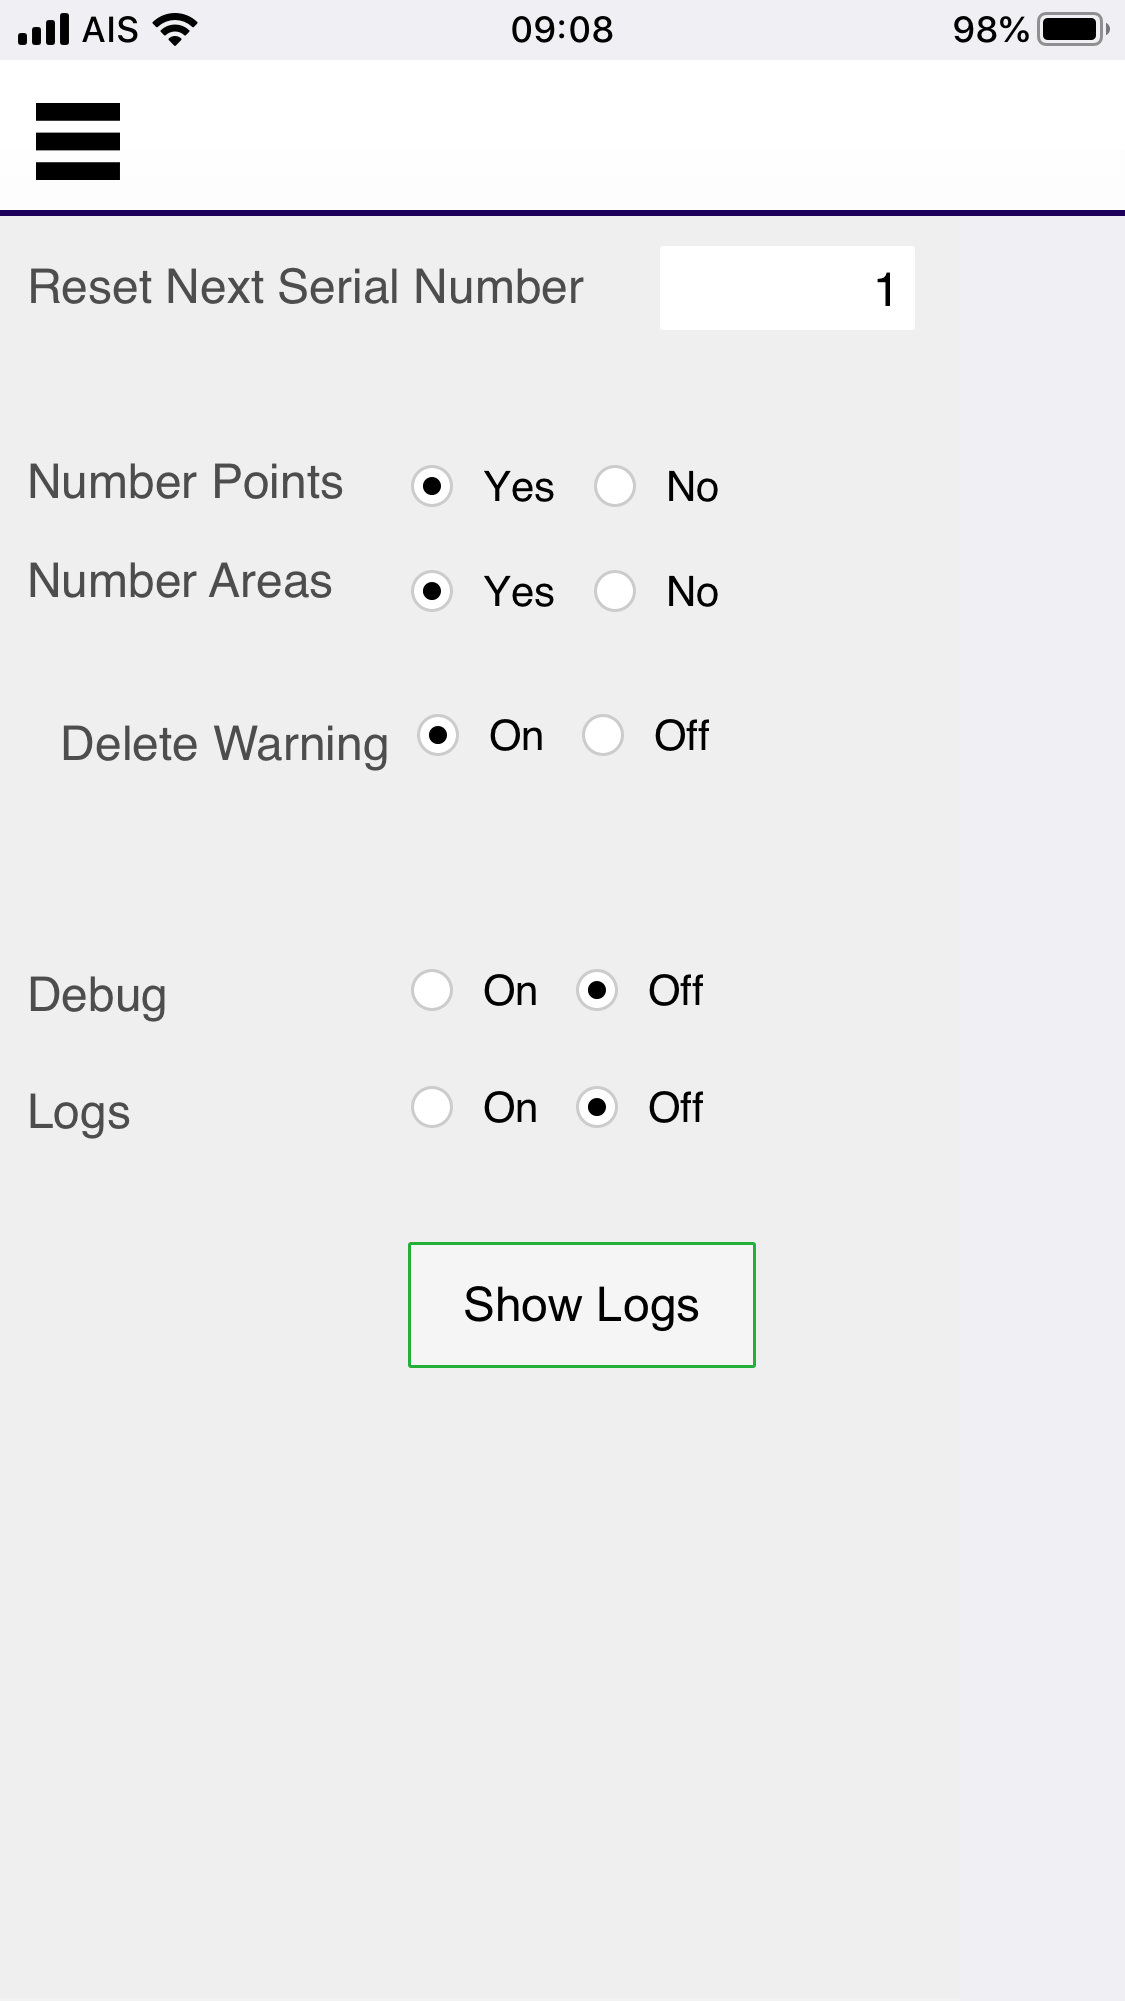
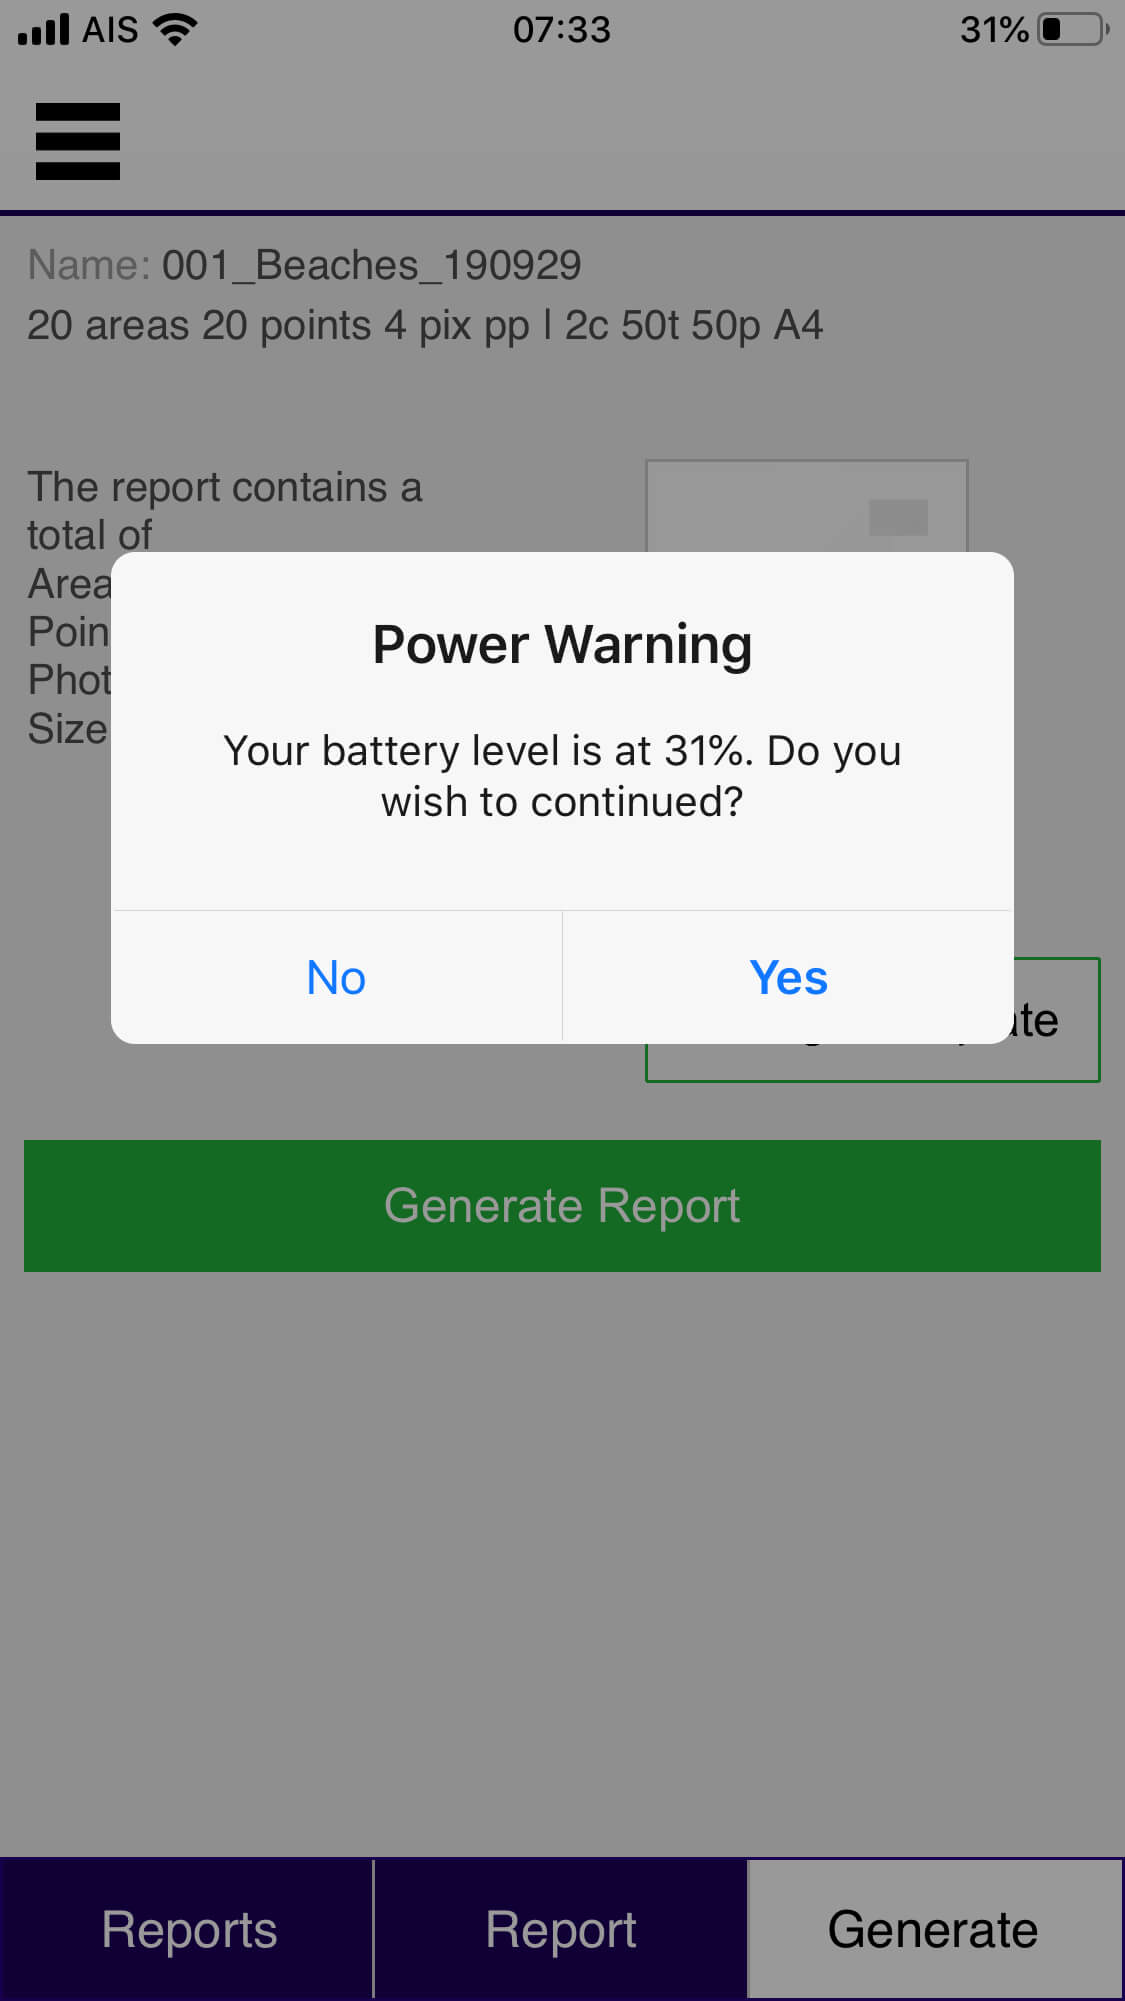
Reset Next Serial Number: Changes the number for the next report, click into the field and enter the new number. Number Points and Number Areas: Will switch off numbering of points and areas in the generated report. Delete warning: turns on or off the warning if you delete a report, area or point.
Help
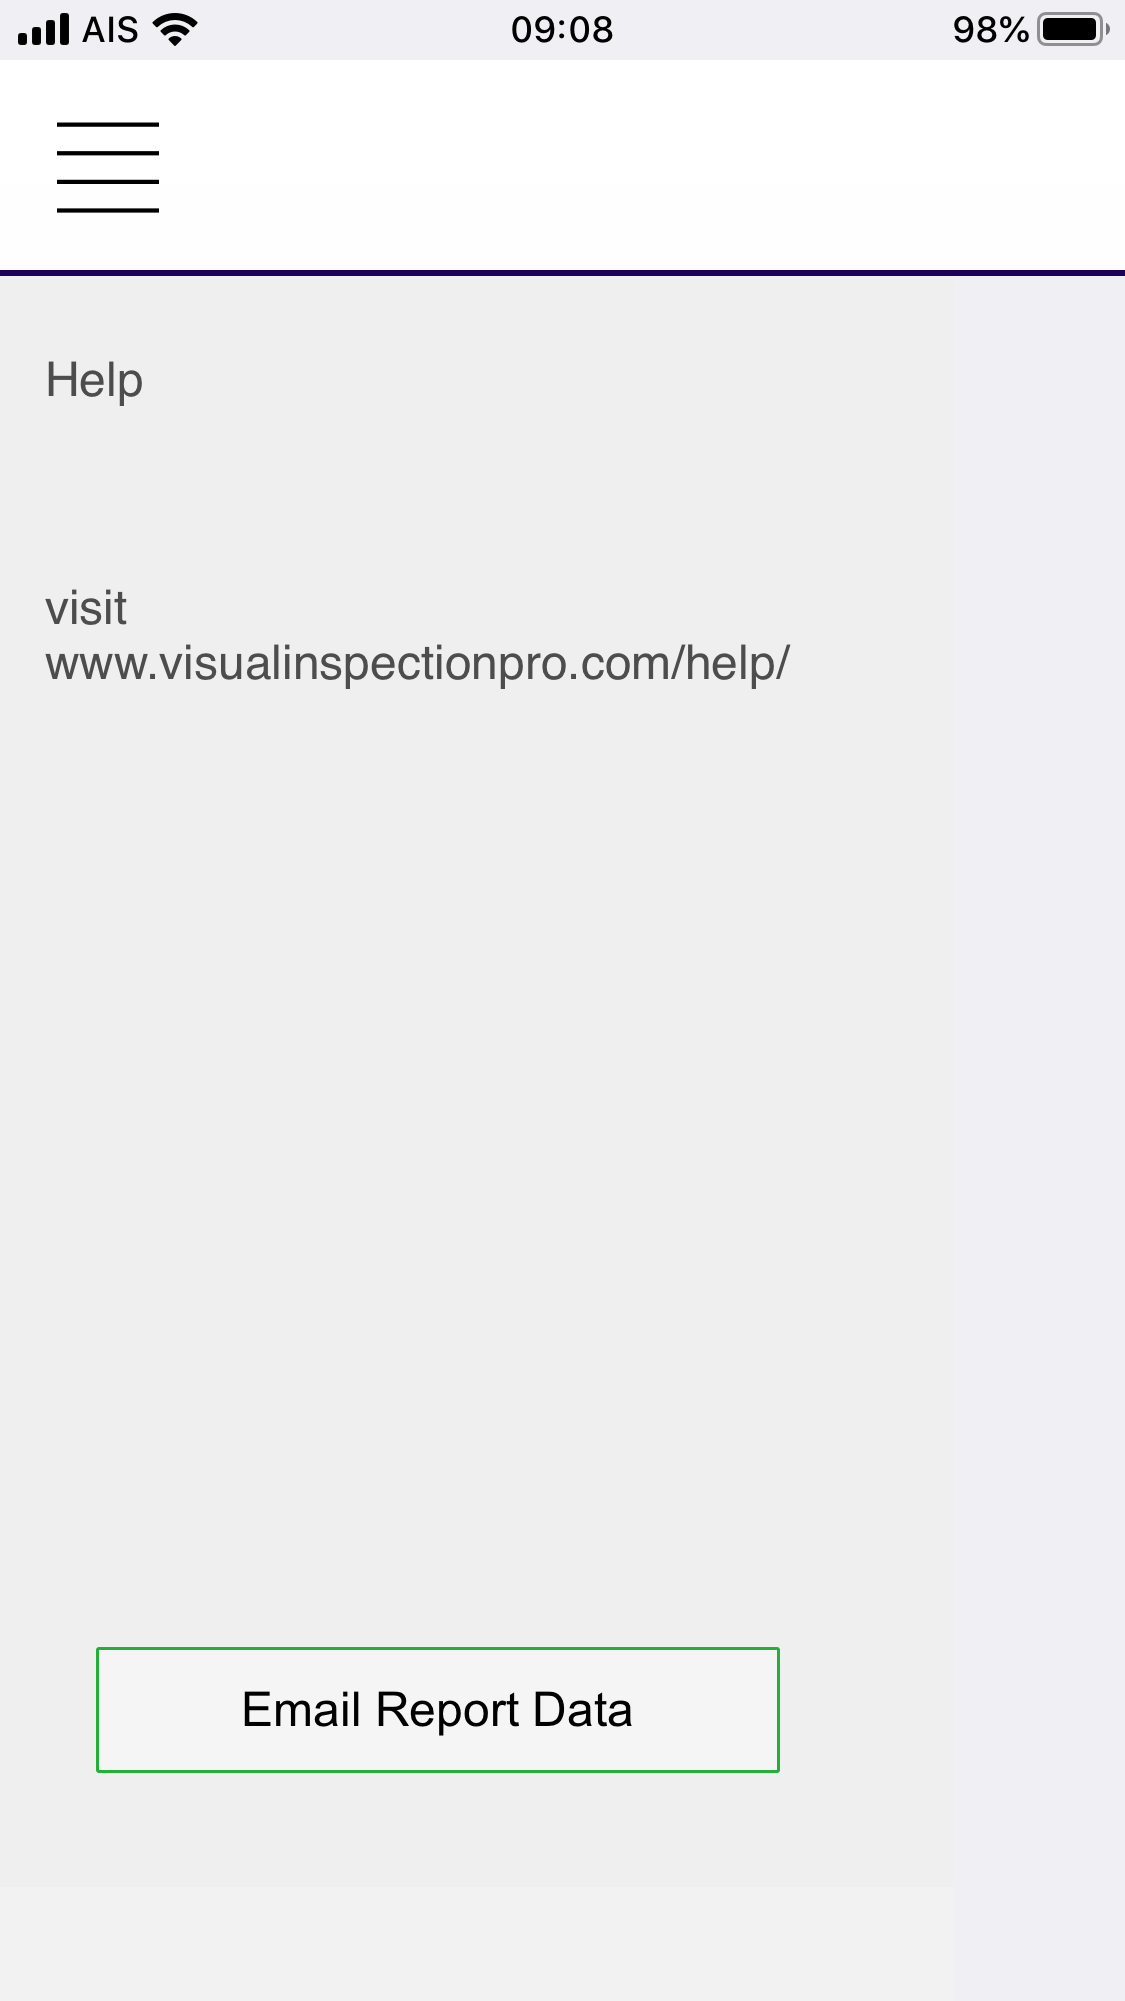
Help is currently only available on the website, visit https//www.visualinspectionpro.com/help
About
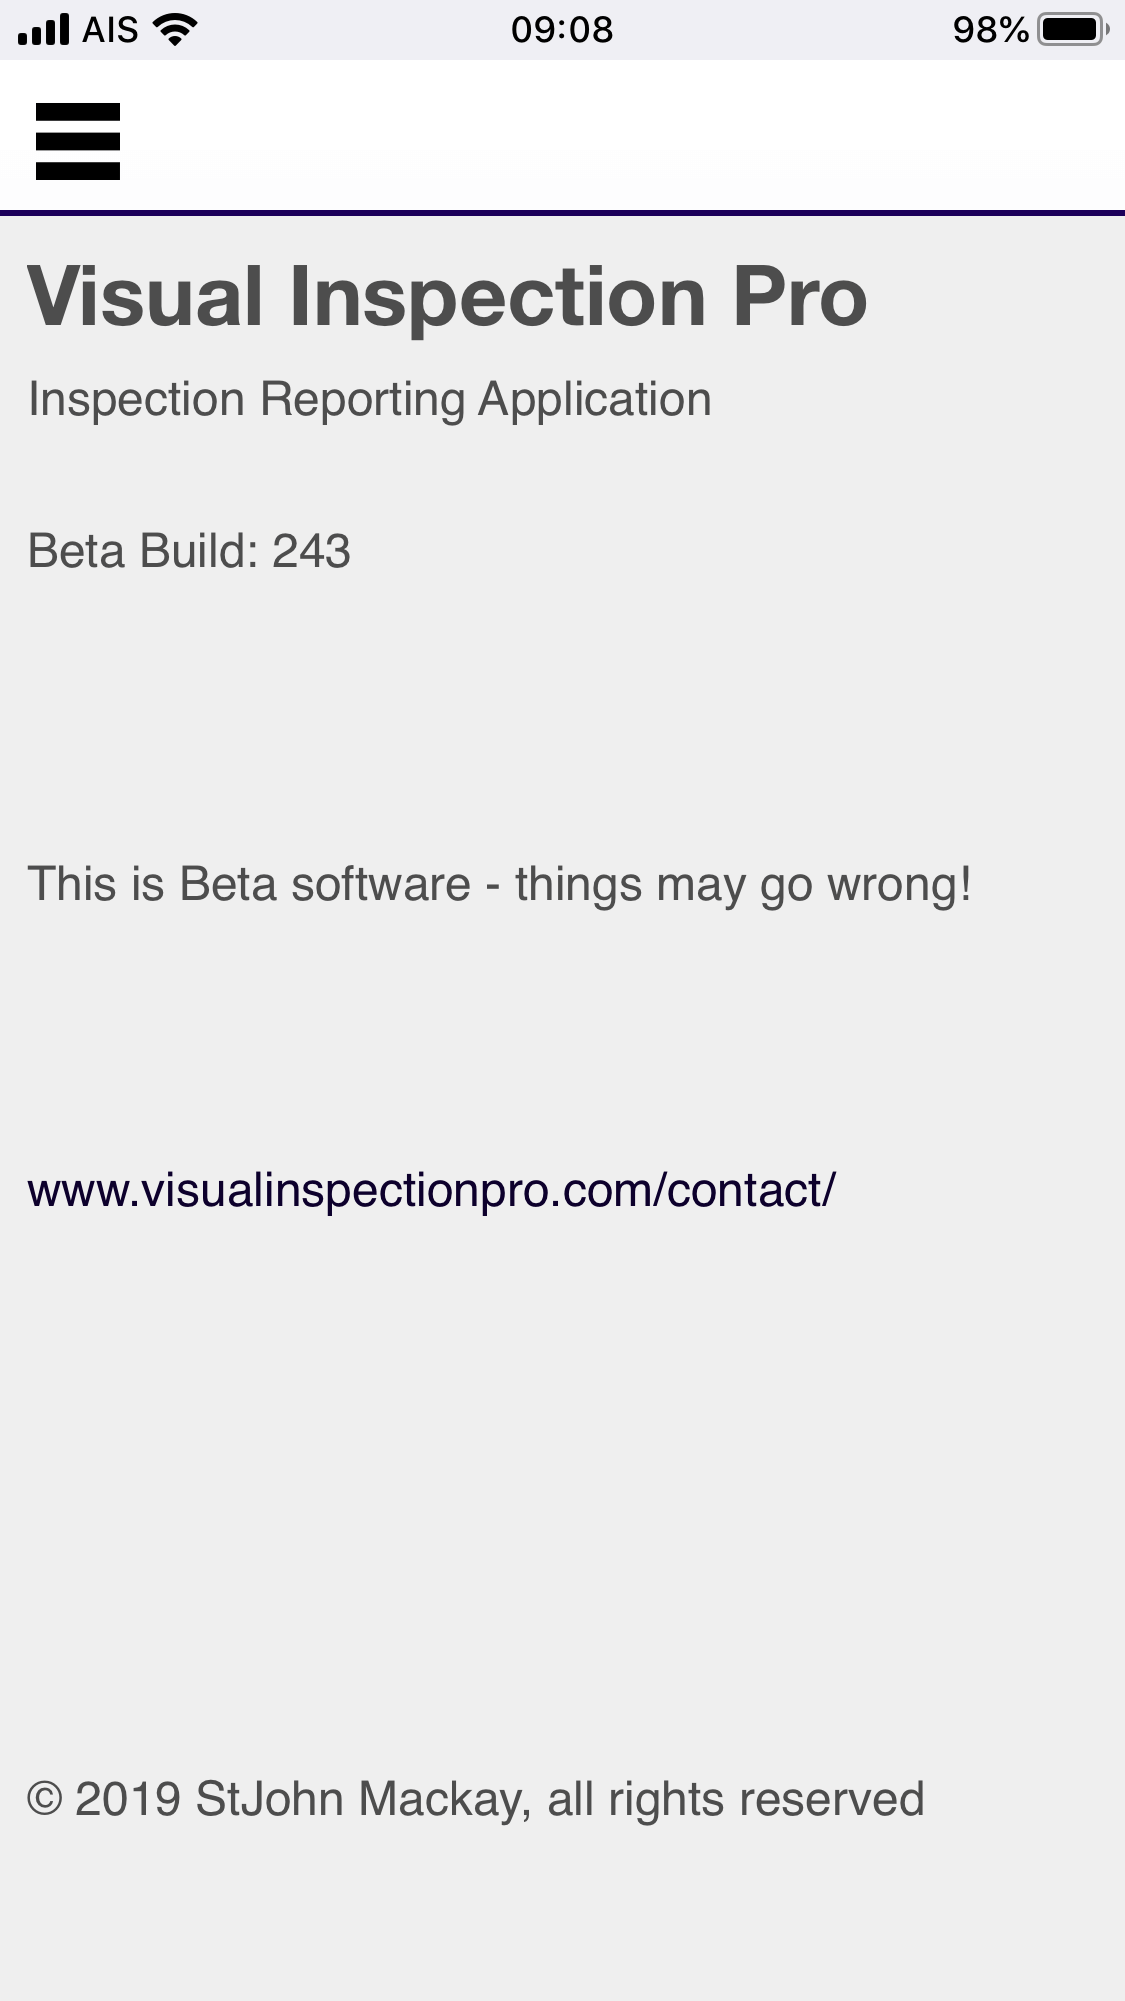
About the application, including current version number.